


This sewing pattern is for a circular box-pleated skirt with 10 pleats.
This pattern was created in response to many requests for a circular box-pleated skirt.
This short, full skirt style is often used for idol costumes, anime character costumes, and many other designs.
The pattern has no darts. The body pieces and pleat pieces are sewn together alternately, so the construction is simple and suitable for beginners.
Unlike a standard box-pleated skirt, this skirt is drafted in a circular shape. This helps the skirt spread nicely when worn over a petticoat or pannier.
The skirt is not a full 360-degree circle. It is designed at about 270 degrees so that the box pleats form neatly.
For beginners, the zipper is attached at the center of the body section. If you can attach a zipper inside a pleat, you can also change the number of pieces for an even cleaner finish.
This version has 10 pleats. Versions with 12 pleats and 8 pleats are also available, so please choose the one that best matches your design.
Although circular box pleats may look difficult, this pattern uses a simple construction method.
Please use a 22 cm invisible zipper for this pattern.
After printing, align the pages along the guide lines, join them together, and cut out the pattern pieces. Seam allowances are included, so you can use the pattern as-is.

(1) Serge or overlock both side edges of the body pieces and body side pieces.
(2) Serge or overlock all edges of the pleat pieces except the hem edges.
(3) Apply stay tape to the zipper attachment area on the body side piece.
(4) Sew the seam up to the marked sewing stop position, then attach the invisible zipper.
*If the fabric does not hold a pressed seam well, topstitch the seam allowances to keep them flat.
(5) Align each pleat piece with the hem edge of the body pieces. Sew all 10 pieces together in the order: body piece, pleat piece, body piece, continuing around until they form a ring.
(6) Press the seam allowances open. Serge or overlock the hem edge, fold the hem up by 1 cm, and stitch it with a sewing machine.
(7) Fold each pleat along the marked pleat fold line and press it with an iron. Topstitch along the marked stitching line to keep the pleat in shape.
*If the fabric holds the pleat shape firmly after pressing, topstitching is not necessary.
(8) Align the body seam line with the seam line of the next body piece, sew them together, and press the seam allowances open.
(9) Open the seam allowances sewn in step (8), one side at a time. From the wrong side, stitch along the marked "stitch from the back" lines, alternating sides, to secure the pleat pieces.
(10) Apply fusible interfacing to the belt.
(11) Fold each short side of the belt inward by 1 cm and press it with an iron.
(12) Fold the belt along the center line.
*When pressing the belt, let one inner edge extend about 1 mm beyond the other edge. This makes it easier to catch both layers when stitching.
(13) Sew both short ends of the belt, then turn the belt right side out.
(14) Align the belt with the marked basting position on the skirt and stitch it in place.
(15) Attach a hook-and-eye fastener or a button.

If you cannot see the SHOP due to 403 error
Price: ¥600 (JPY)
Approx. USD — / EUR — (for reference)


Children's-140
waist58cm length32cm 5sheets of A4 size

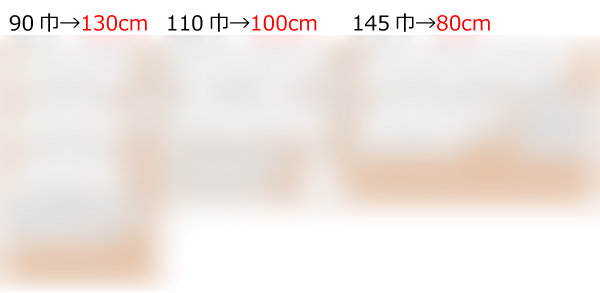
Children's-10
waist22.8in length12.6in 5sheets of letter size

Ladies'-S
waist62cm length35cm 6sheets of A4 size
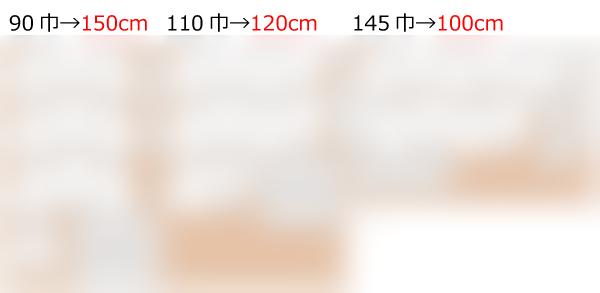
Ladies'-S
waist24.4in length13.8in 6sheets of letter size
Ladies'-M
waist68cm length36cm 6sheets of A4 size
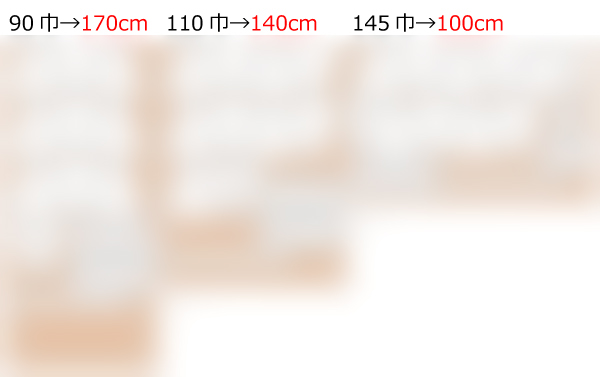
Ladies'-M
waist26.8in length14.2in 7sheets of letter size
Ladies'-L
waist74cm length37cm 7sheets of A4 size
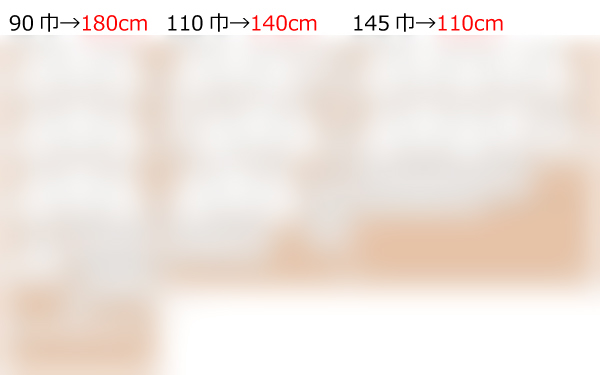
Ladies'-L
waist29.1in length14.6in 7sheets of letter size
Ladies'-LL
waist80cm length38cm 7sheets of A4 size
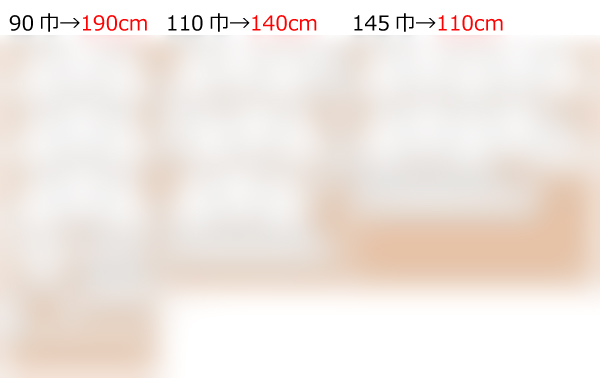
Ladies'-LL
waist31.5in length15in 7sheets of letter size
Men's-L
waist88cm length39cm 8sheets of A4 size
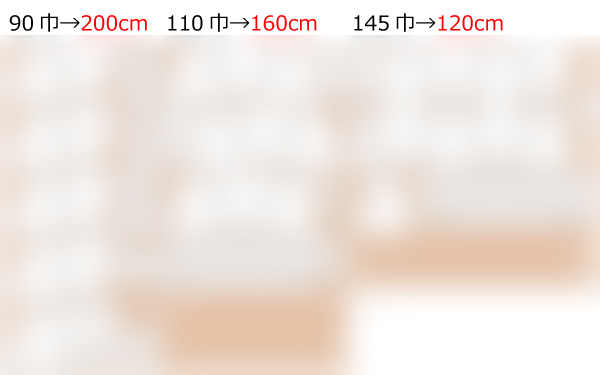
Men's-L
waist34.6in length15.4in 8sheets of letter size
Men's-LL
waist96cm length40cm 8sheets of A4 size
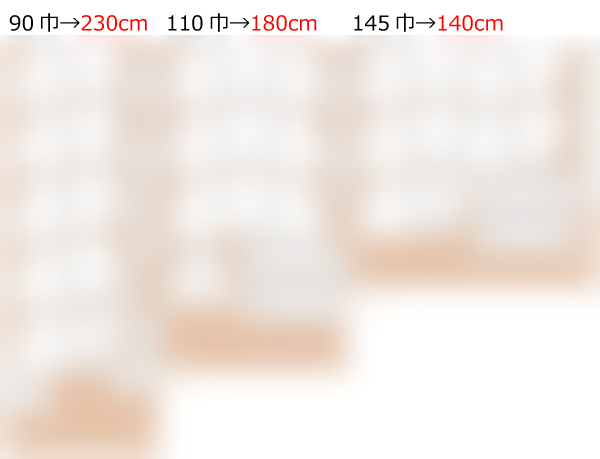
Men's-LL
waist37.8in length15.7in 9sheets of letter size


 How to Serge / Overlock
 Paper pattern & how to make
 How to use Paper pattern
 Each process How to make
 Shop
Shop
 X(Twitter)
 pinterest
 Instagram
 facebook
 Contact Us/Q&A
 Japanese Site