How to make buttonholes
Buttonholes are essential for making clothes. This time, I will explain them using a shirt as an example.
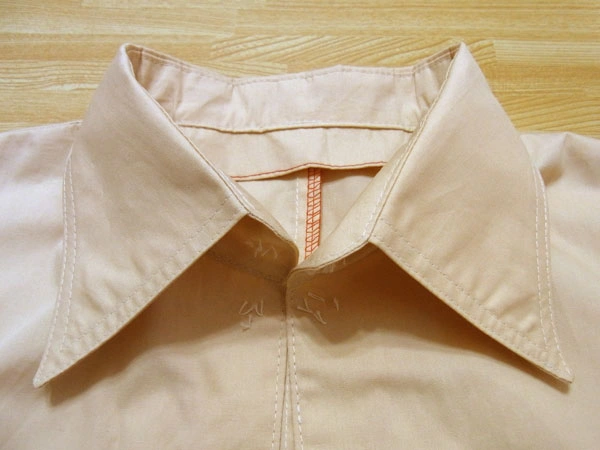
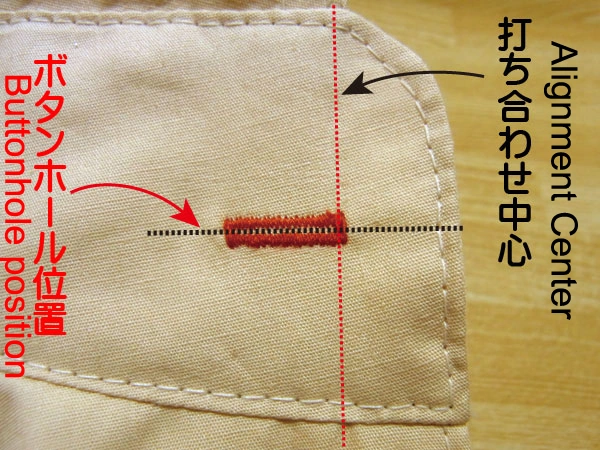
First, make a buttonhole in the collar stand. When the shirt is closed, the button passes through the middle of the center line of the overlap.
Since buttonholes on the collar stand are made horizontally, start from the center line of the overlap where the button goes through.
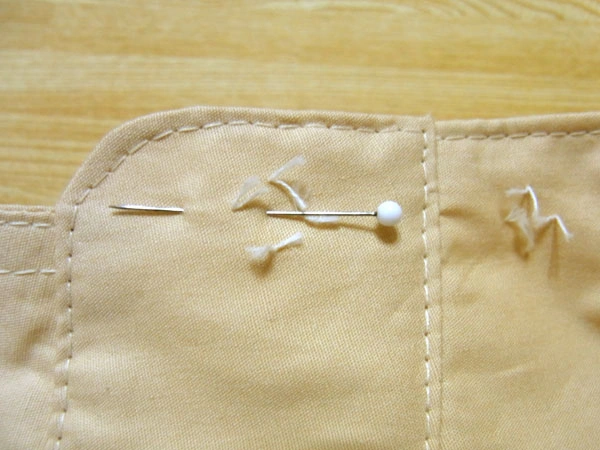
Fasten a marking pin at the center of the basting. This will be the starting point.
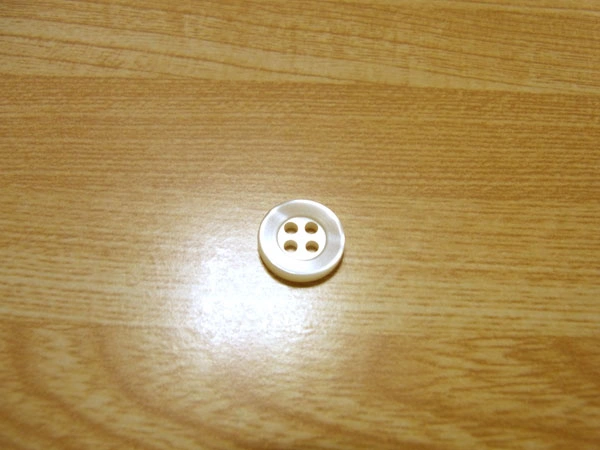
The buttons used are shirt buttons with a diameter of 1 cm.

The attachment for making buttonholes depends on your sewing machine.
On my sewing machine, I set the stitch to “F” and adjust the buttonhole width to “small.”
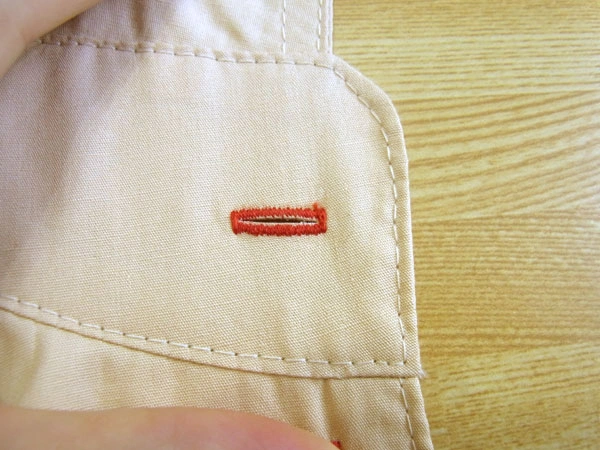
Buttonholes have now been sewn into the collar stand.
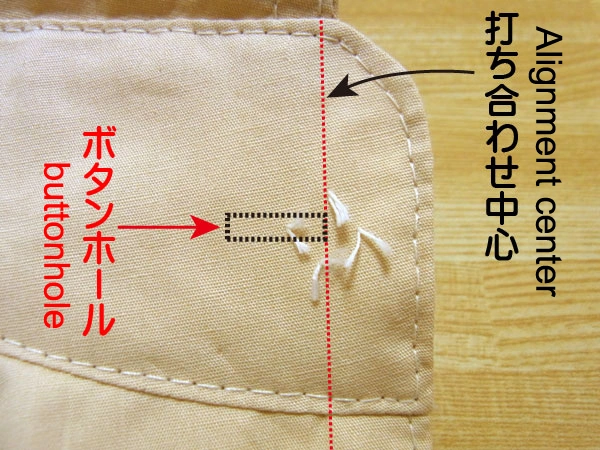
The intersection of the red dotted line (center line) and the black dotted line (buttonhole position) is the starting point of the buttonhole.
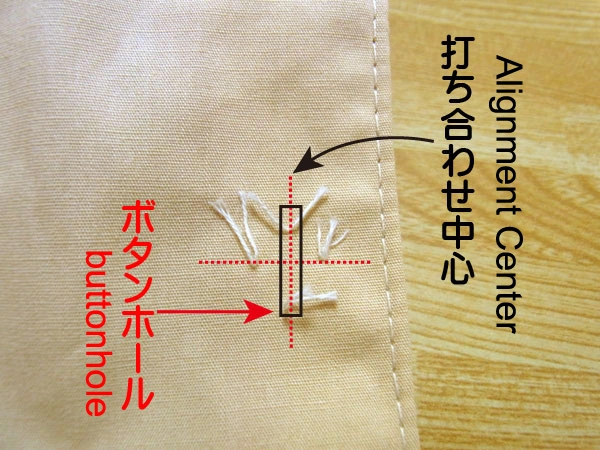
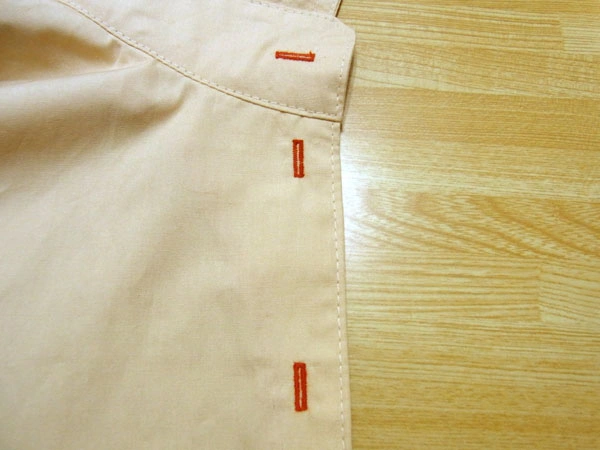
Other buttonholes besides the collar stand are made vertically. The length of the collar stand buttonhole is 1.4 cm.
Since the button passes through the center of the buttonhole, the starting point is 0.7 cm above the center.
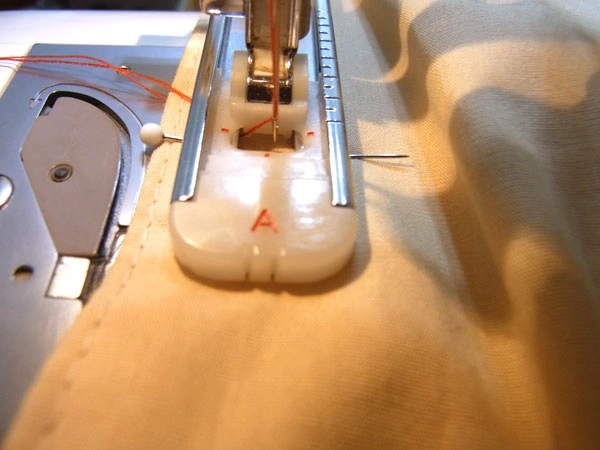
Make the buttonholes with your sewing machine attachment.
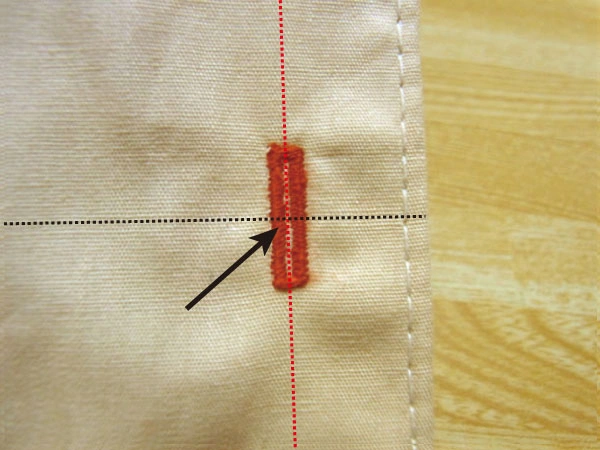
The button passes through the center of the intersection of the dotted lines at the tip of the black arrow.
All buttonholes are complete.

Apply anti-fray liquid before cutting open the buttonholes.
You can use a seam ripper, cutter knife, or any other tool to make the slit.
However, since rippers may snag certain fabrics, a cutter is recommended.
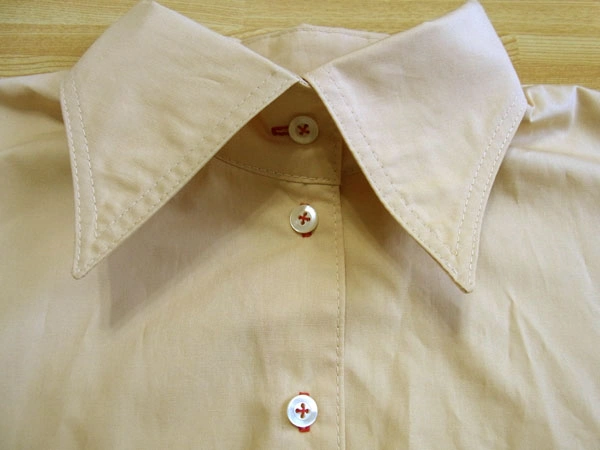
Fasten the buttons and check that there is no misalignment between the buttonholes and button positions — and you are done!


