Preparation of belt section
This method of making belts can be applied not only to skirts but also to pants.
It's easy, so let's master it!
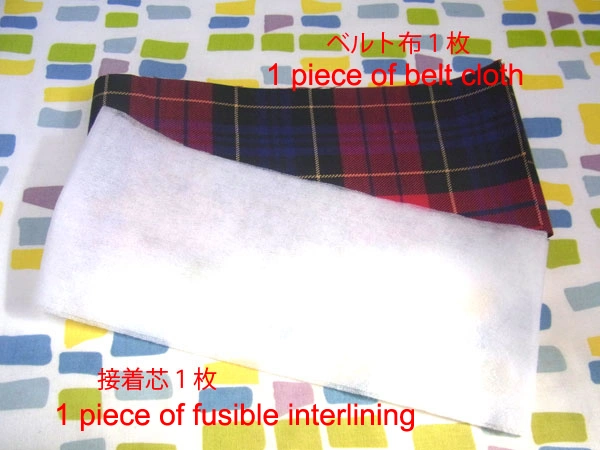
Prepare 1 piece of belt cloth and 1 piece of fusible interlining.
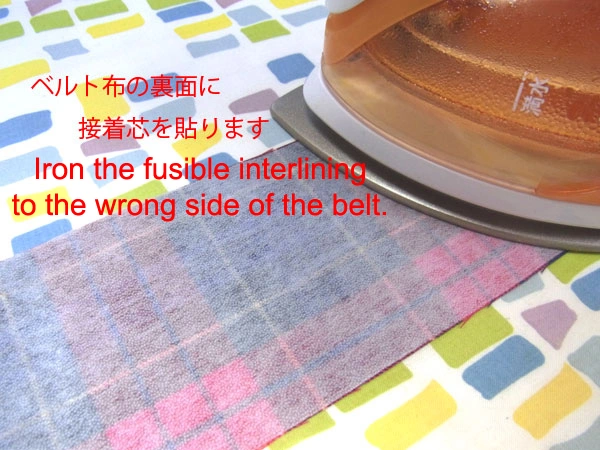
First, iron the fusible interlining onto the wrong side of the belt cloth.
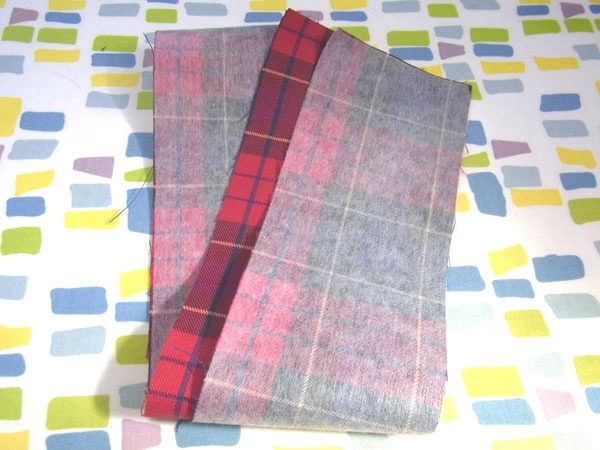
The fusible interlining is attached to the reverse side of the belt cloth.
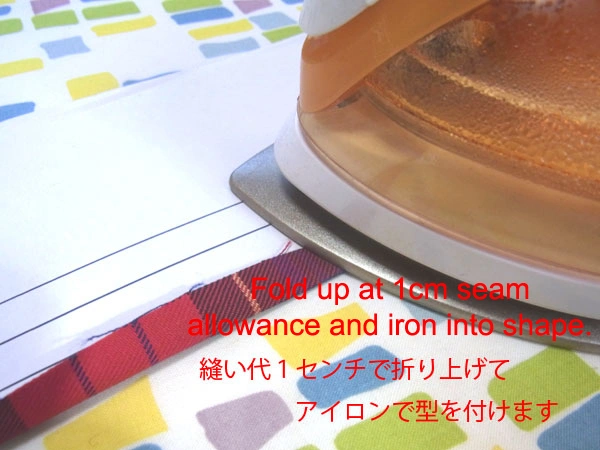
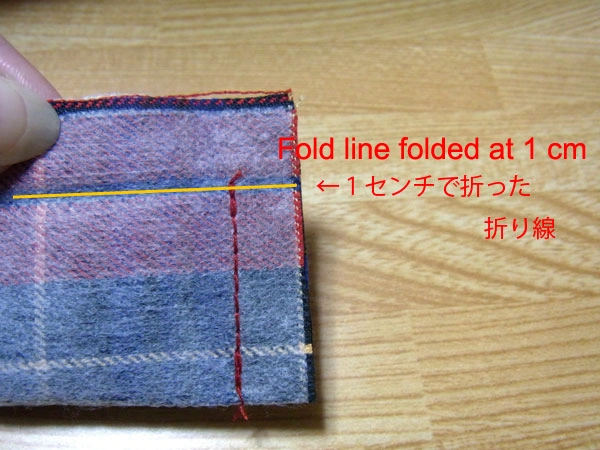
Next, fold up the seam allowance 1 cm and press with an iron to make a crease.
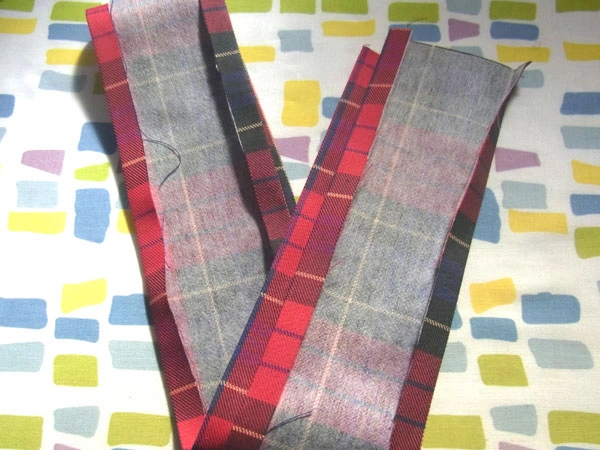
Fold up both sides in the same way.
After folding the seam allowances, fold the belt cloth in half to form the belt.

Iron while shifting the front side about 1 mm, except for the extension part.
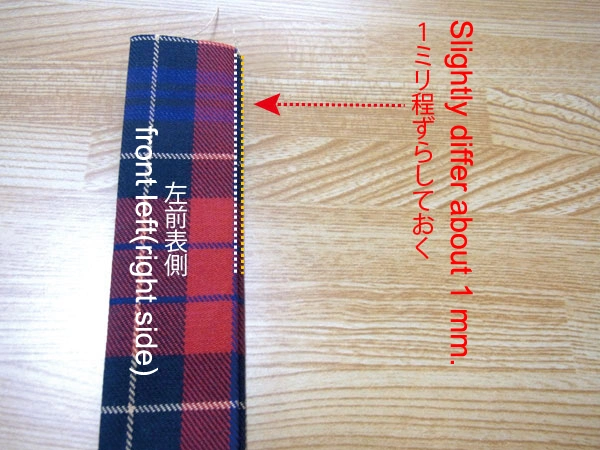
This small shift helps prevent the needle from slipping off the back side when sewing the belt.
The next step is to sew the belt pieces together.
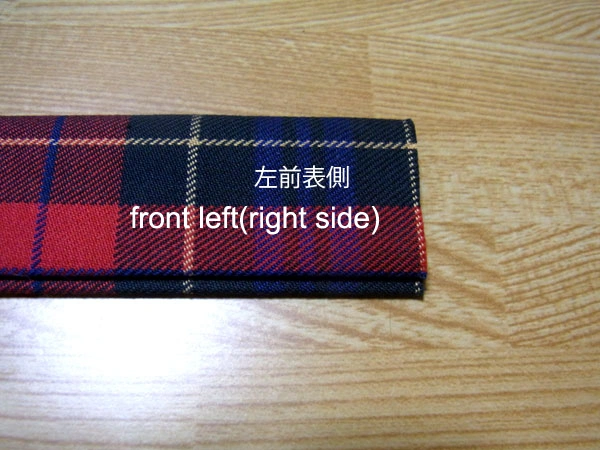
Belt cloth: "left front".
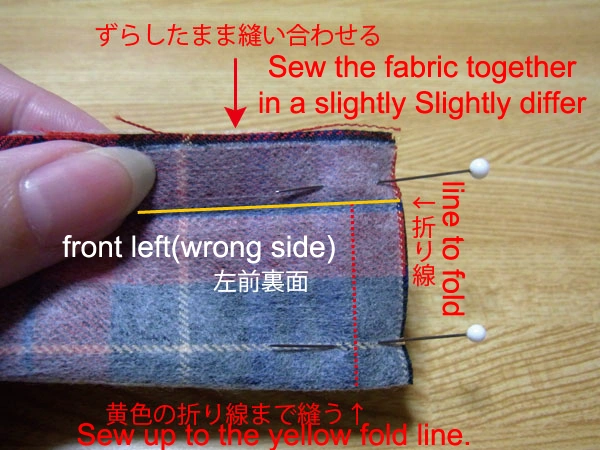
Turn the belt cloth over, fold along the shifted line, and fasten with a marking pin.
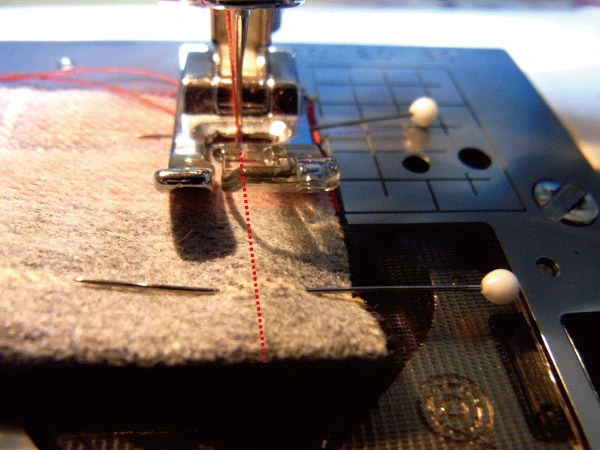
Sew with a 1 cm seam allowance.
Sew up to the yellow fold line (1 cm seam allowance).
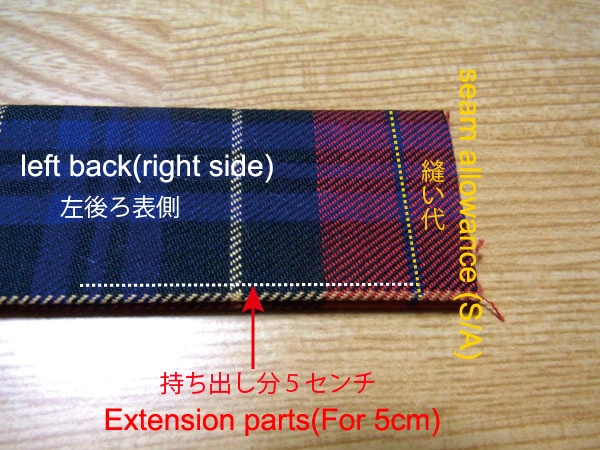
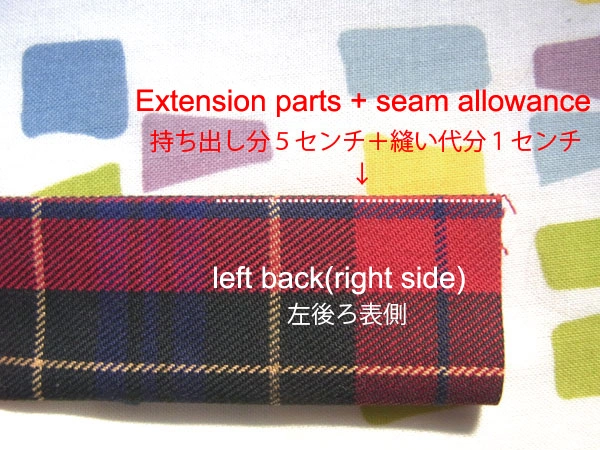
Next, work on the belt cloth: "left back".
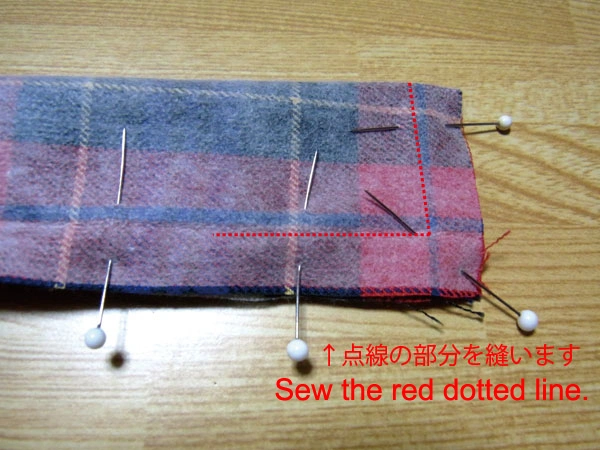
Turn the belt cloth over and sew along the red dotted line, matching the corners and edges exactly.
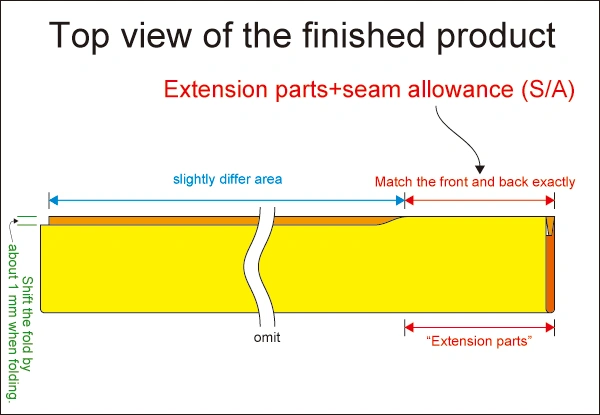
The diagram above shows the top view of the finished belt with the extension part and seam allowance.
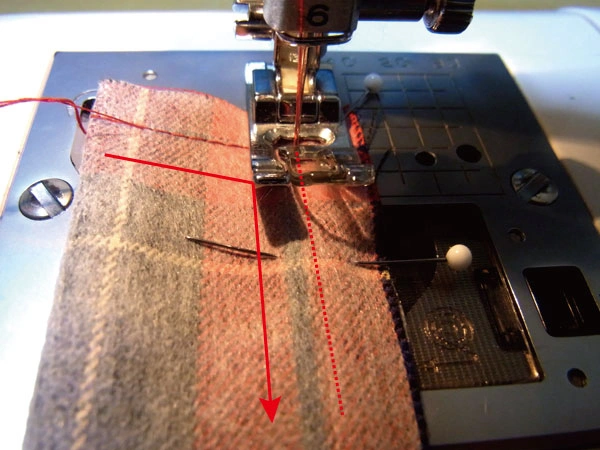
Sew with a 1 cm seam allowance along the arrowed line.

The "Extension part" is 5 cm, but sew only about 3 cm to leave some room.
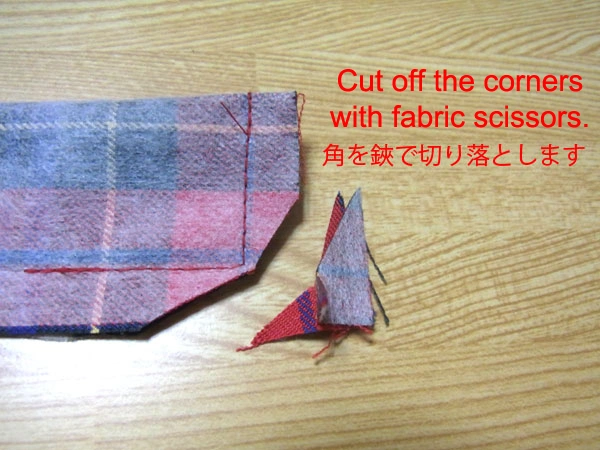
Cut off the corners with fabric scissors so they do not get in the way when turning it over.
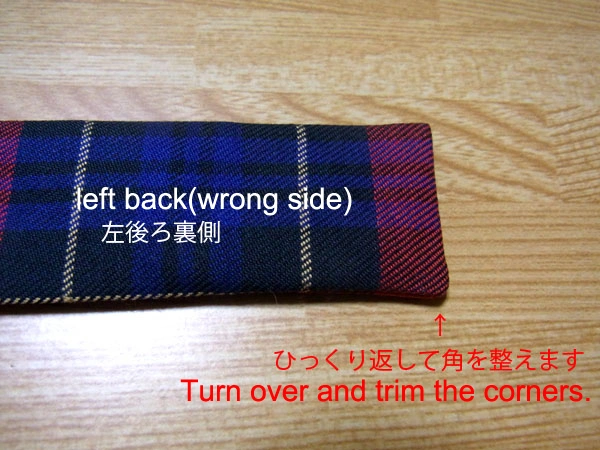
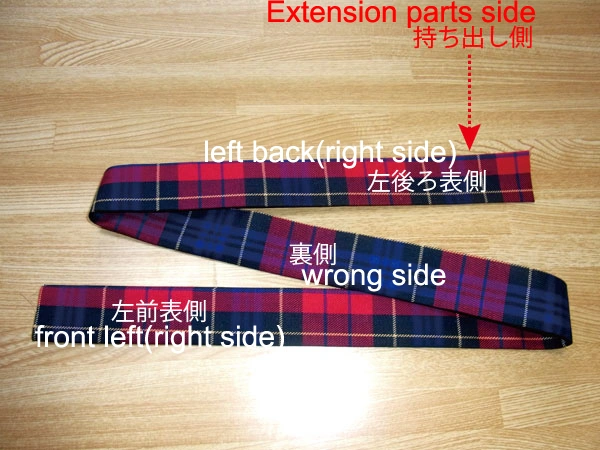
Turn the belt over and adjust the corners. This is the "left back" with the extension part.
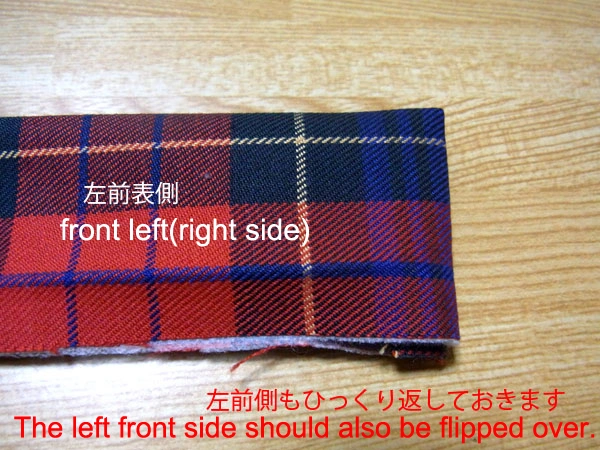
The "left front" side should also be turned over.
The belt is now ready.


