How to sew on buttons
Buttoning is surprisingly troublesome, but once mastered, it can be sewn back on securely even if it comes off.
Repairing loose or missing buttons is a chance to show your sewing skills!
I will explain it as clearly as possible with pictures. It is easy to understand, so please try your best to learn it.
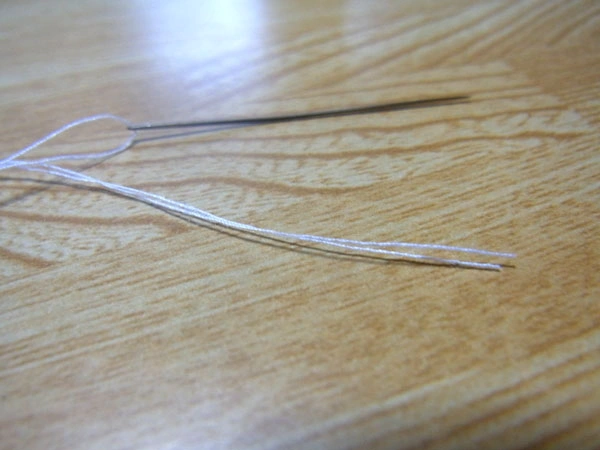
The thread is two-ply. A special thread called buttoning thread is available, but sewing machine thread will also work.
Here’s an important point! You do not need a round knot at the end of the thread to attach the button. As shown in the photo above, the knot is not made. This is the proper method.
The reason why we don’t tie a round knot is because it would cause a lump after completion, so we usually don’t. Surprisingly, many people do not know this.
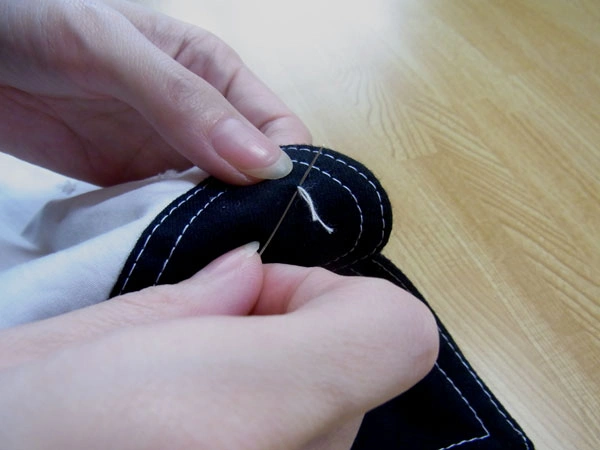
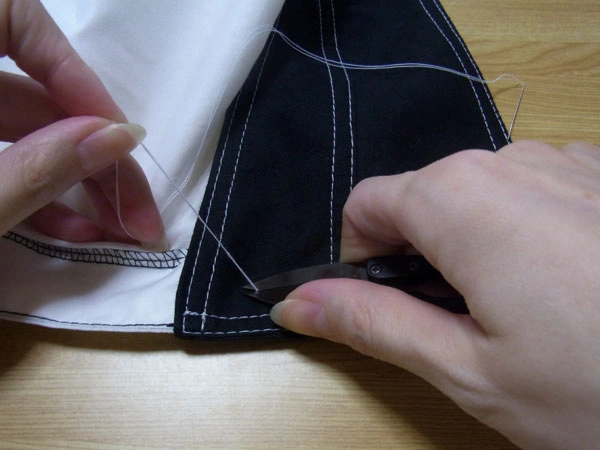
First, blind stitch the buttoning position (notch mark) of the collar stand about 1mm from the front side.
Be sure to blind stitch not only the front side but also the back side together. Remove the basting thread of the notch mark here.
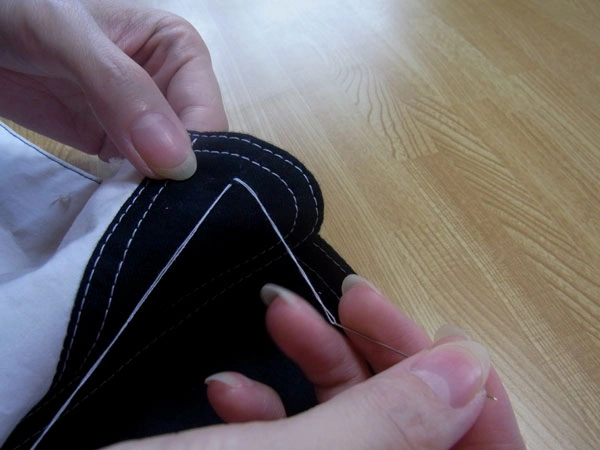
Since the thread end is not tied in a round knot, pull the thread so that it does not fall out.
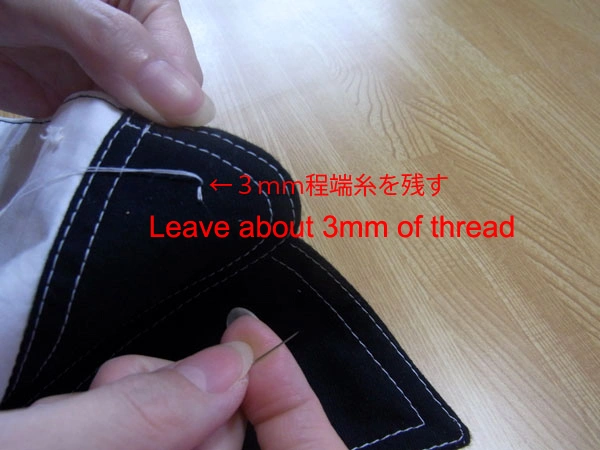
Leave the thread as shown in the picture. This is called “discarded thread.”
You can leave it longer and cut it shorter later.
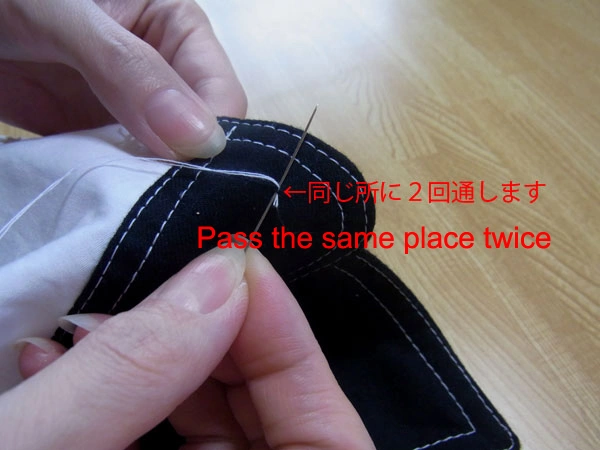
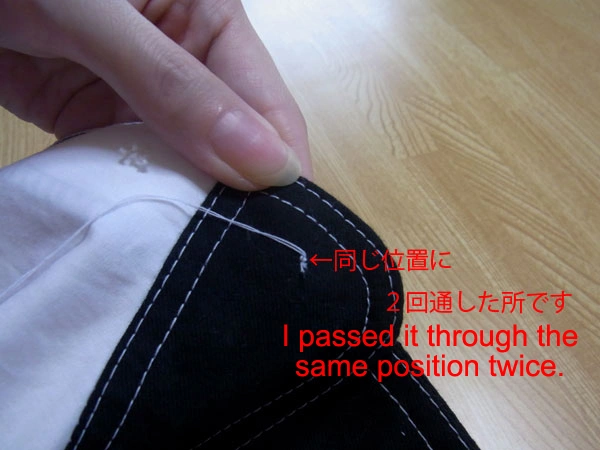
From the state where the discarded thread is ready, thread the needle twice in the same position and it will not unravel even without a knot.
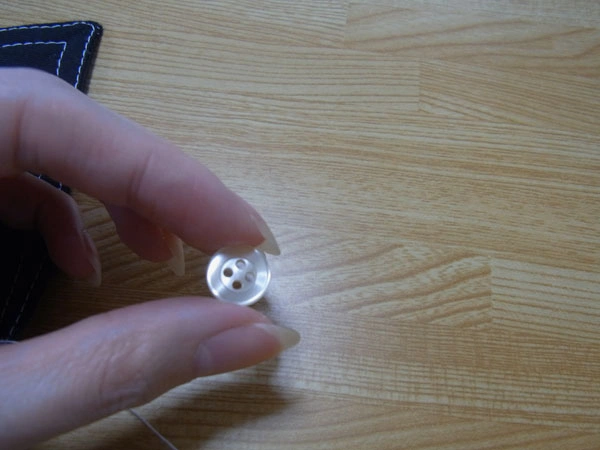
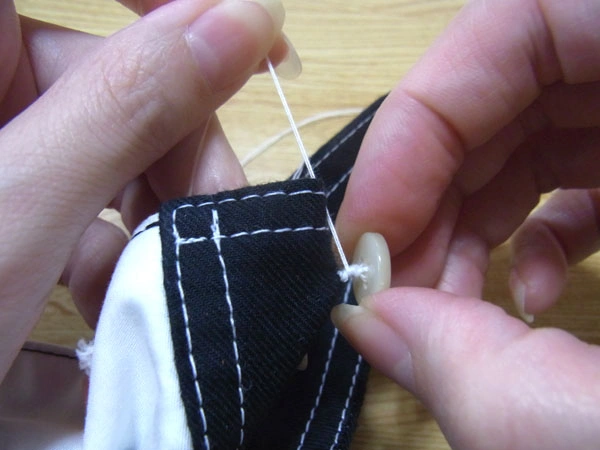
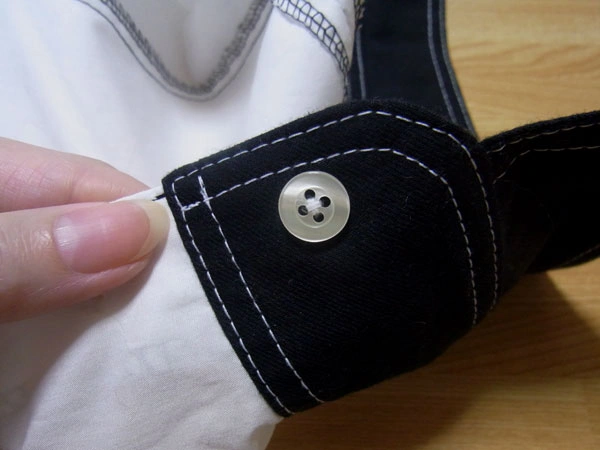
This time, we will use the standard four-hole button, which is often used for shirts and the like.
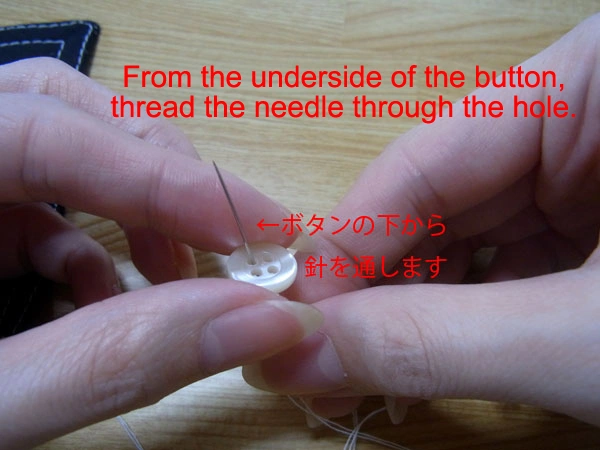
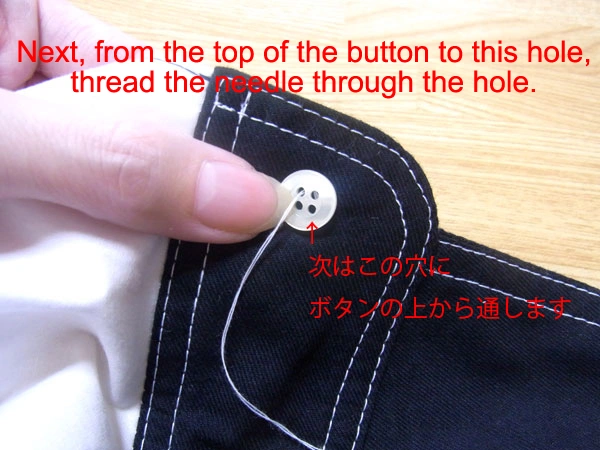
When sewing a button, the needle is threaded through the hole from the bottom of the button, and the next time, through the opposite hole from the top.
Once the holes are threaded, sew the button to the collar stand.
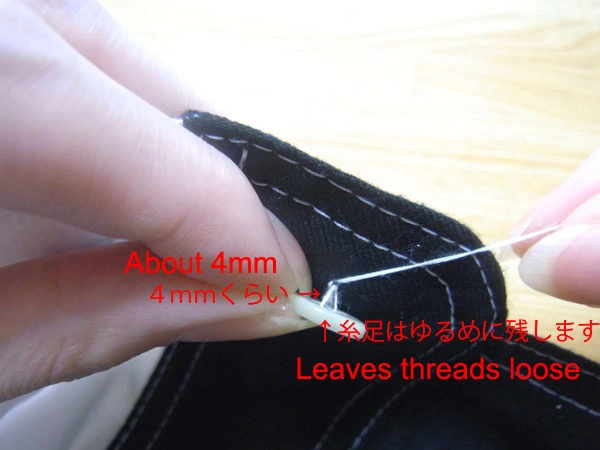
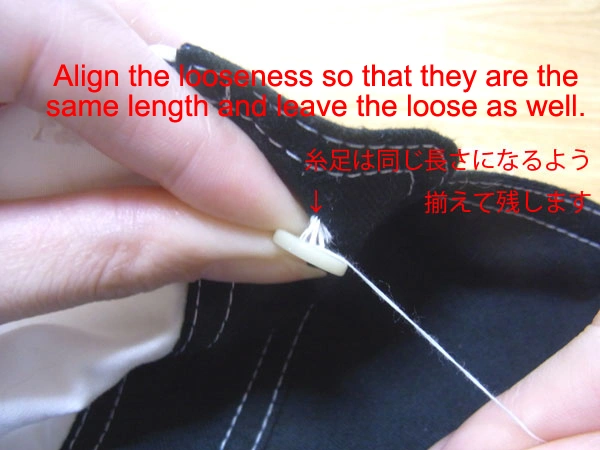
Leave about 4mm of thread foot, which is the “foot” of the button, as shown in the photo.
This creates a gap (thread foot) between the button and the fabric.
Although a little tedious, this makes it easier for the button to pass through the buttonhole.
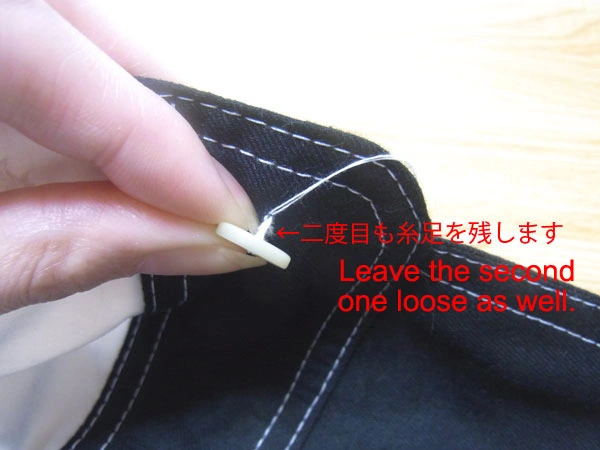
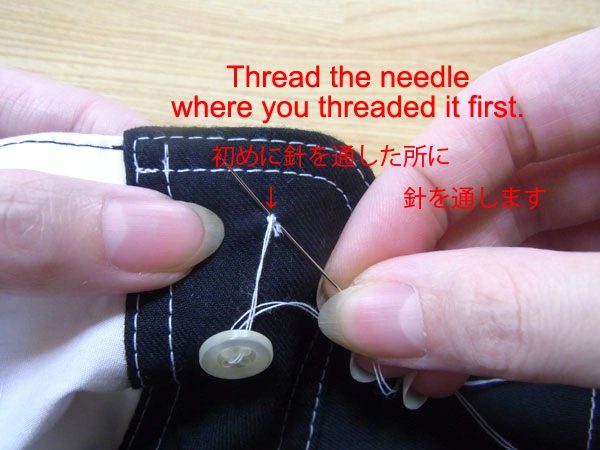
Sew again in the same manner.
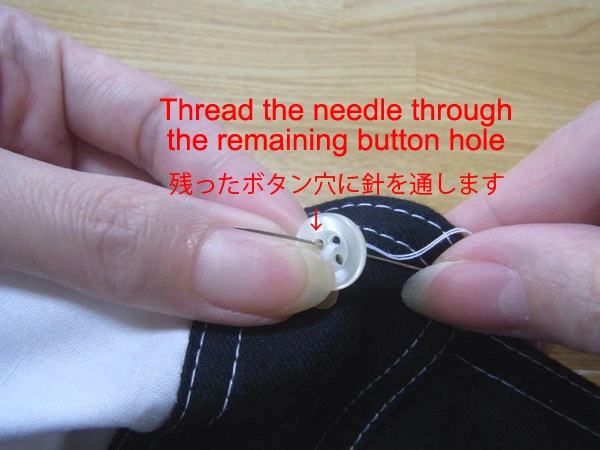
After sewing down twice, the next step is the remaining button holes.
Be sure to thread the needles in the order from bottom to top.
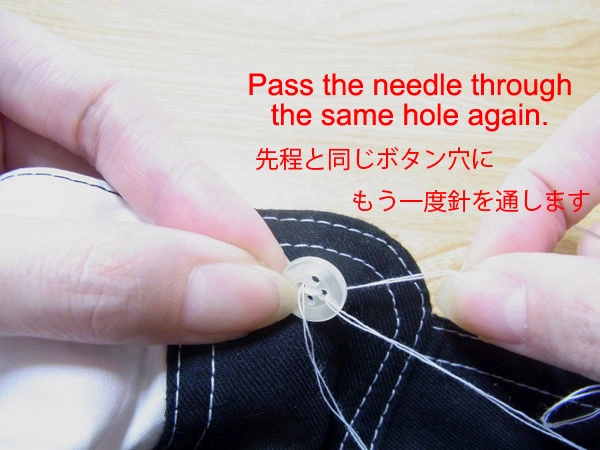
If you leave the thread foot, the button will be loose and unstable, making it difficult to sew, but if you keep the thread foot taut while pulling on the button, it will be easier.
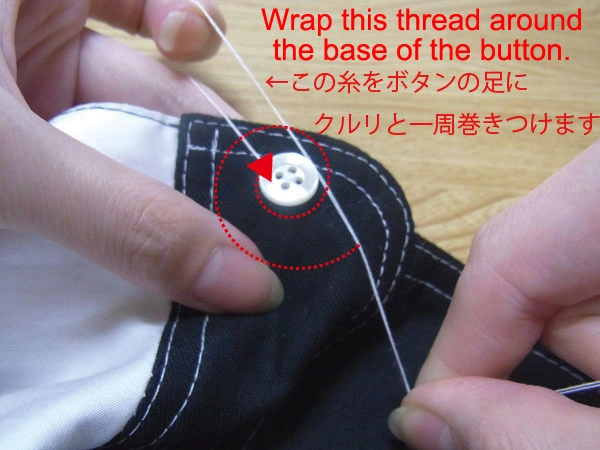
Thread twice as before, but do not sew the second thread to the collar stand as shown in the photo.
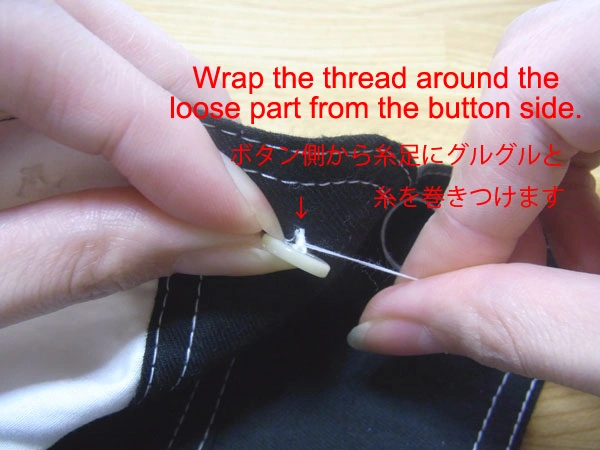
Wrap the thread around the thread foot from the bottom of the button to the collar stand.
Wrap it tightly so it is not too loose.
And here’s the point! When you wrap the button foot, the “discarded thread” left at the beginning is rolled in together and hidden.
Once the thread is wrapped, hook it around the index finger and make a loop as shown.
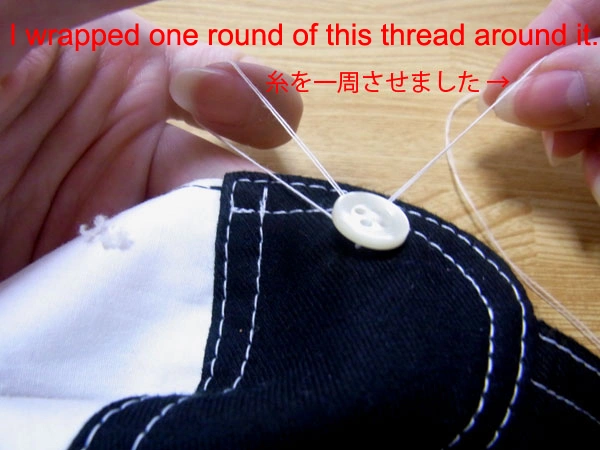
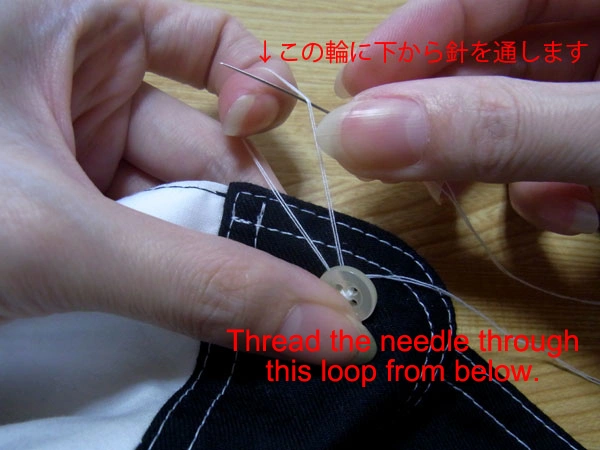
When the thread is circled, a loop is formed, and the thread is passed through it.
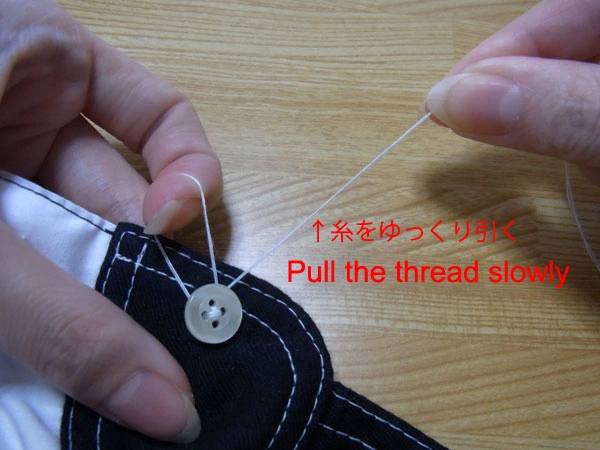
Pull the thread slowly to avoid tangling.
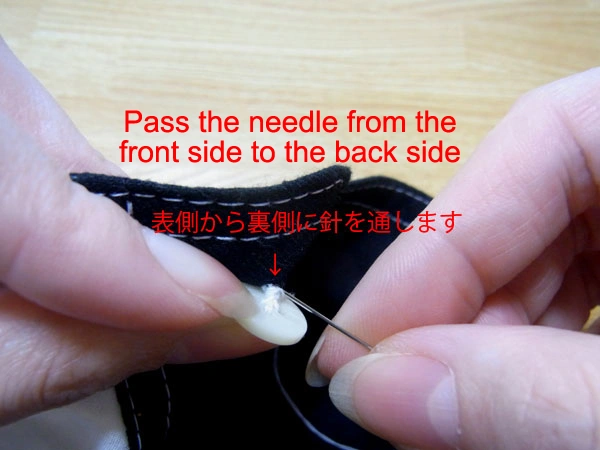
Pass the needle from the base of the front side to the back side.
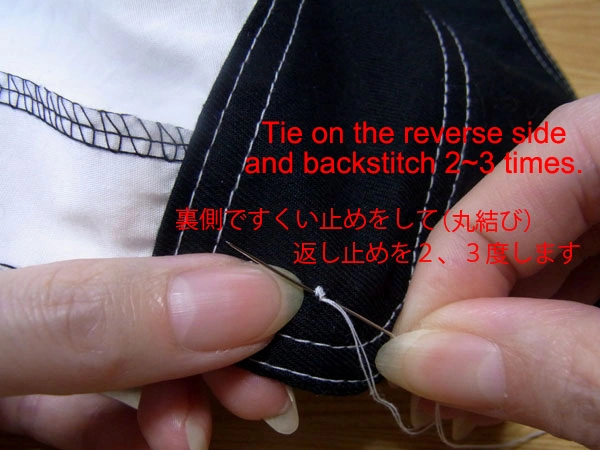
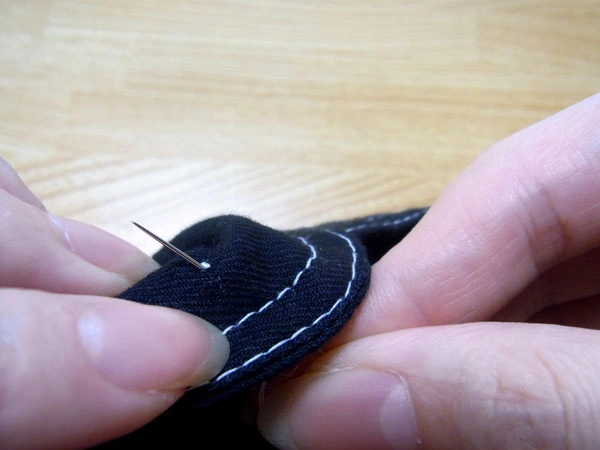
Blind stitch on the reverse side, and backstitch 2~3 times.
Cut the thread.
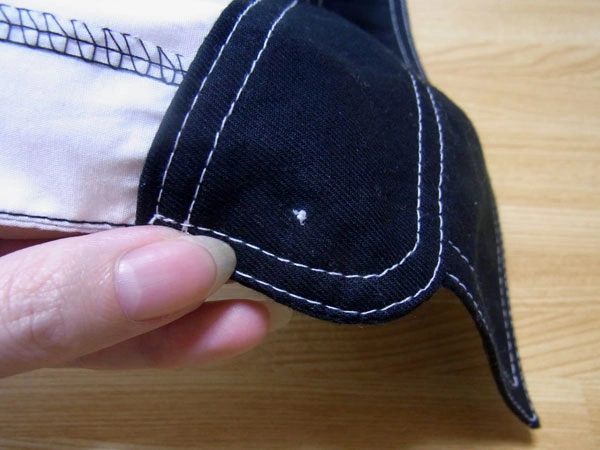
The back side with the button. Scoop the same place for a clean finish.

The buttons are floating when viewed from the side.
“Thread foot” is a tedious process, but unlike ready-made buttons, buttons carefully sewn on by yourself are surprisingly sturdy and will not come off easily!


