

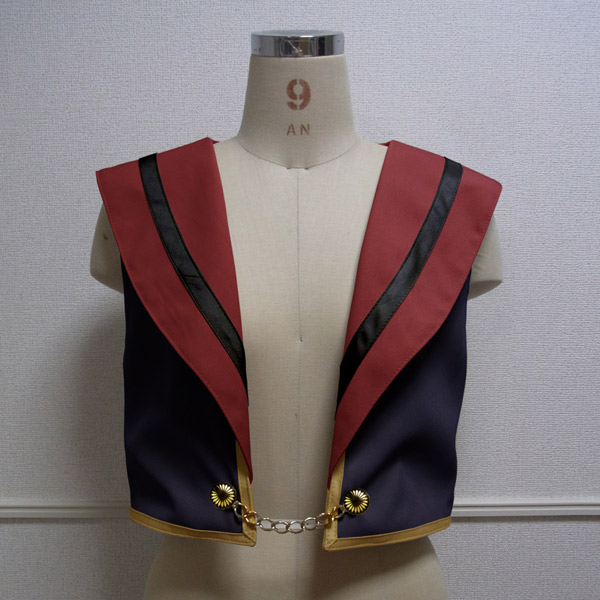


This is a sewing pattern and tutorial for a short gilet.
Unlike the Long Gilet, this design flares slightly toward the waist.
The collar has a simple structure. The Collar is placed between the outer fabric and lining, and then sewn in place.
To make the lines stable and clean, we recommend using medium-weight or slightly heavy fusible interfacing on the Facing pieces.
Please note that the front is designed to open slightly.
After printing, align the pages along the guide lines, paste them together, and cut out the pattern pieces. Seam allowances are included, so you can use the pattern as-is.

*Please press all sewn seams with an iron.
(1) Apply fusible interfacing to the Collar, Front Facing, and Back Facing.
(2) Sew bias tape to the bias tape position on the outer fabric of the Collar.
(3) Place the two Collar pieces with right sides together. Leave the neckline edge open and sew the two pieces together. Turn right side out and shape the Collar with an iron.
(4) Sew the Front Facing and Back Facing together. Press the seam allowances open.
(5) Sew the shoulder seams, side seams, and center back seam of the Front Bodice lining and Back Bodice lining. Press the seam allowances open.
(6) Sew the Facing and lining together. Press the seam allowances downward.
(7) Match the bias tape to the bias matching position on the Bodice and sew the bias tape in place.
(8) Sew the shoulder seams, side seams, and center back seam of the Front Bodice and Back Bodice. Press the seam allowances open.
(9) Match the Collar to the Collar matching position on the Front Bodice. Baste the Collar around the neckline.
(10) Place the Bodice and lining with right sides together. Sew from one stitch stop position around the edge to the stitch stop position on the opposite side.
* Before turning right side out, make small cuts in the seam allowances at the neckline and other areas where the fabric may pull. This will give a cleaner finish.
(11) Turn the garment right side out through the opening used for bagging. Pull the armhole section through the opening and sew the armhole.
* Sew the armhole one half at a time.
(12) Shape the entire garment with an iron. Then close the hem opening.
* If the shape is difficult to set with an iron, topstitch around the garment to stabilize the shape and create cleaner lines.

If you cannot see the SHOP due to 403 error
Price: ¥600 (JPY)
Approx. USD — / EUR — (for reference)


Children's-140
Bust75cm length36cm 9sheets of A4 size

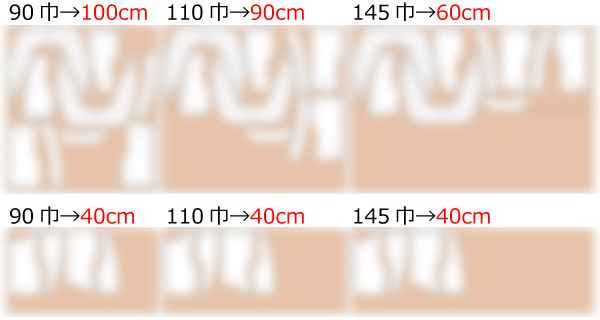
Children's-10
Bust29.5in length14.2in 10 sheets of letter size

Ladies'-S
Bust85cm length39cm 11sheets of A4 size
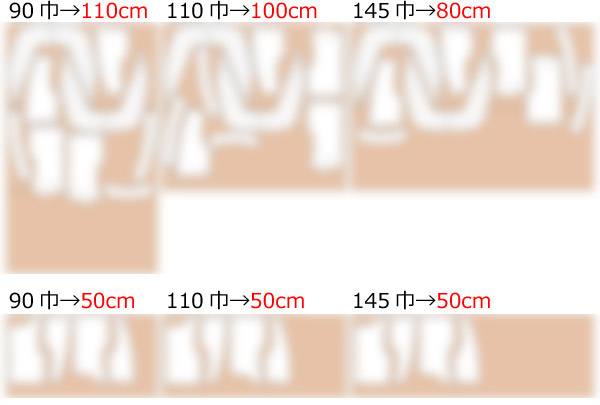
Ladies'-S
Bust33.5in length15.4in 12 sheets of letter size
Ladies'-M
Bust93cm length40cm 12sheets of A4 size
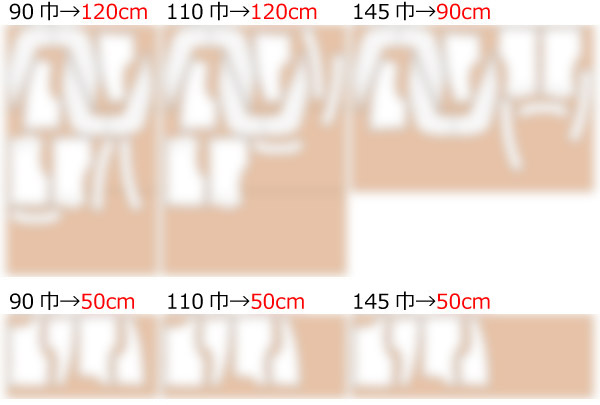
Ladies'-M
Bust36.6in length15.7in 12 sheets of letter size
Ladies'-L
Bust100cm length40.5cm 12sheets of A4 size

Ladies'-L
Bust39.4in length15.9in 13 sheets of letter size
Ladies'-LL
Bust106cm length41.5cm 13sheets of A4 size
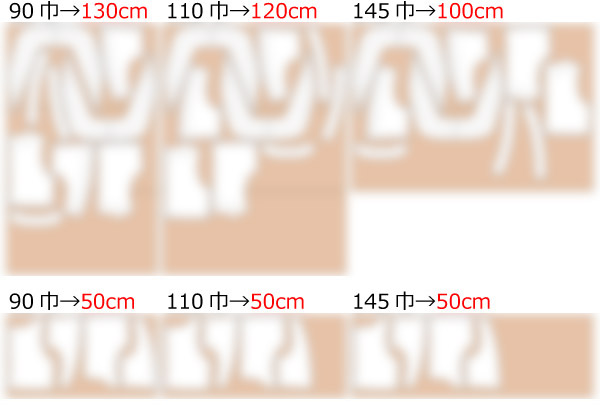
Ladies'-LL
Bust41.7in length16.3in 13 sheets of letter size
Men's-L
Bust110cm length47cm 15sheets of A4 size
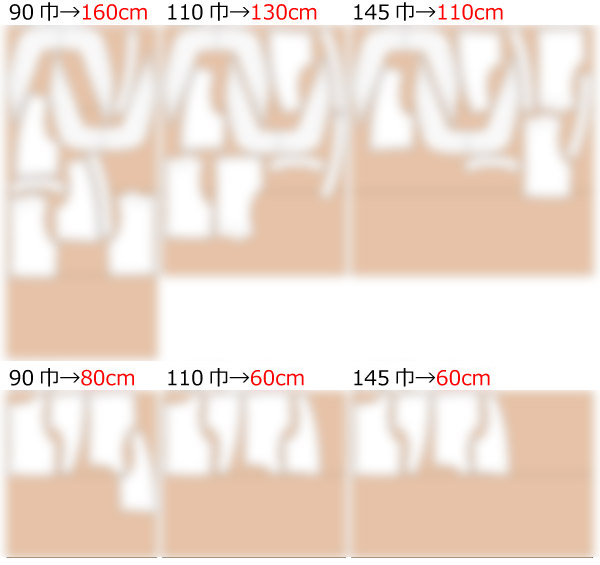
Men's-L
Bust43.3in length18.5in 15 sheets of letter size
Men's-LL
Bust115cm length50cm 15sheets of A4 size
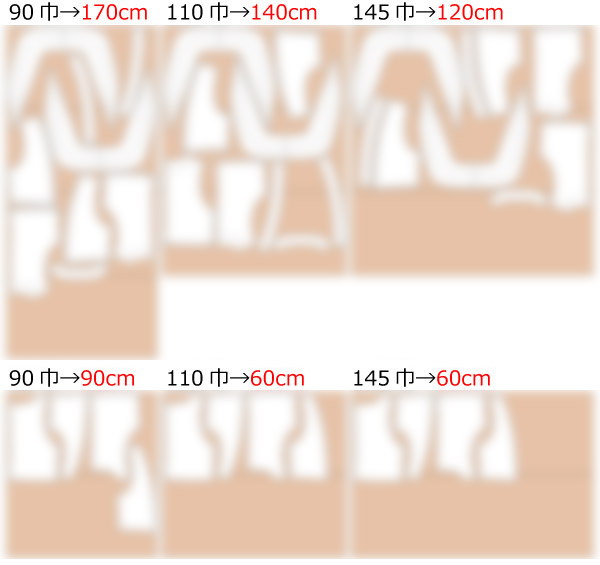
Men's-LL
Bust45.3in length19.7in 17 sheets of letter size


 How to make bias tape
 Paper pattern & how to make
 How to use Paper pattern
 Each process How to make
 Shop
Shop
 X(Twitter)
 pinterest
 Instagram
 facebook
 Contact Us/Q&A
 Japanese Site