


This pattern is available as a free installed pattern for DRCOS USB memory users.
Current DRCOS USB memory users can receive this pattern for free with the next update.
This is a sewing pattern and tutorial for loungewear designed for relaxing at home.
The top and bottoms are both made with stretch fabric, so this pattern is suitable for loungewear or pajamas.
You can use thin fabric for summer or thicker fabric for winter, so this loungewear can be worn throughout the year.
The bottoms have side pockets and one back pocket.
After printing, align the pages along the guide lines, paste them together, and cut out the pattern pieces. Seam allowances are included, so you can use the pattern as-is.

*Please press all sewn seams with an iron.
Tops production process
(1) Sew the shoulder seams of the Front Bodice and Back Bodice. Finish the raw edges and press the seam allowances toward the Back Bodice.
 How to Serge/overlock (sewing machine & overlock sewing machine)
(2) Sew the sleeve cap to the Bodice. Finish the raw edges and press the seam allowances toward the Bodice.
(3) Sew the side seams from the sleeve opening to the Bodice. Finish the raw edges and press the seam allowances toward the Bodice.
(4) Sew the Neck into a loop. Insert the Neck between the neckline layers and sew it in place.
(5) Sew the Hem Rib and Cuff Rib into loops. Press them with an iron and shape them.
(6) Sew the Hem Rib to the hem of the Bodice while inserting the Hem Rib into the hem edge.
* The Hem Rib is shorter than the Bodice. Stretch the Hem Rib while attaching it to the Bodice.
(7) Sew the Cuff Rib to the sleeve opening while inserting the Cuff Rib into the sleeve opening.
* The Cuff Rib is shorter than the sleeve opening. Stretch the Cuff Rib while attaching it to the sleeve opening.
Bottoms production process
(1) Make buttonholes at the buttonhole positions on the Belt.
* Buttonholes are not needed if you use only elastic and do not use a drawstring.
(2) Apply stay tape to the crotch curve of the Front Pocket Bag, Front Pants, and Back Pants.
(3) Make the side pockets on the Front Pants.
(4) Sew the side seams and inseams of the Front Pants and Back Pants. Finish the raw edges and press the seam allowances to one side.
(5) Press the Hem Band into shape to make it easier to insert. Sew the Hem Band into a loop and press the seam allowances open.
(6) Sew the Hem Band to the hem while inserting the Hem Band into the hem edge.
(7) Sew the crotch curve with a double seam. Finish the raw edges and press the seam allowances to one side.
(8) Press the Belt into shape to make it easier to insert. Sew the Belt into a loop and press the seam allowances open.
(9) Sew the elastic waistband to the Belt and leave an opening so that the drawstring can pass through.
(10) Sew the Belt to the Pants while inserting the Belt into the waist edge.
* The Belt is shorter than the Pants. Stretch the Belt while attaching it to the Pants.

If you cannot see the SHOP due to 403 error
Price: ¥700 (JPY)
Approx. USD — / EUR — (for reference)

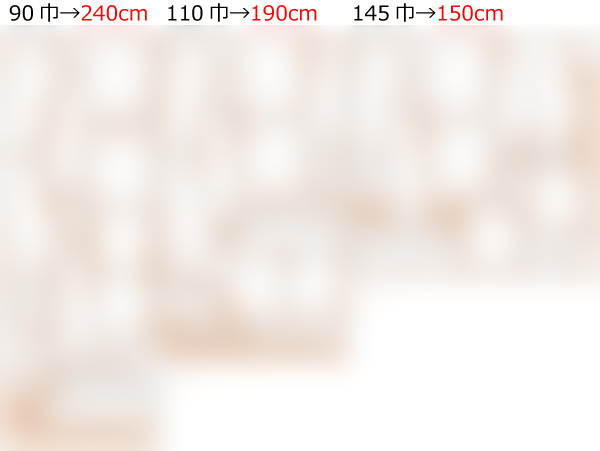
Children's-140
bust79cm waist58cm 21sheets of A4 size

Children's-10
bust31.1in waist22.8in 22 sheets of letter size

Ladies'-S
bust90cm waist62cm 26sheets of A4 size
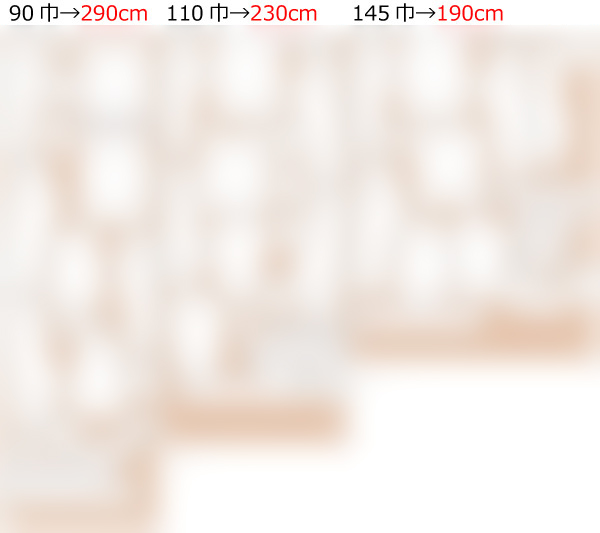
Ladies'-S
bust35.4in waist24.4in 24 sheets of letter size
Ladies'-M
bust97cm waist68cm 26sheets of A4 size
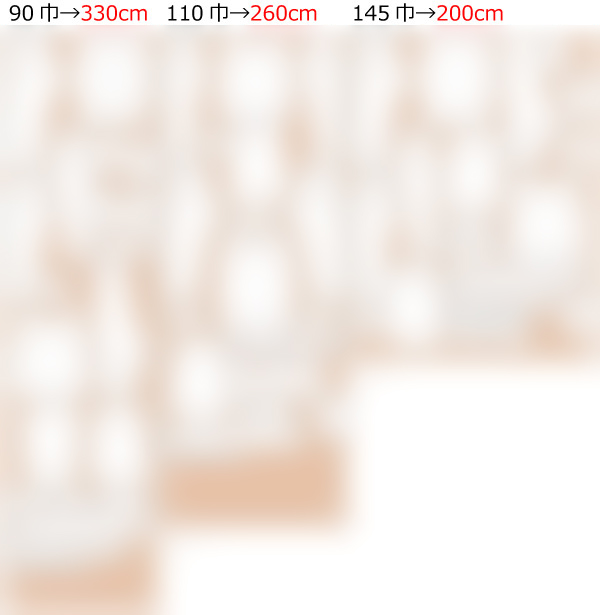
Ladies'-M
bust38.2in waist26.8in 28 sheets of letter size
Ladies'-L
bust105cm waist74cm 29sheets of A4 size

Ladies'-L
bust41.3in waist29.1in 28 sheets of letter size
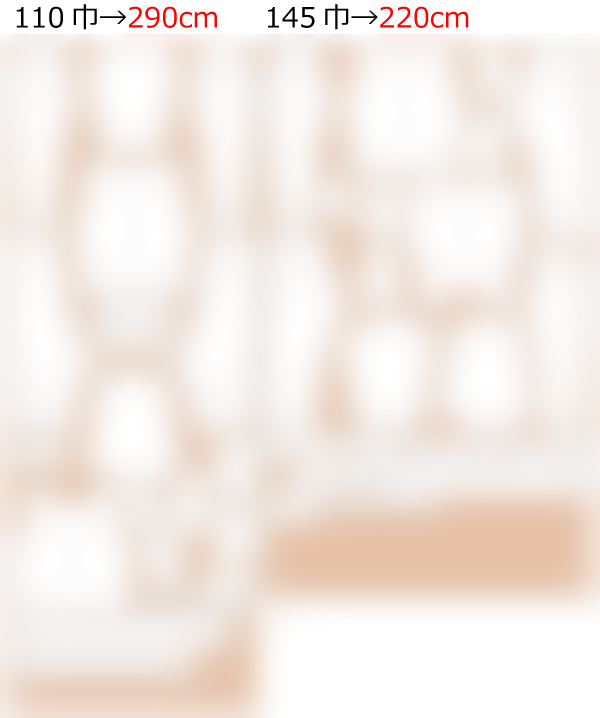
Ladies'-LL
bust111cm waist80cm 31sheets of A4 size
Ladies'-LL
bust43.7in waist31.5in 31 sheets of letter size
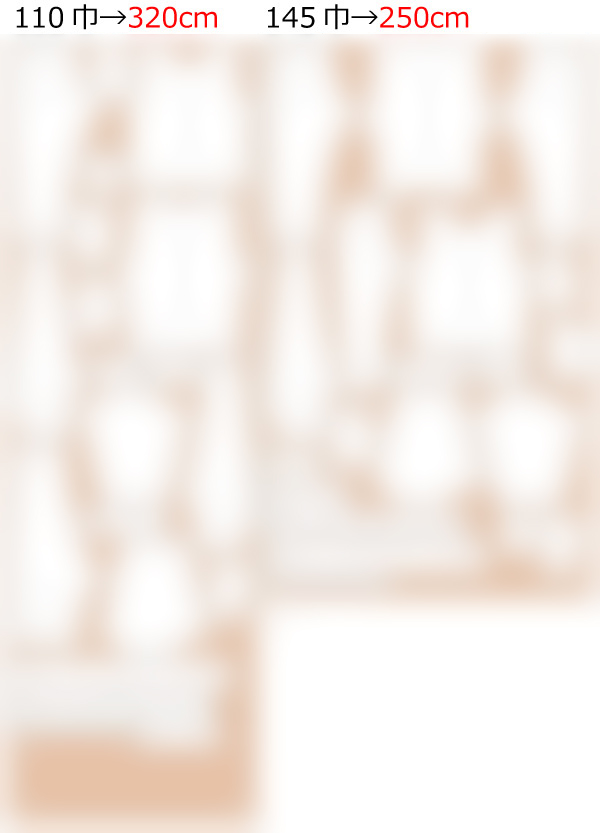
Men's-L
bust115cm waist88cm 33sheets of A4 size
Men's-L
bust45.3in waist34.6in 34 sheets of letter size
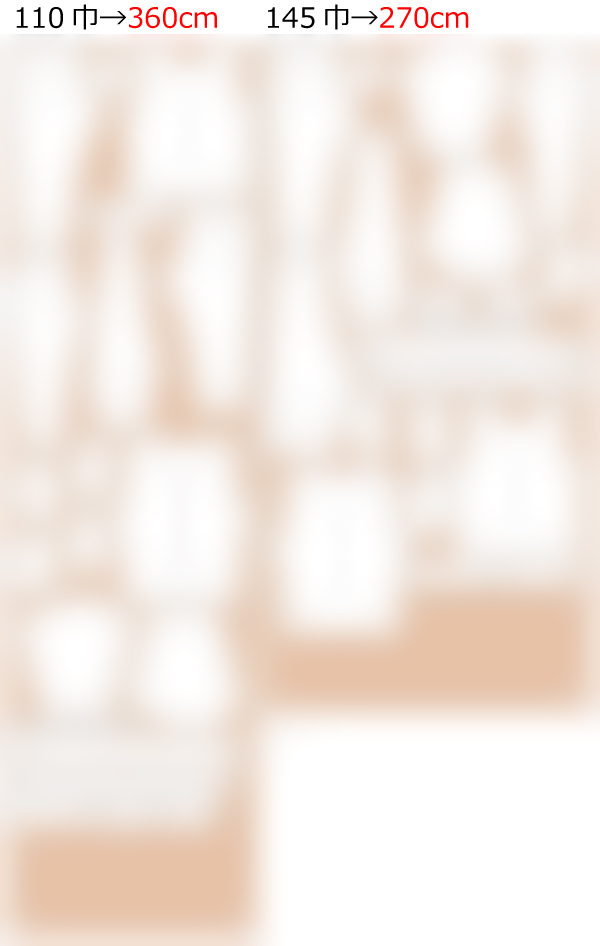
Men's-LL
bust120cm waist96cm 36sheets of A4 size
Men's-LL
bust47.2in waist37.8in 37 sheets of letter size


 Paper pattern & how to make
 How to use Paper pattern
 Each process How to make
 Shop
Shop
 X(Twitter)
 pinterest
 Instagram
 facebook
 Contact Us/Q&A
 Japanese Site