


![]()
Comments are made using translation software.
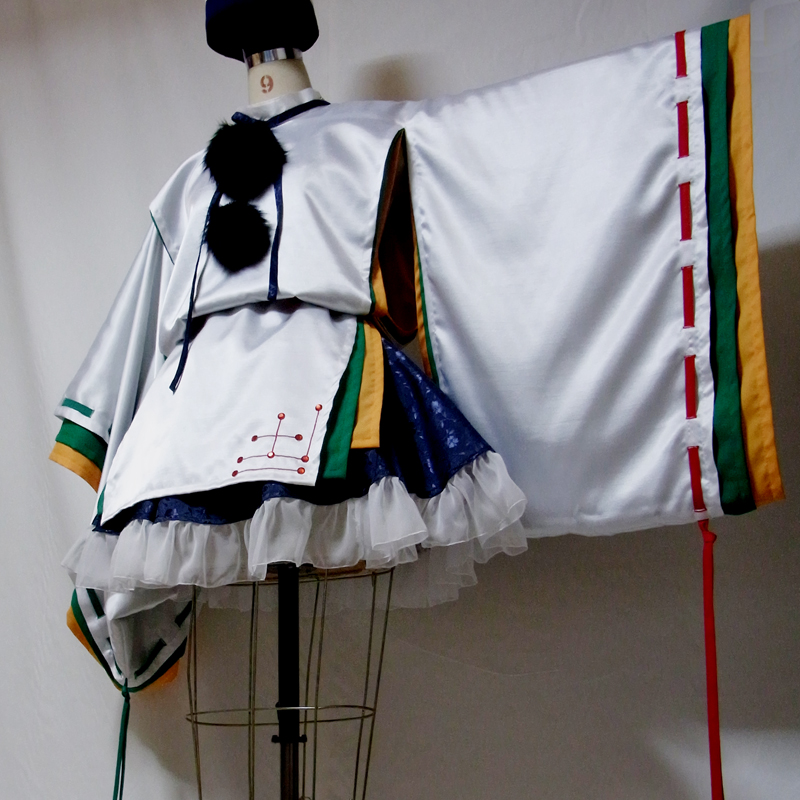
This is the pattern and instructions for making a KARIGINU (SUIKAN).
It's a traditional Japanese garment worn by nobles during the Heian period and other eras.
This pattern was used to create the white KARIGINU shown in the photo.
It's specifically designed for cosplay purposes, so it's a simplified version without lining or other complexities.
The neckline is round, and the sides are open widely.
It's worn by tying it around the waist with a sash, making the construction process quite simple.
Feel free to use this as a base pattern when making cosplay costumes for KARIGINU or SUIKAN.
Since the shape itself is simple, you can customize it to create various costumes.
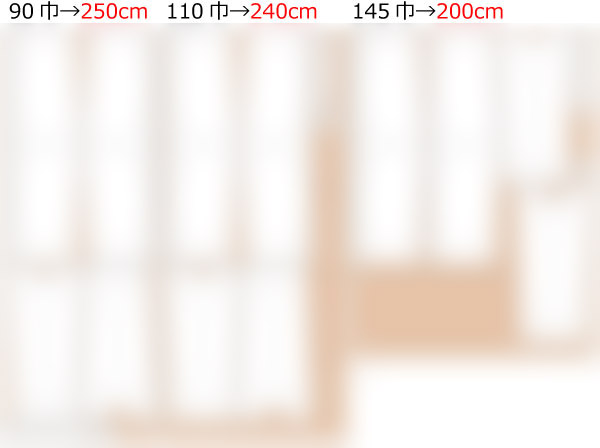
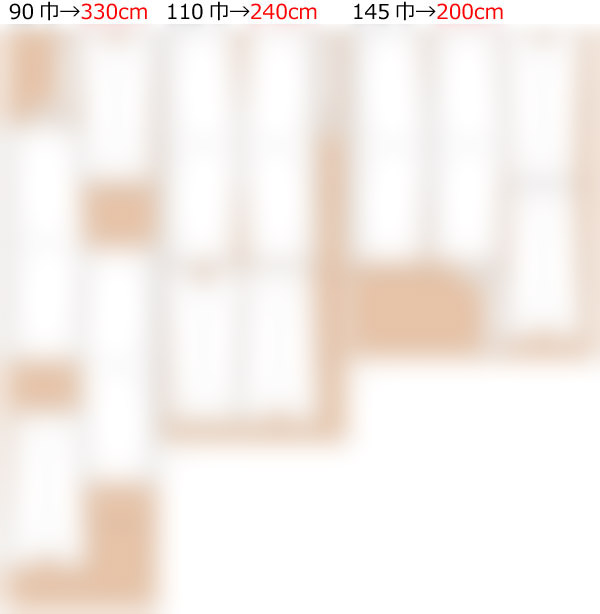
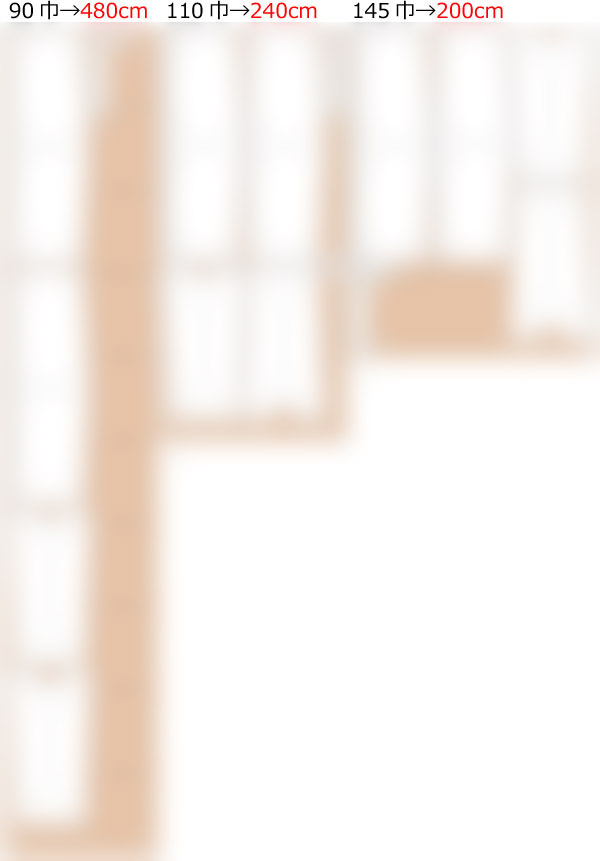
After printing, paste it according to the pasting line,Cut and use.
The pattern has a seam allowance, so it can be used as is.

I'm not so good at English.
So all explanations/instructions were translated using AI.
This is not always perfect and I apologise for any parts that are difficult to follow.
* There are various methods for sewing Kariginu, so please create it in the way that is easiest for you.
(1) Attach Fusible interlining to the “Collar” and “extension part.”
(2) Serge/overlock all edges of the “Sleeve” and all edges of the “bodice” except the neckline.
![]() How to Serge/overlock (sewing machine & overlock sewing machine)
How to Serge/overlock (sewing machine & overlock sewing machine)
(3) Create buttonholes (or slits) at the buttonhole positions on the “Sleeve.”
(4) Pre-fold and shape all edges of the “Sleeve” and all edges of the “bodice” except the neckline with an iron.
(5) Sew the shoulders of the “bodice,” but sew only up to the stop position on one side, then attach the “extension part” with stitching.
(6) Attach the “Sleeve” to the “bodice,” and secure all pre-folded 15mm(or 1/2in) edges of the “bodice” and “Sleeve” with stitching to finalize the shape.
(7) Sew the “Collar” onto the “bodice” while inserting it into place.
* Before sewing the neckline, make a few small slits for a cleaner shape.
(8) Attach snap buttons at the designated positions and thread a cord through the “Sleeve.”
If you cannot see the SHOP due to 403 error
Price: ¥900 (JPY)
Approx. USD — / EUR — (for reference)
![]()
![]()
Ladies' S size
A4 paper size 18 sheets

Ladies' S size
letter paper size 18 sheets

Ladies' M size
A4 paper size 18 sheets
Ladies' M size
letter paper size 18 sheets
Ladies' L size
A4 paper size 18 sheets
Ladies' L size
letter paper size 19 sheets


