


![]()
Comments are made using translation software.
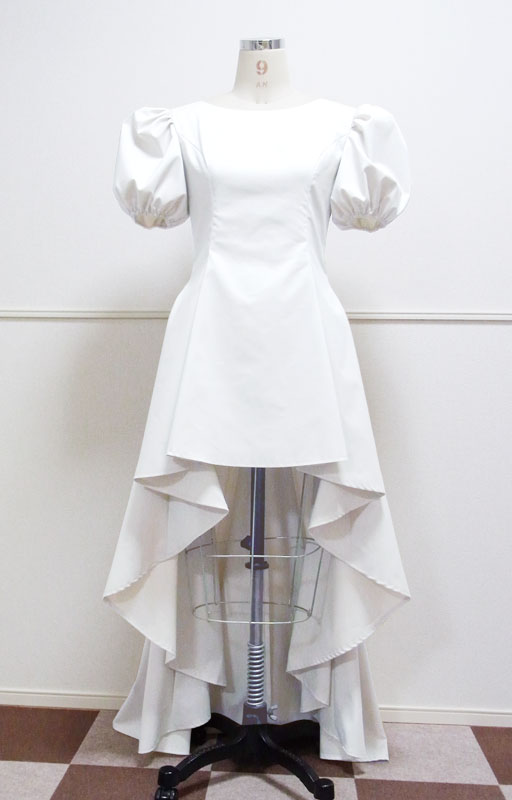
This is a pattern for a train dress that's been heavily requested and is easy to customize for wedding dresses and other dresses as well.
The sleeves are designed as puff sleeves.
Feel free to modify by changing the sleeves, creating a V-neck, or any other modifications you desire.
The shape extends longer towards the back hem, with a flared line. Similar to Train Dress I, it features a princess line with a 400-degree flare at the hem.
While the photo depicts a length where the hem trails, the pattern includes adjustment lines for length, allowing for alterations to a non-trailing hem.
It's recommended as a base pattern for personal modifications.
After printing, paste it according to the pasting line,Cut and use.
The pattern has a seam allowance, so it can be used as is.


I'm not so good at English.
So all explanations/instructions were translated using AI.
This is not always perfect and I apologise for any parts that are difficult to follow.
* Before cutting, please check the length of the garment on your body using the pattern stage and adjust as necessary.
* The original size is designed for the hem to brush the floor.
* If making a shorter version, confirm and adjust the cutting line on your body before cutting.
(1) Serge/overlock all side seams and shoulder seams of the “bodice.”
![]() How to Serge/overlock (sewing machine & overlock sewing machine)
How to Serge/overlock (sewing machine & overlock sewing machine)
(2) Sew the center back of the “Back bodice” up to the zipper position, then press the seam allowances open with an iron.
(3) Apply stay tape to the zipper area and sew the zipper in place.
(4) Sew the side seam of the “Front bodice” and “Front bodice side” together, then press the seam allowances open with an iron.
* For fabrics that don't hold their shape well, press the seam allowances open and secure them with topstitching.
(5) Sew the side seam of the “Back bodice” and “Back bodice side” together, then press the seam allowances open with an iron.
(6) Sew the shoulders and side seams of the “bodice” together, then press the seam allowances open with an iron.
(7) After applying Fusible interlining to the “Facing,” sew the “Front Facing” and “Back Facing” together. Press the seam allowances open and serge/overlock the outer edges.
(8) Attach the “Facing” to the “bodice,” turn it inside out, and shape it with an iron.
* Clip the seam allowance in any areas where the fabric pulls, then press with an iron to settle it.
(9) Serge/overlock the hem, then fold it up and sew it with a sewing machine.
(10) Serge/overlock the side seams of the “Sleeve,” sew the side seams together, and press the seam allowances open with an iron.
(11) Finish the “Sleeve” hem by either making a triple fold and inserting elastic or using rolled hemming with serge/overlock followed by sewing with rubber sewing thread.
* For lightweight fabrics, rubber sewing thread is recommended, while for thicker fabrics, regular elastic is preferable.
(12) Gather fabric at the “Sleeve” gathering position, sew it to the “bodice,” and serge/overlock the armhole.
(13) Attach hook & eye closures.
![]() How to sew a hook "bar eye" version
How to sew a hook "bar eye" version
* When attaching lining, use the Facing line as a reference to create the lining pattern.
If you cannot see the SHOP due to 403 error
Price: ¥800 (JPY)
Approx. USD — / EUR — (for reference)
![]()
![]()
Children's 140 size
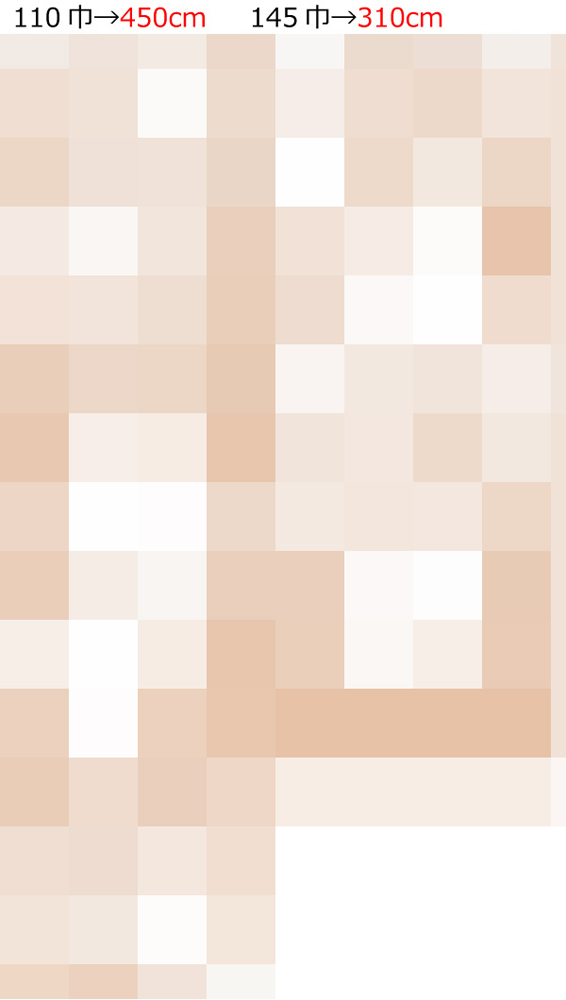
B77.5cm W59.5cm length133.5cm(length118.5cm) 32sheets of A4 size
Sleeve parts 39 size

Children's 10 size
bust30.5in waist23.4in length52.6in(length46.7in) 36sheets of letter size
Sleeve parts 39 size

Ladies' S size
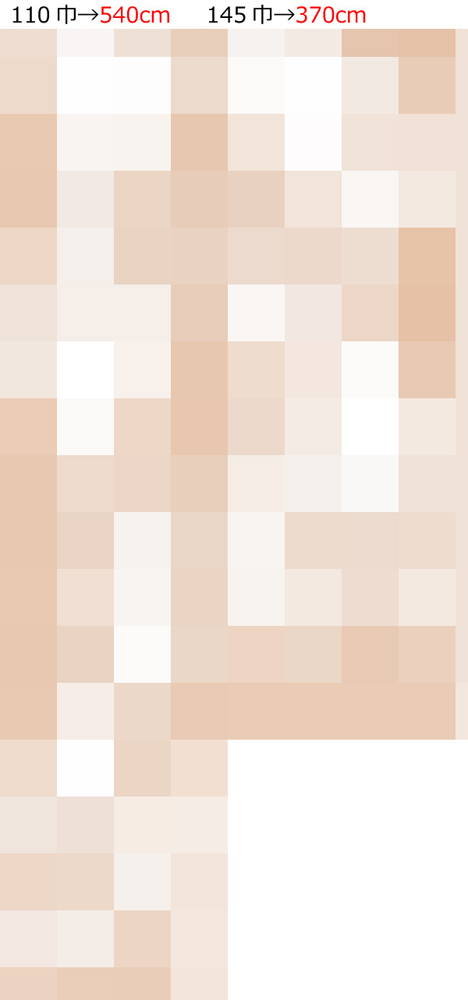
B85cm W64cm length144.5cm(length128cm) 37sheets of A4 size
Sleeve parts 42 size
Ladies' S size
bust33.5in waist25.2in length56.7in(length50.4in) 41sheets of letter size
Sleeve parts 42 size
Ladies' M size
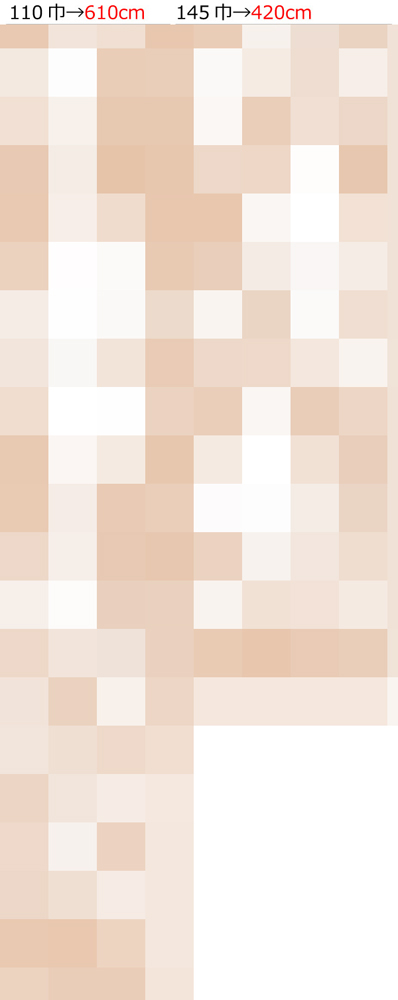
B92cm W71cm length150cm(length132cm) 40sheets of A4 size
Sleeve parts 43 size

Ladies' M size
bust35.8in waist27.6in length59.1in(length52in) 43sheets of letter size
Sleeve parts 43 size
Ladies' L size
B102cm W79cm length151cm(length134cm) 41sheets of A4 size
Sleeve parts 45 size
Ladies' L size
bust40.2in waist31.1in length59.4in(length52.8in) 44sheets of letter size
Sleeve parts 45 size
Ladies' LL size
B108cm W86cm length155cm(length137cm) 43sheets of A4 size
Sleeve parts 47 size
Ladies' LL size
bust42.5traindress2in waist33.9in length61in(length53.9in) 50sheets of letter size
Sleeve parts 47 size
Men's L size
B112cm W89.5cm length165cm(length147cm) 49sheets of A4 size
Sleeve parts 53 size
Men's L size
bust44.1in waist35.2in length64.9in(length57.9in) 55sheets of letter size
Sleeve parts 53 size
Men's LL size
B116cm W93cm length171cm(length152cm) 56sheets of A4 size
Expanded sleeve parts 56 sizes to 103.2%

Men's LL size
bust45.7in waist36.6in length67.3in(length59.8in) 58sheets of letter size
Expanded sleeve parts 56 sizes to 103.2%


