



Comments are made using translation software.
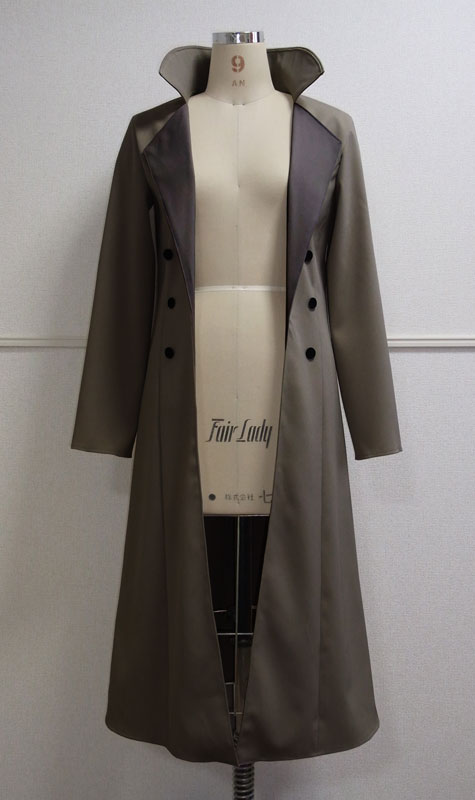
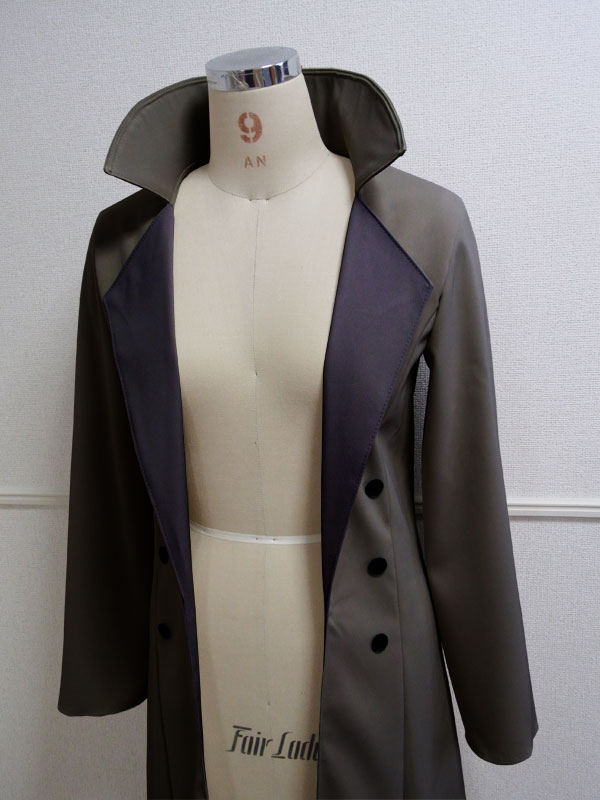
Here is the pattern for the stand collar coat, which was requested frequently.
The front design is open wide and is meant to be worn without closing.
Therefore, the bust and waist sizes are set sizes during patterning.
Although it's called a coat, the sleeves are slim-fit, giving it a sharp design.
Both the front and back bodice feature a design with a slight flare from the waist to the hem.
There is a decorative belt designed at the waist of the back bodice.
After printing, paste it according to the pasting line,Cut and use.
The pattern has a seam allowance, so it can be used as is.


* When making a fully lined garment, the "front facing" is not needed, but the fusible interlining for the lapel is still required.
(1) Apply fusible interlining to the "front facing" and "back facing". Sew the "facing" pieces together, then press the seam allowances open with an iron. Finish the outer raw edge.
 How to Serge/overlock (sewing machine & overlock sewing machine)
* Cut out the lapel section of fusible interlining for the "Front bodice", then apply it to the lapel position of the "Front bodice" with an iron.
(2) Finish the raw edges of the shoulder and side seams of the "Front bodice" and "Back bodice". Finish the side raw edges of the "Front bodice side" and "Back bodice side".
(3) Apply fusible interlining to the decorative belt. Sew it with right sides together, leave an opening, then turn it right side out. Shape it with topstitching.
* If the fabric is thick, fold the seam allowances inward with an iron and secure them with topstitching. This method gives a cleaner finish.
(4) Sew the center back seam of the "Back bodice", then press the seam allowances open with an iron. Attach the decorative belt to the "Body" at the belt attachment position when sewing on the decorative buttons.
(5) Sew all "Body" pieces together, then press the seam allowances open with an iron. Finish the raw edge of the hem and fold it up by 1 cm (0.5 in).
* If the fabric is difficult to shape with an iron, such as nylon or leather, use topstitching to keep the seam allowances and edges in place.
(6) Apply fusible interlining to the "collar stand". Leave the neckline side open and sew the other three sides. Turn it right side out and shape it with an iron.
(7) Place the "Collar stand" between the "Body" and "facing". Sew the "facing" to the "Body" while holding the "Collar stand" between them. Turn the sewn section right side out and shape it with an iron.
(8) Fold up the hem and stitch it in place with a sewing machine.
(9) Finish the raw edges of the side seam and hem of the "Sleeve". Sew the side seam together. Fold up the "Sleeve" hem by 1 cm (0.5 in) with an iron, then stitch it in place with a sewing machine.
(10) Attach the "Sleeve" to the "Body", then finish the raw edge of the armhole.

If you cannot see the SHOP due to 403 error


Children's 140 size
Shoulder width 35cm bust 81cm length 95.5cm A4 paper size 20 sheets
Sleeve parts 39 size

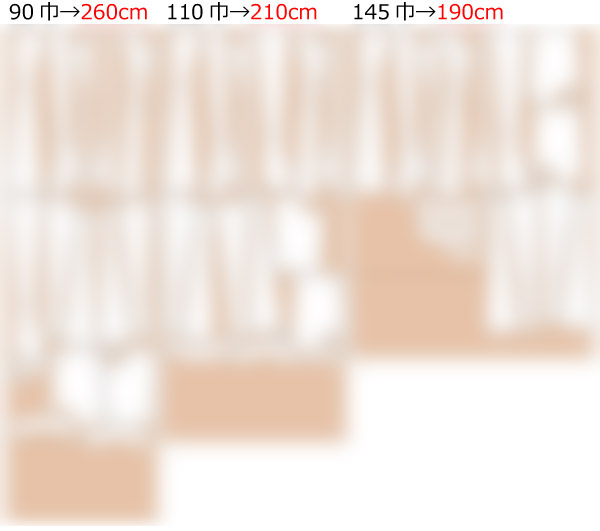
Children's 10 size
Shoulder width 13.8in bust 31.9in length 37.6in letter paper size 23 sheets
Sleeve parts 39 size

Ladies' S size
Shoulder width 38.5cm bust 90.5cm waist 85.5cm length 103.5cm A4 paper size 26 sheets
Sleeve parts 43 size
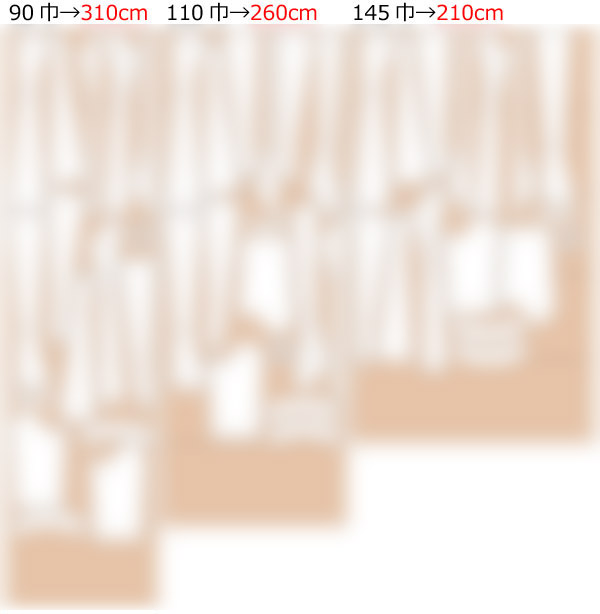
Ladies' S size
Shoulder width 15.2in bust 35.6in waist 33.7cm length 40.7in letter paper size 28 sheets
Sleeve parts 43 size
Ladies' M size
Shoulder width 39.5cm bust 93cm waist 88cm length 111cm A4 paper size 28 sheets
Sleeve parts 44 size
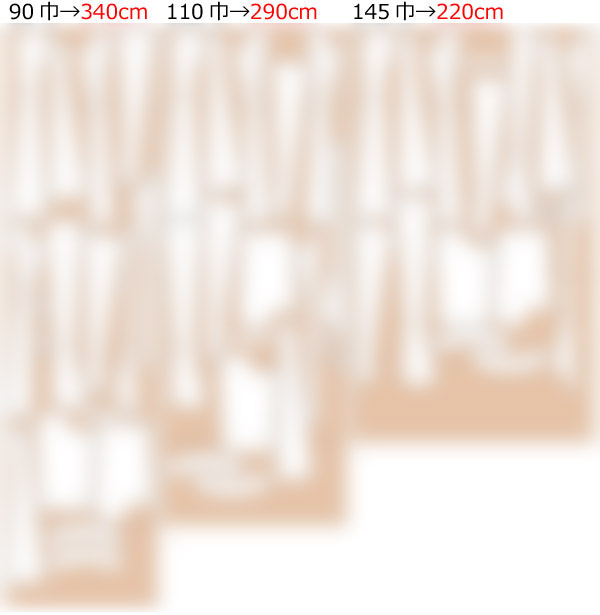
Ladies' M size
Shoulder width 15.6in bust 36.6in waist 34.6cm length 43.7in letter paper size 30 sheets
Sleeve parts 44 size
Ladies' L size
Shoulder width 40.5cm bust 101cm waist 95.5cm length 115cm A4 paper size 28 sheets
Sleeve parts 48 size

Ladies' L size
Shoulder width 15.9in bust 39.8in waist 37.6cm length 45.3in letter paper size 32 sheets
Sleeve parts 48 size
Ladies' LL size
Shoulder width 41.5cm bust 109.5cm waist 104cm length 120cm A4 paper size 31 sheets
Sleeve parts 52 size
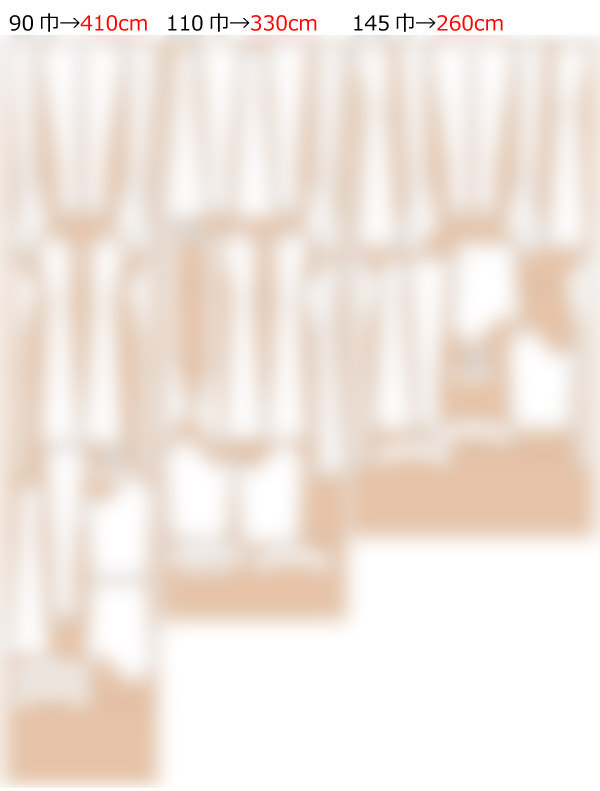
Ladies' LL size
Shoulder width 16.3in bust 43.1in waist 40.9cm length 47.2in letter paper size 34 sheets
Sleeve parts 52 size
Men's L size
Shoulder width 44.5cm bust 115cm waist 109.5cm length 125cm A4 paper size 33 sheets
Sleeve parts 53 size
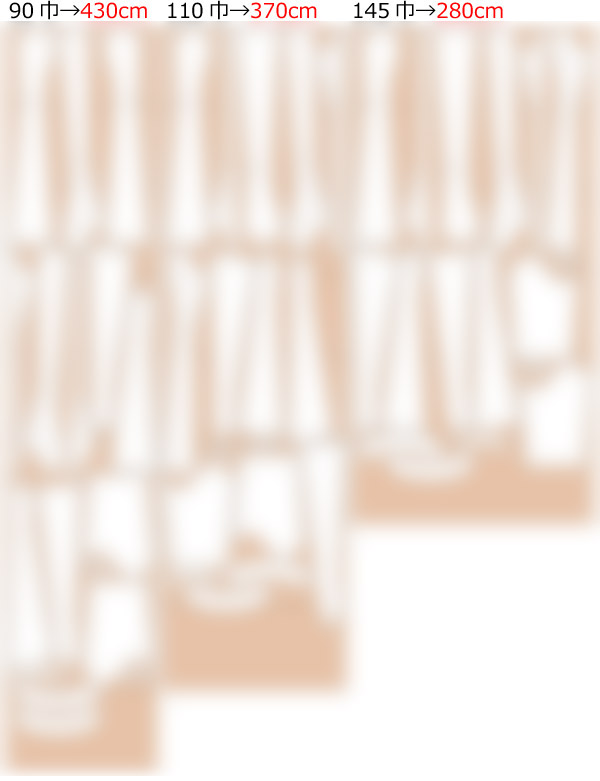
Men's L size
Shoulder width 17.5in bust 45.3in waist 43.1cm length 49.2in letter paper size 38 sheets
Sleeve parts 53 size
Men's LL size
Shoulder width 45.5cm bust 121cm waist 114.5cm length 131cm A4 paper size 38 sheets
Expanded sleeve parts 56 sizes to 101.6%
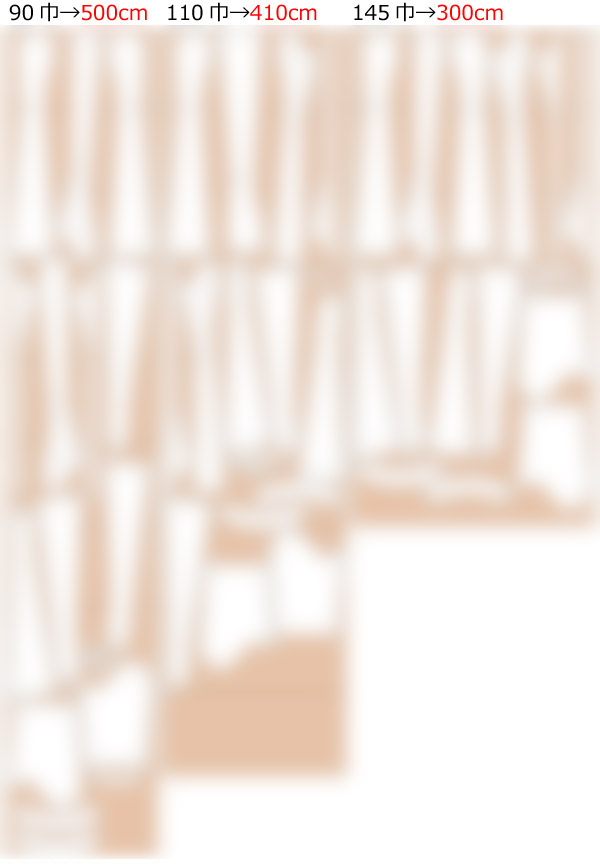
Men's LL size
Shoulder width 17.9in bust 47.6in waist 45.1cm length 51.6in letter paper size 42 sheets
Expanded sleeve parts 56 sizes to 101.6%


 Paper pattern & how to make
 How to use Paper pattern
 Each process How to make
 Shop
Shop
 X(Twitter)
 pinterest
 Instagram
 facebook
 Contact Us/Q&A
 Japanese Site