


![]()
This is a sewing pattern and tutorial for a safari hat .
You can make a cute safari hat by using washer fabric or fabric with a slightly wrinkled texture.
It is a shallow type, so if you prefer a deeper hat, make the side height a little longer.
The main decoration is topstitching . Using slightly darker thread in the same color family will make the stitching stand out beautifully.
Adding large eyelets as decoration is also recommended for a stylish accent.
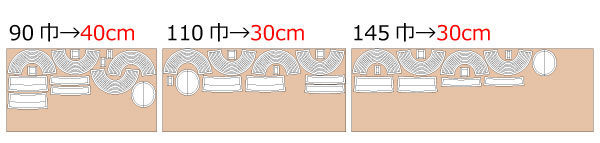
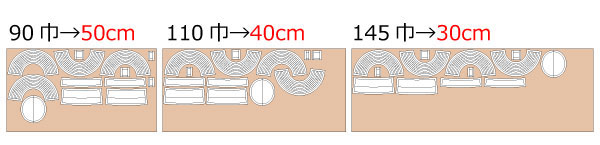
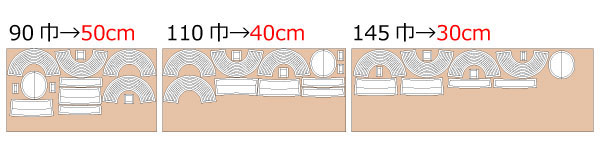
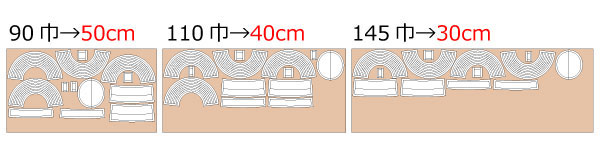
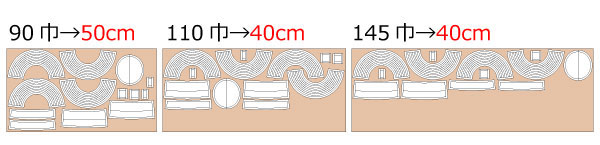
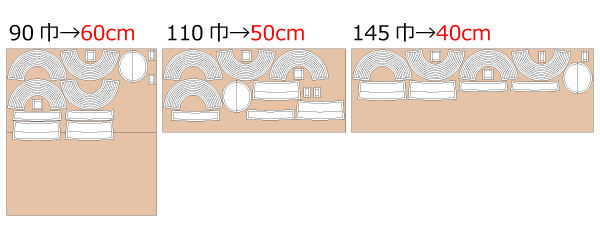
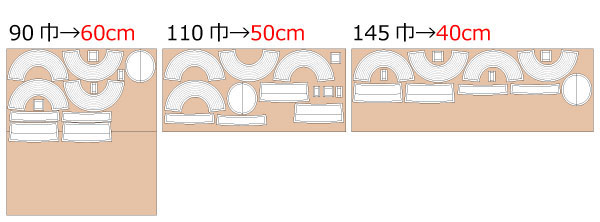
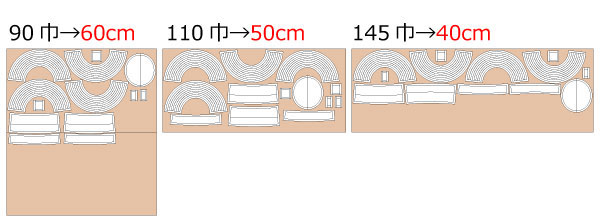
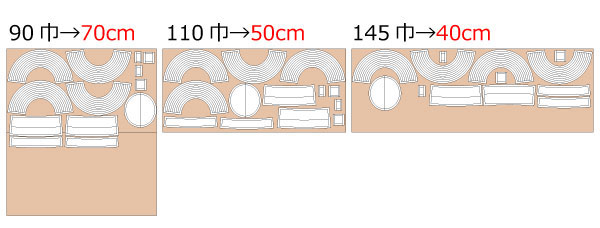
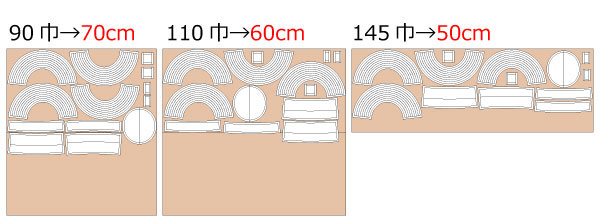
After printing, align and paste the pages along the matching lines, then cut out the pattern. Seam allowances are already included , so you can start sewing right away.

(1) Sew the side pieces together and topstitch the seam.
(2) Fold the top and bottom edges of the belt with an iron and stitch.
(3) Fold the belt loops with an iron and stitch.
(4) Sew the upper ends of the belt loops to the side, facing upward, on the wrong side.
(5) Attach decorative rivets to the side.
(6) Finish the edges of the top and the upper part of the side.
(7) Sew the top and side together, then press the seam open and topstitch.
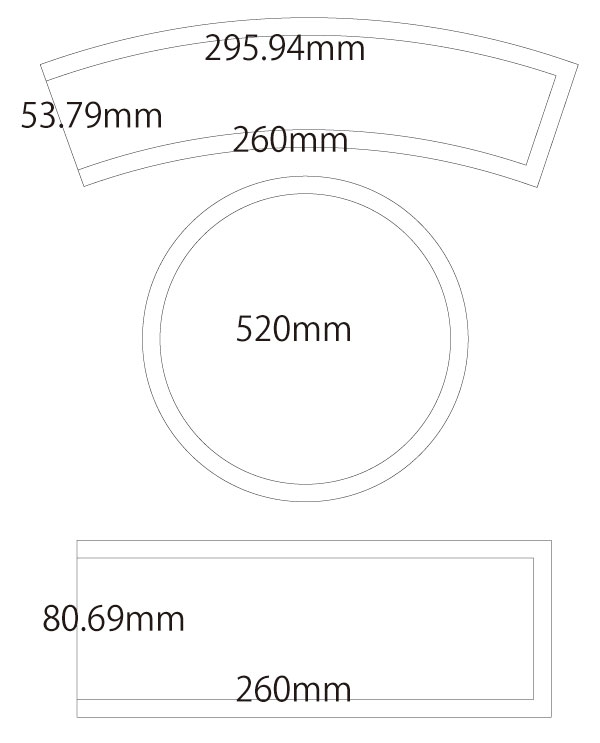
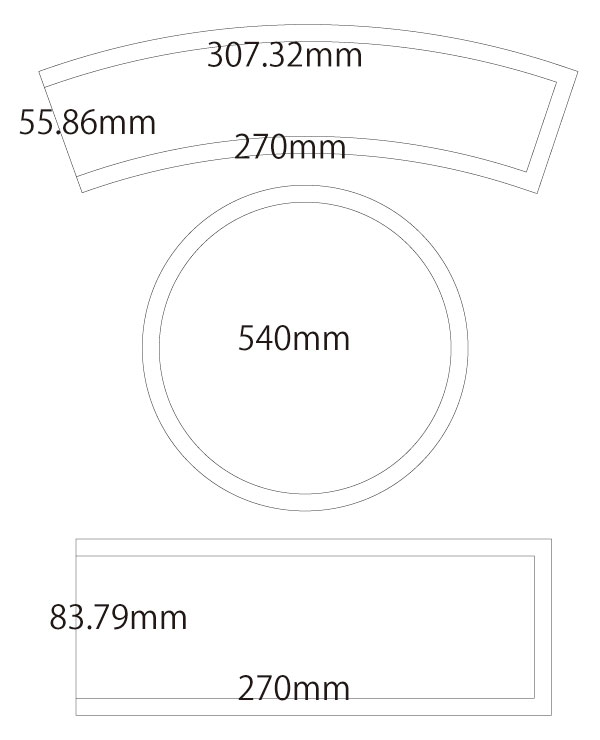
(8) Sew the brim into a loop, then sew the two brim pieces together. Turn it right side out and shape with an iron.
* Trim the seam allowance before turning right side out.
(9) Add decorative topstitching to the brim.
(10) Sew the brim and side together.
* At this step, sew while sandwiching the lower ends of the belt loops.
(11) Attach eyelets at the marked positions.
(12) Thread the cord through and attach the cord stopper to complete.
![]()
Free Paper Patterns are possible because of your support.
If you use our patterns, please share them on social media and tell your friends.
Your support helps DRCOS continue to provide patterns in the future.
![]()
![]()
44cm
head size 44cm 2sheets of A4 size(or legal size)

5 1/2(17.3in)
head size 17.3in 3 sheets of letter size

46cm
head size 46cm 2sheets of A4 size(or legal size)
5 3/4(18.1in)
head size 18.1in 3 sheets of letter size
48cm
head size 48cm 3sheets of A4 size(or legal size)
6(18.9in)
head size 18.8in 3 sheets of letter size
50cm
head size 50cm 3sheets of A4 size(or legal size)
6 1/4(19.6in)
head size 19.6in 4 sheets of Aletter size
52cm
head size 52cm 3sheets of A4 size(or legal size)
6 1/2(20.4in)
head size 20.4in 4 sheets of letter size
54cm
head size 54cm 3sheets of A4 size(or legal size)
6 3/4(21.2in)
head size 21.2in 4 sheets of letter size
56cm
head size 56cm 3sheets of A4 size(or legal size)
7(22in)
head size 22in 4 sheets of letter size
58cm
head size 58cm 4sheets of A4 size(or legal size)
7 1/4(22.8in)
head size 22.8in 4 sheets of letter size
60cm
head size 60cm 4sheets of A4 size(or legal size)
7 1/2(23.5in)
head size 23.6in 4 sheets of letter size
62cm
head size 62cm 4sheets of A4 size(or legal size)

7 3/4(24.3in)
head size 24.4in 5 sheets of letter size
64cm
head size 64cm 4sheets of A4 size(or legal size)
8(25.1in)
head size 25.1in 5 sheets of letter size


