


This is a sewing pattern and tutorial for a flat collar jacket.
This pattern was made from a requested design.
The design was made as simple as possible. It has no darts, and the body line is adjusted only with the Back Bodice line.
The Flat Collar is made with a simple structure. It is placed between the Bodice and Facing, and then sewn in place.
If you wear a shirt with a collar under this jacket, make the jacket without the Flat Collar.
Snap buttons may feel difficult until you get used to them, but they are easy to attach once you understand the method.
This jacket has a simple line, so it is also suitable as a base pattern.
After printing, align the pages along the guide lines, paste them together, and cut out the pattern pieces. Seam allowances are included, so you can use the pattern as-is.


*Please press all sewn seams with an iron.
*This costume does not include a lining.
*If a lining is needed, use the Facing lines on each Bodice piece. Add seam allowance to those lines and make the lining pattern.
(1) Apply fusible interfacing to the Front Facing, Back Facing, Flat Collar, and half of each Cuff.
(2) Sew the Front Facing and Back Facing together. Press the seam allowances open, and finish the outer edge.
 How to Serge/overlock (sewing machine & overlock sewing machine)
(3) Sew the Flat Collar pieces together. Turn the Collar right side out, and shape it with an iron.
(4) Finish the shoulder and side edges of the Front Bodice, the shoulder, side, and center back edges of the Back Bodice, and both side edges of the Sleeves.
(5) Sew the center back seam of the Back Bodice. Sew the shoulder seams and side seams of the Bodice. Press the seam allowances open.
(6) Sew the center back seam of the Decorative Hem. Press the seam allowances open.
(7) Fold the upper seam allowance of the Decorative Hem with an iron to shape it. Then stitch the Decorative Hem to the Bodice.
(8) Finish the hem edge of the Bodice. Place the Flat Collar between the Bodice and Facing, and sew them together.
(9) Sew the Sleeves together. Press the seam allowances open.
(10) Sew the Cuffs. Shape them with an iron so they can be folded around the sleeve edge. Stitch the Cuffs to the Sleeves.
How to sew sleeves and sleeve cuffs
(11) Attach the Sleeves to the Bodice, and finish the armhole edges.
(12) Make buttonholes on the Bodice and attach the buttons.
*Gold snap buttons are easier to attach because buttonholes are not needed. Please see the supplies section on the site for details.

If you cannot see the SHOP due to 403 error
Price: ¥600 (JPY)
Approx. USD — / EUR — (for reference)


Children's-140
shoulder33.5cm bust79cm length56.5cm 14sheets of A4 size
Sleeve parts 40 size

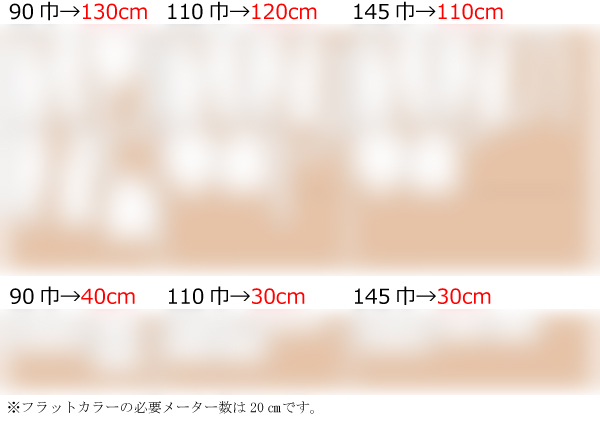
Children's-10
shoulder13.2in bust31.1in length22.2in 15 sheets of letter size
Sleeve parts 40 size

Ladies'-S
shoulder40.5cm bust89cm length60.5cm 16sheets of A4 size
Sleeve parts 44 size
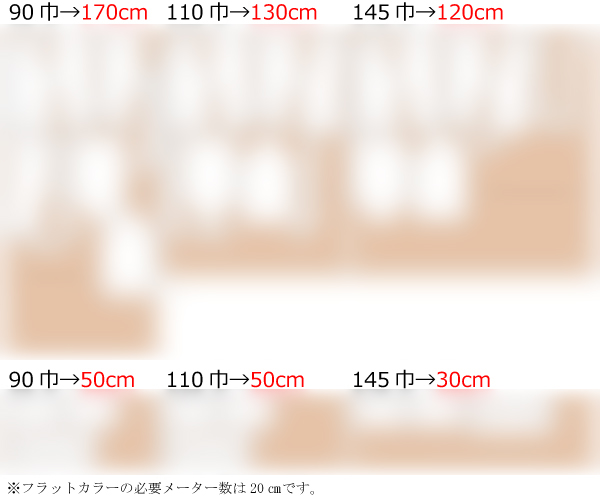
Ladies'-S
shoulder15.9in bust35in length23.8in 19 sheets of letter size
Sleeve parts 44 size
Ladies'-M
shoulder42cm bust96cm length62.5cm 18sheets of A4 size
Sleeve parts 47 size
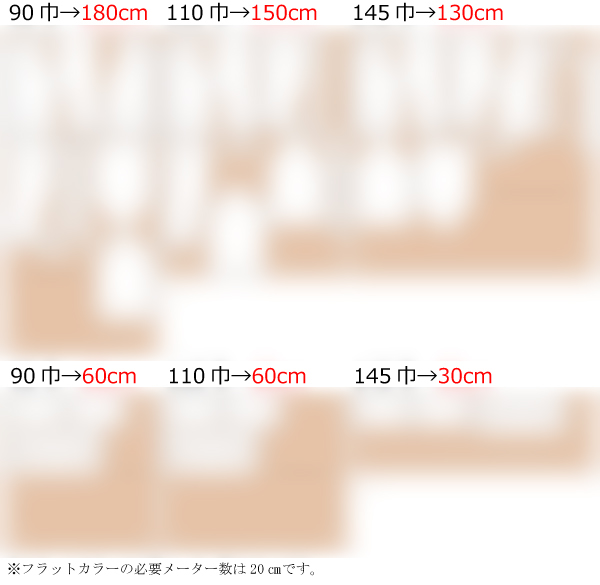
Ladies'-M
shoulder16.5in bust37.8in length24.6in 19 sheets of letter size
Sleeve parts 47 size
Ladies'-L
shoulder42.5cm bust104cm length64.5cm 19sheets of A4 size
Sleeve parts 50 size
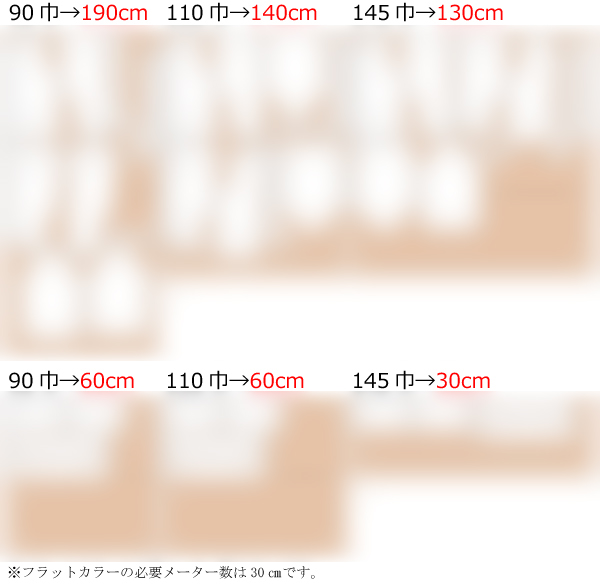
Ladies'-L
shoulder16.7in bust40.9in length25.4in 20 sheets of letter size
Sleeve parts 50 size
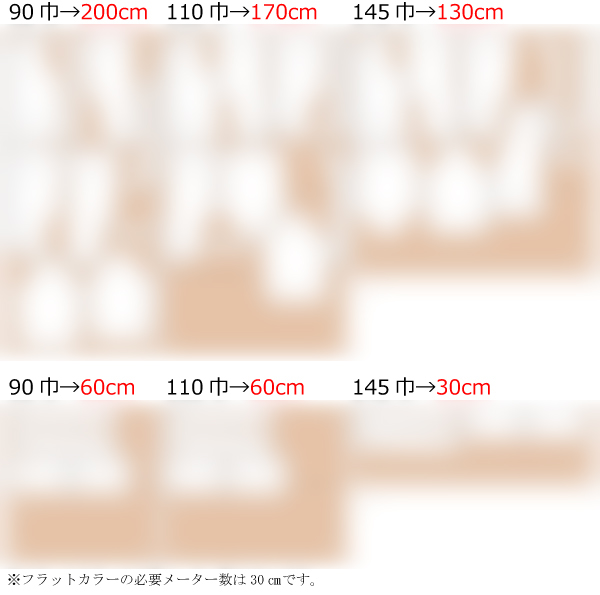
Ladies'-LL
shoulder43.5cm bust110cm length67.5cm 20sheets of A4 size
Sleeve parts 54 size
Ladies'-LL
shoulder17.1in bust43.3in length26.6in 21 sheets of letter size
Sleeve parts 54 size
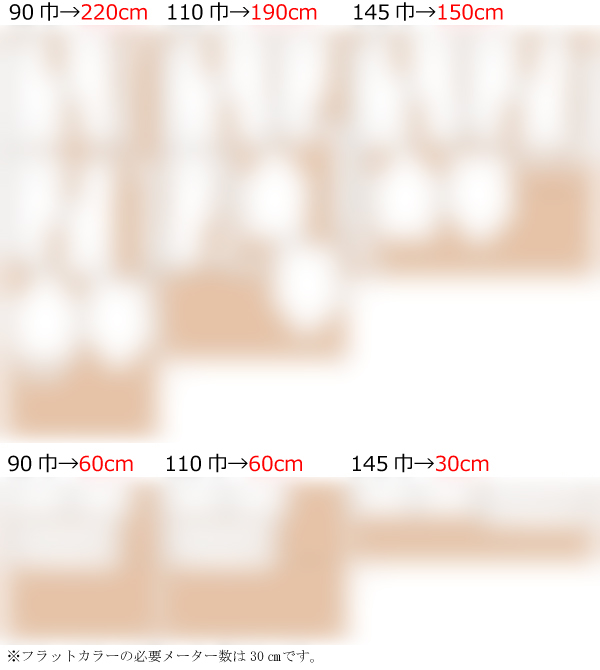
Men's-L
shoulder46cm bust115cm length69.5cm 20sheets of A4 size
Expanded sleeve parts 56 size to 104%
Men's-L
shoulder18.1in bust45.3in length27.4in 22 sheets of letter size
Expanded sleeve parts 56 size to 104%
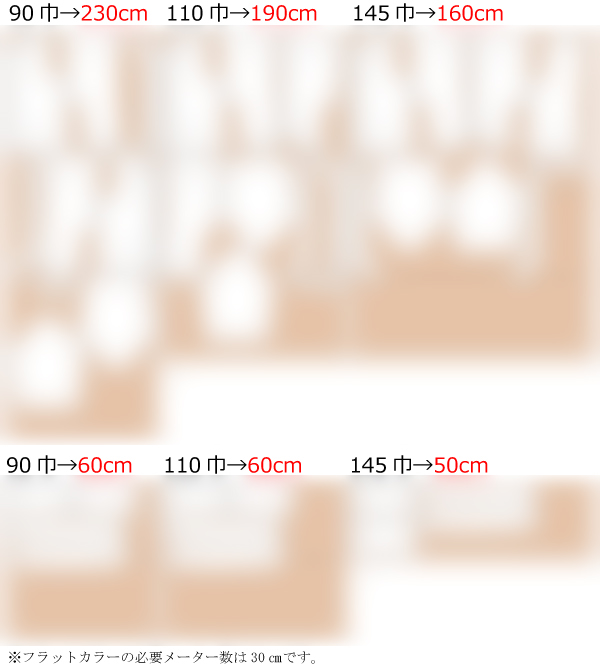
Men's-LL
shoulder47cm bust120cm length72cm 22sheets of A4 size
Expanded sleeve parts 56 size to 109.3%
Men's-LL
shoulder18.5in bust47.2in length28.3in 25 sheets of letter size
Expanded sleeve parts 56 size to 109.3%


 Paper pattern & how to make
 How to use Paper pattern
 Each process How to make
 Shop
Shop
 X(Twitter)
 pinterest
 Instagram
 facebook
 Contact Us/Q&A
 Japanese Site