


![]()
Simple sewing instructions are written on the pattern paper.
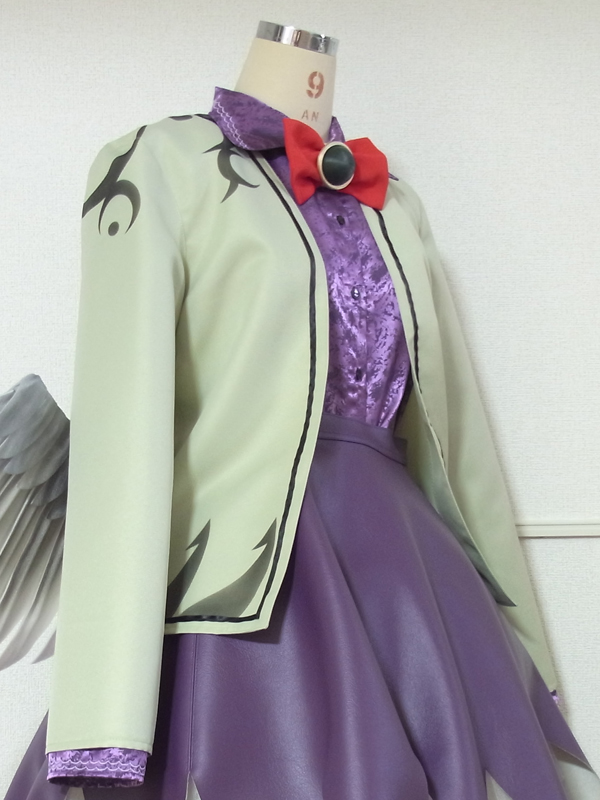
This pattern set includes a collarless bolero jacket with an open front, and a blouse designed to match the jacket.
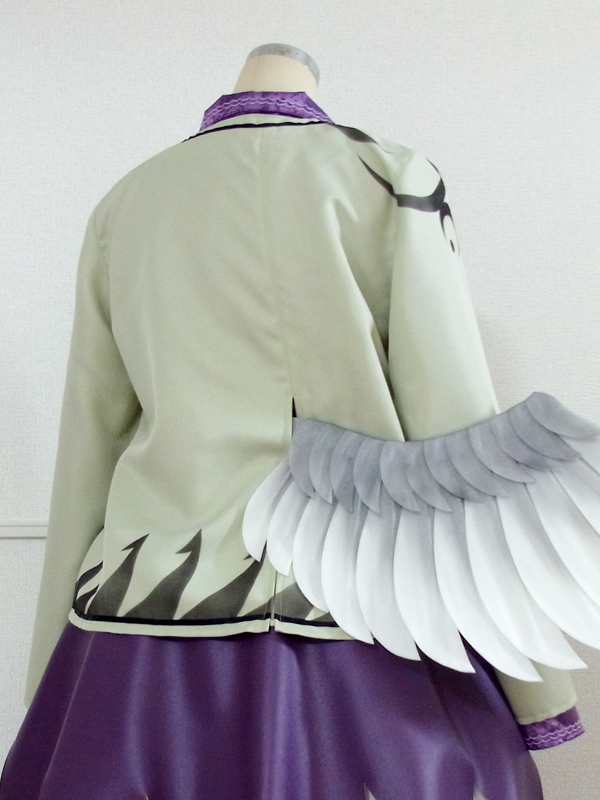
The back of the jacket has openings for wings, as shown in the reference photo. This is useful when making cosplay costumes with wings.
When the wings are not used, the zipper can be closed to cover the openings.
The jacket can also be made without the openings.
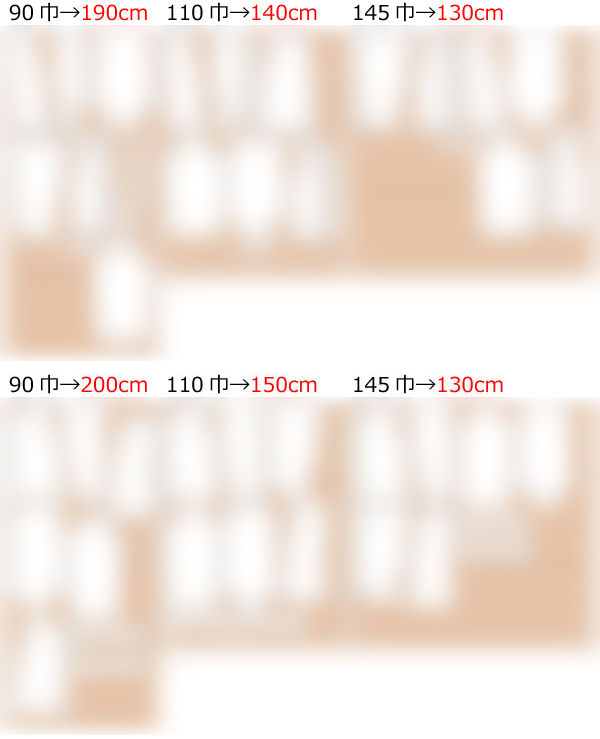
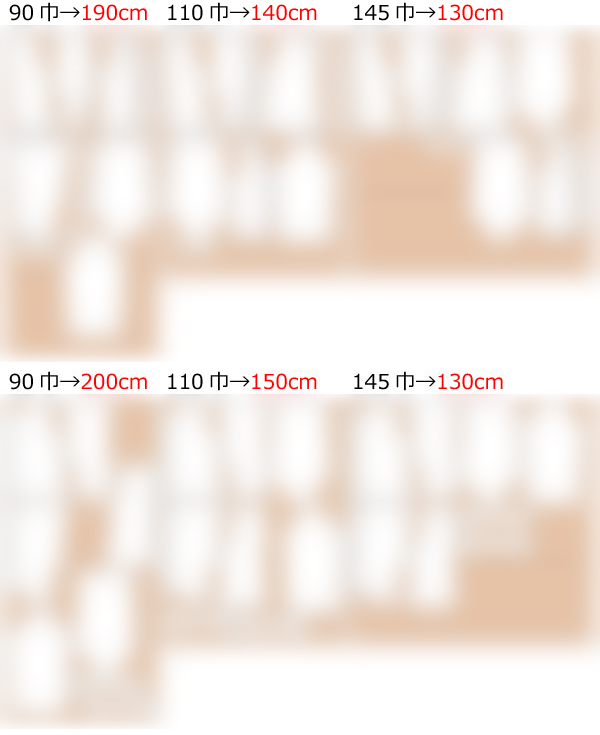
After printing, align the pages along the guide lines, paste them together, and cut out the pattern pieces. Seam allowances are included, so you can use the pattern as-is.


Jacket Sewing Steps
* Attach the decoration pieces before sewing.
(1) Apply fusible interfacing to the facing. Sew the facing pieces together, press the seam allowances open with an iron, and finish the outer raw edge.
![]() How to Serge/overlock (sewing machine & overlock sewing machine)
How to Serge/overlock (sewing machine & overlock sewing machine)
(2) Finish the raw edge of the zipper attachment area on the back bodice. Apply stay tape to the zipper position, and finish the hem raw edge.
* If the zipper opening for one wing is not needed, cut the back bodice at the center line and place the center line on the fold. Step (2) is not required.
(3) Finish the shoulder and side raw edges of the front bodice and back bodice. Sew the shoulder seams and side seams together, and press the seam allowances open with an iron.
(4) Finish the hem raw edge, then sew the facing to the bodice.
* When attaching a zipper, finish the raw edges first. Attach the zipper before sewing the facing and finishing the hem, and sew the zipper together during the facing and hem finishing process.
* Refer to the facing and hem finishing process.
(5) Finish the sleeve side raw edges and sleeve hem raw edges. Sew the sleeve side seams together, and press the seam allowances open with an iron.
(6) Fold the sleeve hems up 1 cm (0.5 in) with an iron, and topstitch with a sewing machine.
(7) Attach the sleeves to the bodice and finish the armhole raw edges.
Blouse Sewing Steps
(1) Fold the front bodice opening into a triple fold with an iron. Sew the folded edge in place.
(2) Finish the shoulder and side raw edges of the front bodice and back bodice. Sew the shoulder seams and side seams together, and press the seam allowances open with an iron.
(3) Finish the hem raw edge of the bodice. Fold the hem up 1 cm (0.5 in), and topstitch with a sewing machine.
(4) Apply fusible interfacing to the collar.
(5) Sew the collar pieces together. Turn the collar right side out and shape it with an iron.
* When shaping the collar, prepare it so it can be inserted between the bodice layers.
(6) Cut the collar attachment position. Fold the extra fabric to the inside and sew the folded edge in place with topstitching.
(7) Align the collar with the center of the bodice. Insert the collar between the bodice layers and sew it in place.
(8) Finish the sleeve side raw edges. Sew the sleeve side seams together, and press the seam allowances open with an iron.
(9) Finish the sleeve hem raw edges. Fold the sleeve hems up 1 cm (0.5 in), and topstitch with a sewing machine.
(10) Attach the sleeves to the bodice and finish the armhole raw edges.
(11) Make buttonholes and sew on the buttons.
If you cannot see the SHOP due to 403 error
Price: ¥1000 (JPY)
Approx. USD — / EUR — (for reference)
![]()
![]()
Ladies' S size
shoulder width39cm bust85cm A4 paper size 29 sheets
Sleeve parts: blouse 42 size / jacket 46 size

Ladies' S size
shoulder width15.4in bust33.5in letter paper size 32 sheets
Sleeve parts: blouse 42 size / jacket 46 size

Ladies' M size
shoulder width40cm bust92cm A4 paper size 32 sheets
Sleeve parts: blouse 43 size / jacket 47 size
Ladies' M size
shoulder width15.7in bust36.2in letter paper size 33 sheets
Sleeve parts: blouse 43 size / jacket 47 size
Ladies' L size
shoulder width41cm bust100cm A4 paper size 34 sheets
Sleeve parts: blouse 44 size / jacket 48 size
Ladies' L size
shoulder width16.1in bust39.4in letter paper size 35 sheets
Sleeve parts: blouse 44 size / jacket 48 size
Ladies' LL size
shoulder width42cm bust106cm A4 paper size 36 sheets
Sleeve parts: blouse 49 size / jacket 51 size
Ladies' LL size
shoulder width16.5in bust41.7in letter paper size 36 sheets
Sleeve parts: blouse 49 size / jacket 51 size


