


![]()
Simple sewing instructions are written on the pattern paper.
This pattern is for people who want to make a blazer, but think a tailored collar is difficult and troublesome to make.
This is a beginner-friendly blazer pattern. It is made as easy as possible, and it looks like a tailored collar.
The collar part has a simple structure. It is only inserted between the facing pieces.
The pockets are box pockets, but you can make the sewing easier by using fake dummy pockets.
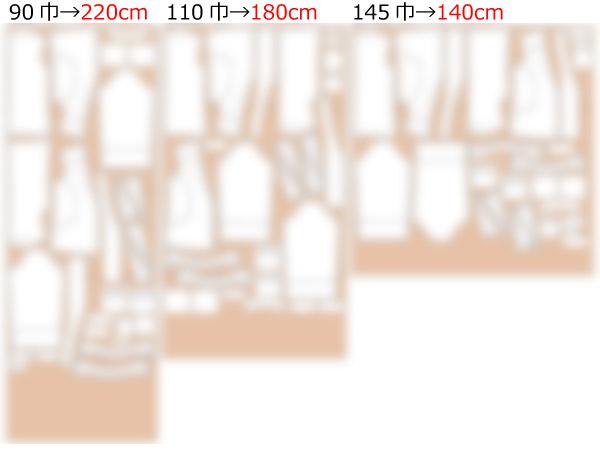
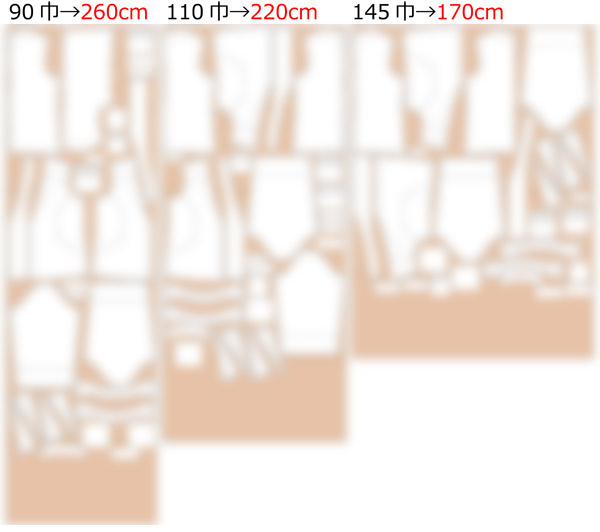
After printing, align the pages along the guide lines, paste them together, and cut out the pattern pieces. Seam allowances are included, so you can use the pattern as-is.


* When making a full lining version, use the facing lines as a guide and create the lining pattern.
(1) Apply fusible interfacing to the front facing, back facing, fake lapel, collar, and welt pieces for welt pockets (1) and (2). Sew the facing pieces together, press the seam allowances open with an iron, and finish the edges.
![]() How to Serge/overlock (sewing machine & overlock sewing machine)
How to Serge/overlock (sewing machine & overlock sewing machine)
(2) Sew the fake lapel and collar together, and prepare them so they can be inserted between the layers.
* If you will finish the fake lapel and collar with bias tape, do that here.
(3) Sew the darts on the front bodice and press the seam allowances to one side with an iron.
(4) Make welt pocket (1) on the chest and welt pocket (2) on the waist.
* If you will make dummy pockets instead of real pockets, fold the welt pieces inward and stitch them to the welt pocket positions.
* For how to make welt pieces, you can also refer to this explanation.
(5) Finish the shoulder edges, side edges, and center back edges of the front and back bodice pieces. Sew the shoulder seams, side seams, and center back seam together. Press the seam allowances open with an iron, and finish the hem edge.
(6) Temporarily secure the fake lapel and collar at the matching positions.
(7) Sew the facing to the body while inserting the fake lapel and collar between the layers.
(8) When turning the facing right side out, trim bulky seam allowance areas and tight areas. Then finish the hem.
(9) Sew the buttons to the button positions on the right front bodice, and make buttonholes on the left front bodice.
* Make the buttons and buttonholes through the facing as well, so the facing is fixed in place.
(10) Finish the sleeve underarm edges and sleeve hem edges. Sew the sleeve underarm seams together, and press the seam allowances open with an iron.
* If you will finish the sleeves with bias tape, sew the bias tape before finishing the edges.
(11) Fold the sleeve hems inward by 1 cm (0.5 in) and stitch with a sewing machine.
(12) Attach the buttons to the sleeves. Sew the sleeves to the body, and finish the armholes.
* If the fake lapel lifts up, stitch the back side to the body so the stitches are not visible from the outside.
If you cannot see the SHOP due to 403 error
Price: ¥700 (JPY)
Approx. USD — / EUR — (for reference)
![]()
![]()
Ladies' S size
shoulder width45.5cm bust95cm length61.5cm A4 paper size 19 sheets
Sleeve parts 43 size

Ladies' S size
shoulder width17.9in bust37.4in length24.2in letter paper size 20 sheets
Sleeve parts 43 size

Ladies' M size
shoulder width46.5cm bust103cm length64.5cm A4 paper size 19 sheets
Sleeve parts 45 size

Ladies' M size
shoulder width18.3in bust40.6in length25.4in letter paper size 20 sheets
Sleeve parts 45 size
Ladies' L size
shoulder width47.5cm bust111cm length68cm A4 paper size 21 sheets
Sleeve parts 49 size

Ladies' L size
shoulder width18.7in bust43.7in length26.8in letter paper size 21 sheets
Sleeve parts 49 size
Ladies' LL size
shoulder width48.5cm bust116cm length71.5cm A4 paper size 21 sheets
Sleeve parts 54 size
Ladies' LL size
shoulder width19.1in bust45.7in length28.1in letter paper size 23 sheets
Sleeve parts 54 size


