


![]()
Comments are made using translation software.
This is a base pattern created for those who wish to make a tight-fitting dress tailored to their own image.
We've adjusted and placed darts multiple times to accentuate the body's lines, making it an excellent base pattern.
The neckline and armholes are also tight-fitting, so please be cautious when checking the size.
It's primarily designed to be used with stretchy fabrics.
Even if the sizes on the pattern appear small, stretchy fabrics will compensate for that, so please keep that in mind.
While it can be used directly as a tight dress, we've also included adjustment lines for altering the length and changing it into a half-sleeve style.
It's a structure that's easy to use as a base pattern for modifications.
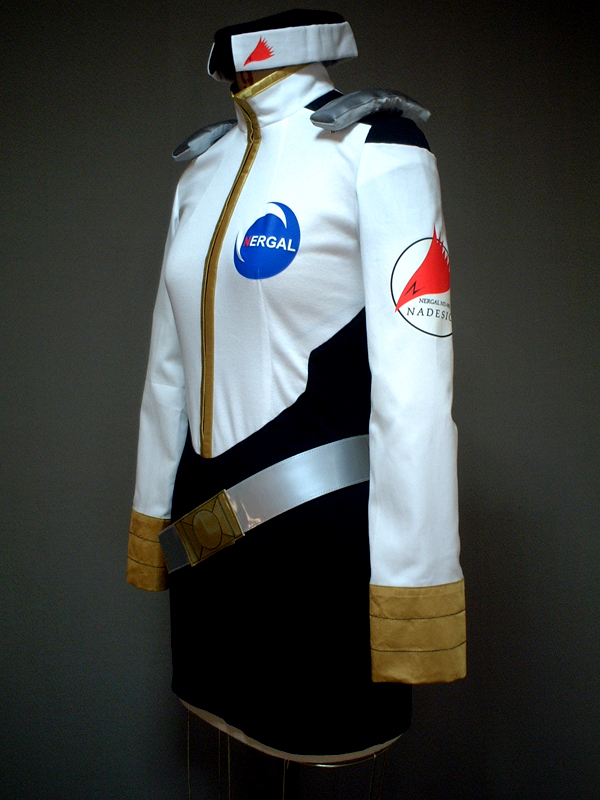
The tight dress in the reference photo was also made using this pattern.
After printing, paste it according to the pasting line,Cut and use.
The pattern has a seam allowance, so it can be used as is.


I'm not so good at English.
So all explanations/instructions were translated using AI.
This is not always perfect and I apologise for any parts that are difficult to follow.
* This tight dress can be used as a basic material.
* You can remove the darts to match your image,You can also change the zipper to the front The neck area is also stuffed as much as possible, so Please edit and use it as you like.
(1) Sew the darts on the "Front bodice" and "Back bodice", then press seam allowances open with an iron.
(2) Serge/overlock the shoulders and sides of the "Front bodice" and "Back bodice", and the sides of the "Sleeve".
![]() How to Serge/overlock (sewing machine & overlock sewing machine)
How to Serge/overlock (sewing machine & overlock sewing machine)
(3) Apply fusible interlining to one piece of the "Collar stand" and sew together along the sewing line.
(4) Fold the "Collar stand" along the fold line and shape it so that it can be inserted into the "Body".
(5) Sew the shoulders and sides of the "Body" and the sides of the "Sleeve", then press seam allowances open with an iron.
(6) Sew the "Collar stand" onto the "Body".
(7) Serge/overlock the center back of the "Body" and apply stay tape.
(8) Sew together up to the sewing stop position of the center back, then press seam allowances open with an iron.
(9) Fold up the hem of the "Body" by 2cm (or 1in) and the hem of the sleeves by 1cm (or 0.5in), and sew with a sewing machine.
(10) Sew in the invisible zip.
(11) Sew the "Sleeve" onto the "Body" and serge/overlock the armhole.
If you cannot see the SHOP due to 403 error
Price: ¥600 (JPY)
Approx. USD — / EUR — (for reference)
![]()
![]()
Children's 140 size
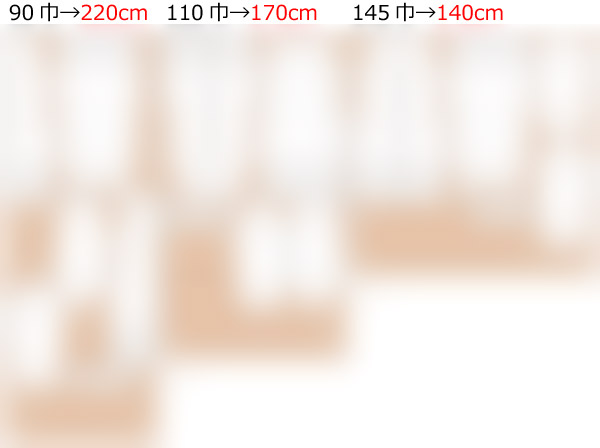
shoulder width33cm bust70cm waist55.5cm armhole37cm Length70-88cm A4 paper size 12 sheets
Sleeve parts 37 size

Children's 10 size
shoulder width13in bust27.6in waist21.9in armhole14.6in Length27.6-34.6in letter paper size 12 sheets
Sleeve parts 37 size

Ladies' S size
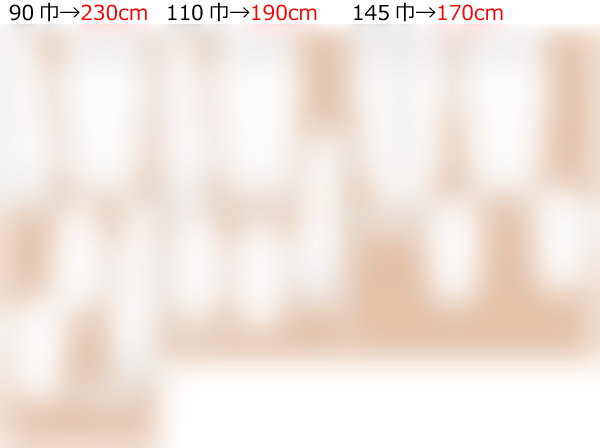
shoulder width34cm bust80cm waist63.5cm armhole40cm Length74.5-93.5cm A4 paper size 16 sheets
Sleeve parts 40 size
Ladies' S size
shoulder width13.4in bust31.5in waist25in armhole15.7in Length29.3-36.8in letter paper size 16 sheets
Sleeve parts 40 size
Ladies' M size
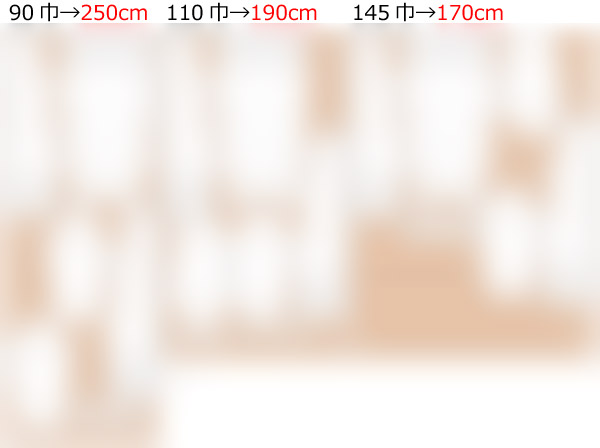
shoulder width35cm bust87cm waist70cm armhole42cm Length77.5-97.5cm A4 paper size 16 sheets
Sleeve parts 42 size
Ladies' M size
shoulder width13.8in bust34.3in waist27.6in armhole16.5in Length30.5-38.4in letter paper size 16 sheets
Sleeve parts 42 size
Ladies' L size
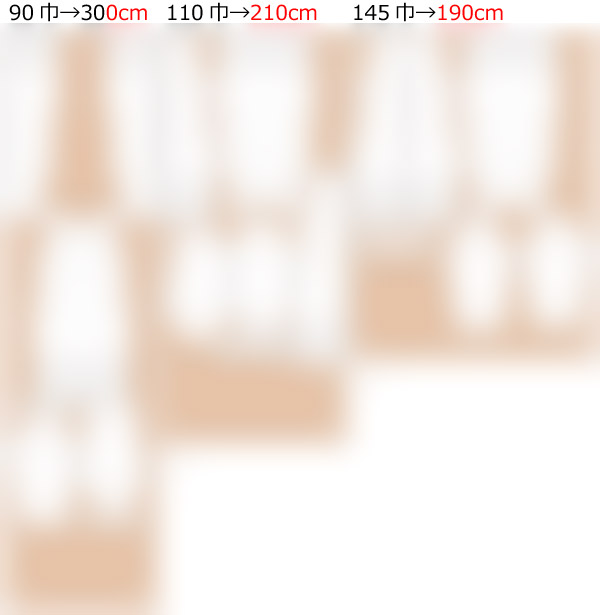
shoulder width36cm bust95cm waist77cm armhole46cm Length79.5-100cm A4 paper size 16 sheets
Sleeve parts 46 size
Ladies' L size
shoulder width14.2in bust37.4in waist30.3in armhole18.1in Length31.3-39.4in letter paper size 18 sheets
Sleeve parts 46 size
Ladies' LL size
shoulder width37cm bust101cm waist82cm armhole50cm Length83-104.5cm A4 paper size 18 sheets
Sleeve parts 50 size
Ladies' LL size
shoulder width14.6in bust39.8in waist32.3in armhole19.7in Length32.7-41.1in letter paper size 19 sheets
Sleeve parts 50 size
Men's L size
shoulder width40cm bust105cm waist86cm armhole53.5cm Length86-108cm A4 paper size 20 sheets
Sleeve parts 54 size
Men's L size
shoulder width15.7in bust41.3in waist33.9in armhole21.1in Length33.9-42.5in letter paper size 19 sheets
Sleeve parts 54 size
Men's LL size
shoulder width42cm bust110cm waist90cm armhole57.5cm Length89-112cm A4 paper size 24 sheets
Expanded sleeve parts 56 sizes to 102.9%
Men's LL size
shoulder width16.5in bust43.3in waist35.4in armhole22.6in Length35-44.1in letter paper size 24 sheets
Expanded sleeve parts 56 sizes to 102.9%


