


Simple instructions are included on the pattern.
This is a pattern and tutorial for a stand collar jacket, made from a requested design.
The jacket has a clean, slim-looking silhouette.
The front closes with hook-and-loop fastener instead of a zipper, so the structure is easier for beginners.
This pattern is also useful as a base for custom designs. Please modify it to match your design image.
This costume does not include a lining. If a lining is needed, make the lining using the facing line.
We recommend making bias tape to match your design.
After printing, align the pages along the guide lines, paste them together, and cut out the pattern pieces. Seam allowances are included, so you can use the pattern as-is.


*Please press all sewn seams with an iron.
This costume does not include a lining. If a lining is needed, make the lining using the facing line.
(1) Sew bias tape to the bias tape position on the Left Front Bodice Decoration.
(2) Fold the Left Front Bodice Decoration along the fold line. Stitch the Left Front Bodice Decoration to the decoration position on the Left Front Bodice.
(3) Apply fusible interfacing to one Collar Stand and the Facing.
(4) Sew the soft side of the hook-and-loop fastener to the hook-and-loop fastener position on the Left Front Bodice Facing.
(5) Sew the Facing pieces together. Press the seam allowances open. Finish the outer raw edge.
(6) Finish the shoulder and side raw edges of the Bodice. Sew the shoulder and side seams. Press the seam allowances open.
(7) Sew the Collar Stand without fusible interfacing to the Bodice. Press the seam allowances open.
* Make small cuts in the seam allowance where needed.
(8) Sew the Collar Stand with fusible interfacing to the Facing. Press the seam allowances open.
* Make small cuts in the seam allowance where needed.
(9) Sew bias tape from the shoulder of the Bodice to the Collar Stand.
(10) Finish the bottom raw edge of the Bodice. Fold 1 cm (0.5 in) to the inside with an iron. Press to create the shape.
(11) Attach the Facing to the Bodice. Turn the Bodice right side out. Press to shape. Sew the bottom edge of the Bodice at the same time.
(12) Sandwich the outer edge from the Bodice to the Collar Stand with bias tape. Sew the bias tape in place.
(13) Sew the Shoulder Loop. Turn the Shoulder Loop right side out. Press to shape. Topstitch the Shoulder Loop to hold the shape. Make a buttonhole.
(14) Sew bias tape to the bias tape position on the sleeve hem. Finish the side raw edge and hem raw edge of the Sleeve.
(15) Sew the sleeve side seam. Press the seam allowances open.
(16) Sew the Sleeves to the Bodice while inserting the Shoulder Loop into the seam. Finish the armhole raw edge.
(17) Attach the button at the shoulder button position. Sew the hard side of the hook-and-loop fastener to the hook-and-loop fastener position on the Right Front Bodice Facing.

If you cannot see the SHOP due to 403 error
Price: ¥600 (JPY)
Approx. USD — / EUR — (for reference)


Children's-140
Shoulder 36.5 cm Bust 78 cm Length 61 cm 15 sheets of A4 size
Sleeve parts 42 size


Children's-10
Shoulder 14.4 in Bust 30.7 in Length 24 in 16 sheets of letter size
Sleeve parts 42 size

Ladies'-S
Shoulder 42.5 cm Bust 89 cm Length 64.5 cm 17 sheets of A4 size
Sleeve parts 44 size
Ladies'-S
Shoulder 16.7 in Bust 35 in Length 25.4 in 19 sheets of letter size
Sleeve parts 44 size
Ladies'-M
Shoulder 43.5 cm Bust 96 cm Length 67 cm 18 sheets of A4 size
Sleeve parts 47 size
Ladies'-M
Shoulder 17.1 in Bust 37.8 in Length 26.4 in 19 sheets of letter size
Sleeve parts 47 size
Ladies'-L
Shoulder 44 cm Bust 104 cm Length 69 cm 20 sheets of A4 size
Sleeve parts 48 size

Ladies'-L
Shoulder 17.3 in Bust 40.9 in Length 27.2 in 21 sheets of letter size
Sleeve parts 48 size
Ladies'-LL
Shoulder 45.5 cm Bust 110 cm Length 72 cm 21 sheets of A4 size
Sleeve parts 51 size
Ladies'-LL
Shoulder 17.9 in Bust 43.3 in Length 28.3 in 22 sheets of letter size
Sleeve parts 51 size
Men's-L
Shoulder 48 cm Bust 115 cm Length 75 cm 22 sheets of A4 size
Expanded sleeve parts 56 size to 101.3%
Men's-L
Shoulder 18.9 in Bust 45.3 in Length 29.5 in 24 sheets of letter size
Expanded sleeve parts 56 size to 101.3%
Men's-LL
Shoulder 48.5 cm Bust 120 cm Length 77 cm 23 sheets of A4 size
Expanded sleeve parts 56 size to 104.9%
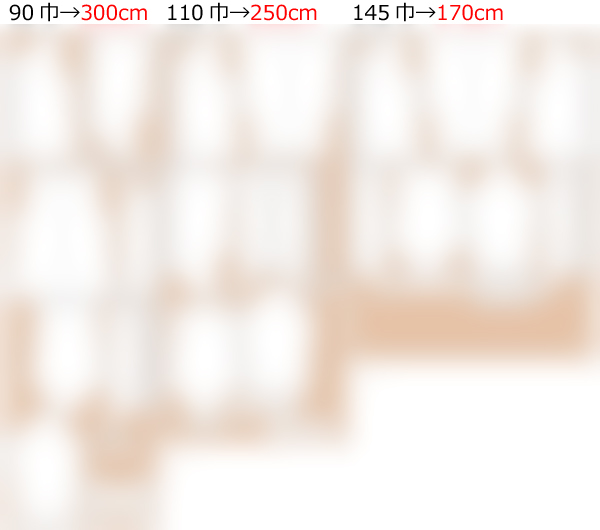
Men's-LL
Shoulder 19.1 in Bust 47.2 in Length 30.3 in 25 sheets of letter size
Expanded sleeve parts 56 size to 104.9%


 How to make bias tape
 Paper pattern & how to make
 How to use Paper pattern
 Each process How to make
 Shop
Shop
 X(Twitter)
 pinterest
 Instagram
 facebook
 Contact Us/Q&A
 Japanese Site