


![]()
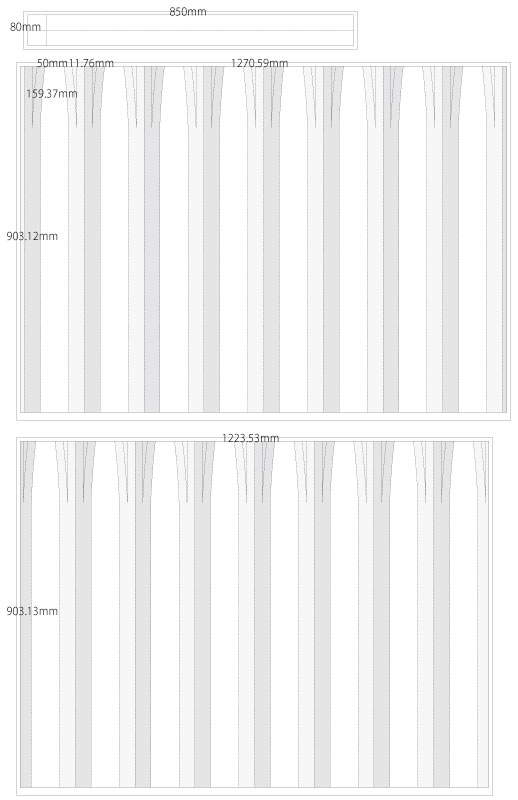
This is a free sewing pattern and tutorial for a long pleated skirt with 16 pleats.
Unlike the simplified version, this design hides the zipper inside one of the pleats, giving the skirt a more authentic and professional finish. This makes it slightly more challenging to sew but results in a cleaner and more elegant silhouette.
For an even neater look, you can topstitch part of the pleats so they stay closed partway down before releasing into a fuller flare.
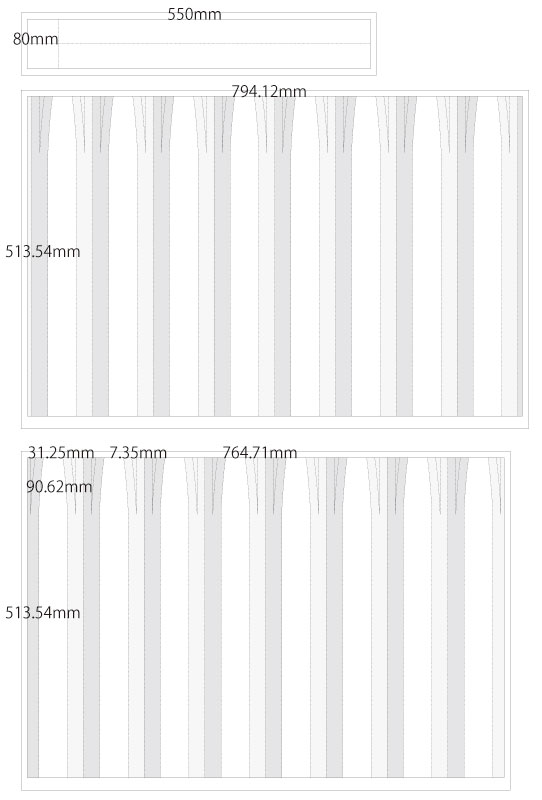
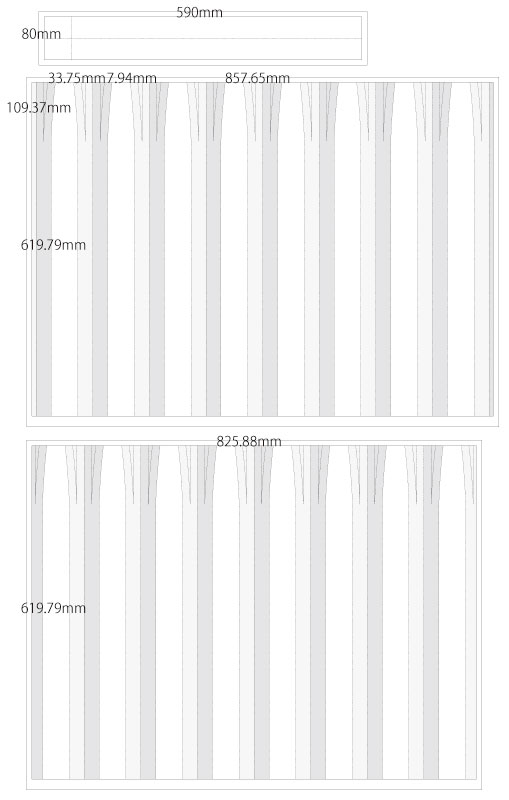
Important: After printing and taping the pattern, fold the darts and pleats at the upper part of the skirt to shape them, then trim along the corrected waistline for a smooth curve. This step can only be done after printing and will result in a slightly jagged seam allowance edge. While you can skip this and sew with the straight 1 cm seam allowance, performing this step will give a better finish.
The skirt uses a 22 cm invisible zipper for the closure.
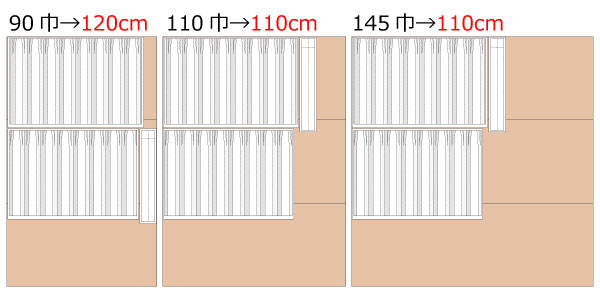
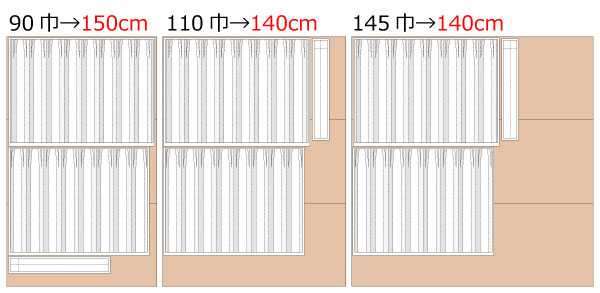
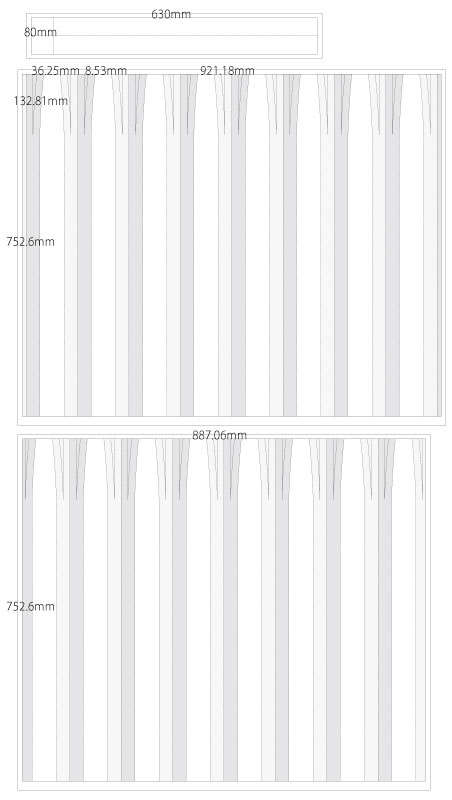
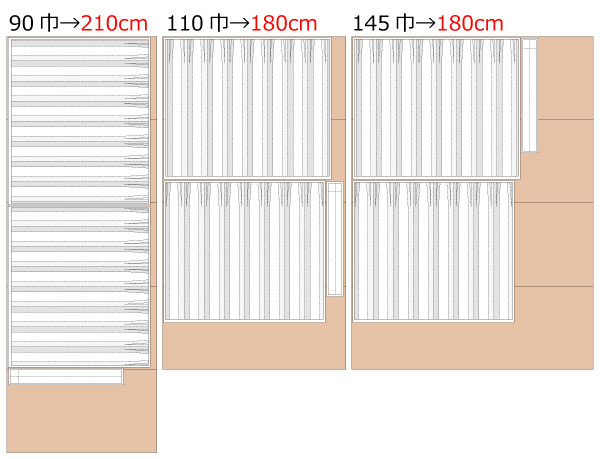
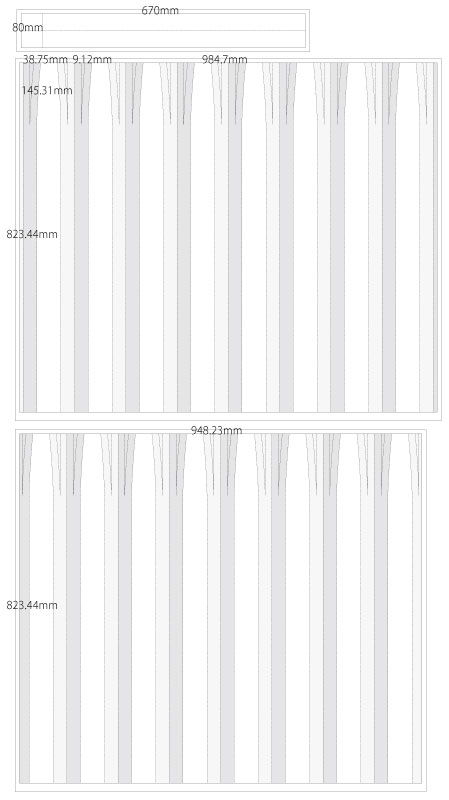
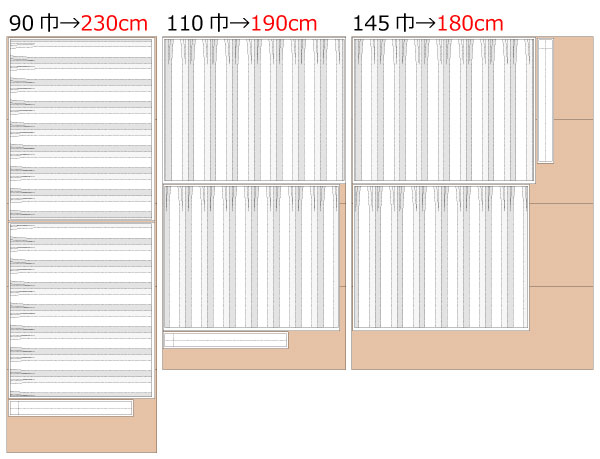
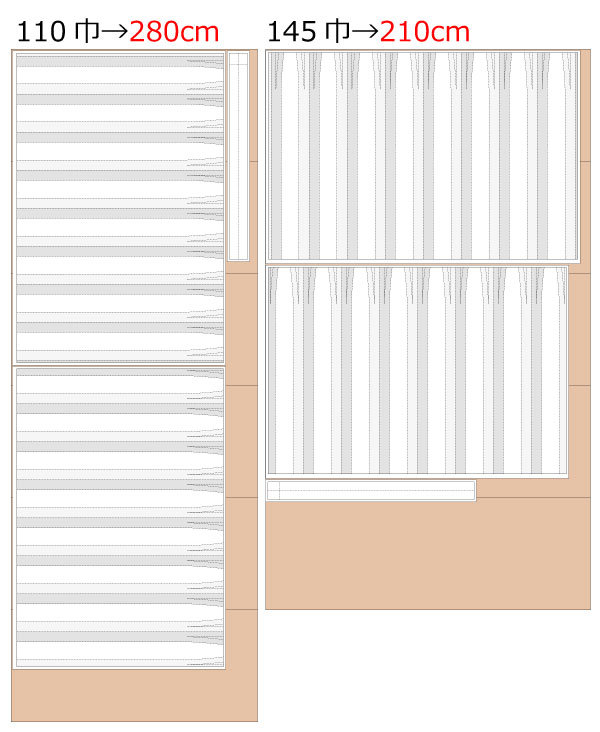
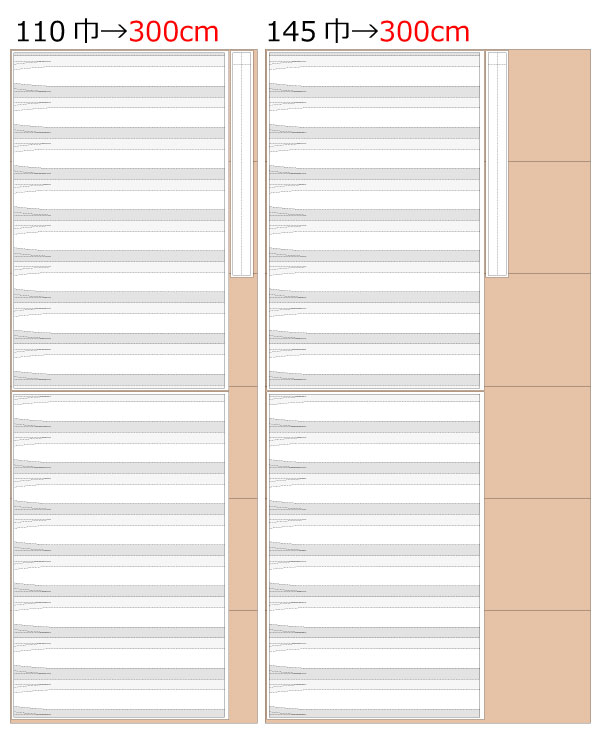
Once printed, cut along the join lines. The pattern already includes seam allowances, so you can use it immediately without adding extra margins.

The production process is explained with translation software.
If you have any suggestions on how to write like this, please let us know at info@dr-cos.com
We operate this site with your cooperation.
(1) Sew darts and iron down the seam allowance.
* Darts should be tucked in toward the center.
(2) Serging the sides of the "Front body" and the "Back body", and put the anti-stretch tape at the zipper position.
* Attach the tape to one side of the front and back so that the zipper will be on the left side when the garment is worn.
(3) Sew the sides of the "Front body" and "Back body" together and press seam allowances open with an iron.
* Sew one side to the "fastener end".
(4) Serging the hem, fold up 1" and sew with a sewing machine.
(5) Iron and weave in at the back of the folds.
* Iron and weave in the back of the folds.
(6) Iron the front of the folds so that they overlap the front part of the facing folds.
* Stitch the + portion in front of the folds and settle the top of the folds to make a clean line.
(7) Attach invisible zip at the zipper position.
(8) Sew on the belt.
![]()
Free Paper Patterns are possible because of your support.
If you use our patterns, please share them on social media and tell your friends.
Your support helps DRCOS continue to provide patterns in the future.
![]()
![]()
Children's-100
waist50cm length51.5cm 19sheets of A4 size (or legal size)

Children's-4
waist19.7in length20.3in 21sheets of letter size

Children's-120
waist54cm length62cm 25sheets of A4 size (or legal size)
Children's-8
waist21.3in length24.4in 27sheets of letter size
Children's-140
waist58cm length75cm 30sheets of A4 size (or legal size)

Children's-10
waist22.8in length29.5in 31sheets of letter size
Ladies'-S
waist62cm length82cm 35sheets of A4 size (or legal size)
Ladies'-S
waist24.4in length32.3in 35sheets of letter size
Ladies'-M
waist68cm length85cm 40sheets of A4 size (or legal size)

Ladies'-M
waist26.7in length33.5in 42sheets of letter size
Ladies'-L
waist74cm length86.5cm 45sheets of A4 size (or legal size)


Ladies'-L
waist29.1in length34.1in 45sheets of letter size
Ladies'-LL
waist80cm length90cm 49sheets of A4 size (or legal size)

Ladies'-LL
waist31.5in length35.4in 52sheets of letter size
Men's-L
waist87cm length92cm 53sheets of A4 size (or legal size)

Men's-L
waist34.3in length36.2in 58sheets of letter size
Men's-LL
waist94cm length93.5cm 57sheets of A4 size (or legal size)

Men's-LL
waist37in length36.8in 62sheets of letter size


