


![]()
This is a sewing pattern for a Napoleon jacket featuring decorative panel seams and topstitching. The jacket is designed to fasten with buttons, and when the top button is left open, it forms a tailored-style collar.
This pattern was drafted some time ago, so the sleeve length may be slightly shorter than average. Please check the sleeve length against your own measurements and adjust the pattern as needed.
When this jacket was originally made, faux leather and contrasting thread were used to create decorative stitching as an accent. While that version included lining and pockets in the panel seams, those details are omitted in this pattern to keep the construction simpler.
If you would like to add a lining, use the facing lines marked on the pattern as a guide to draft your own lining pattern. Pockets can also be added to the panel seams if desired.
The waist is slightly shaped with panel seams, creating a smart silhouette that works well as a light outer layer.
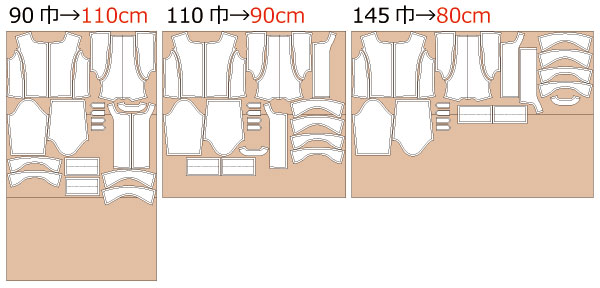
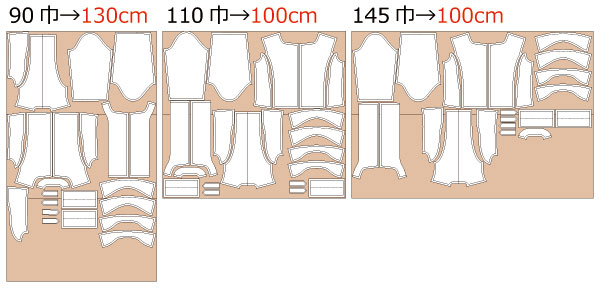
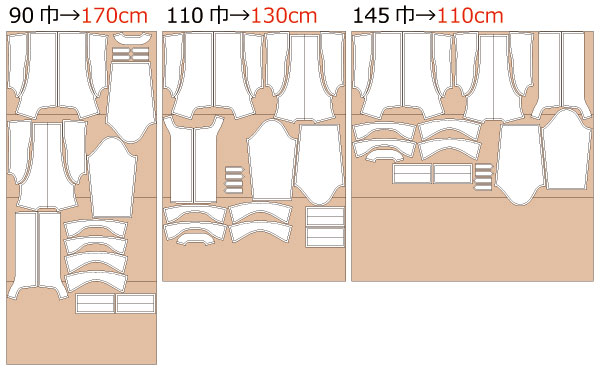
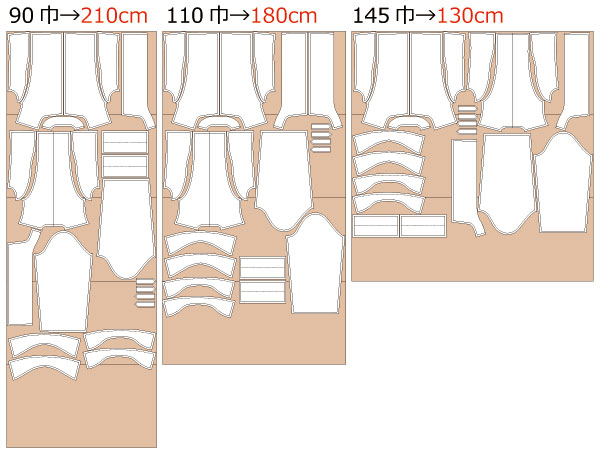
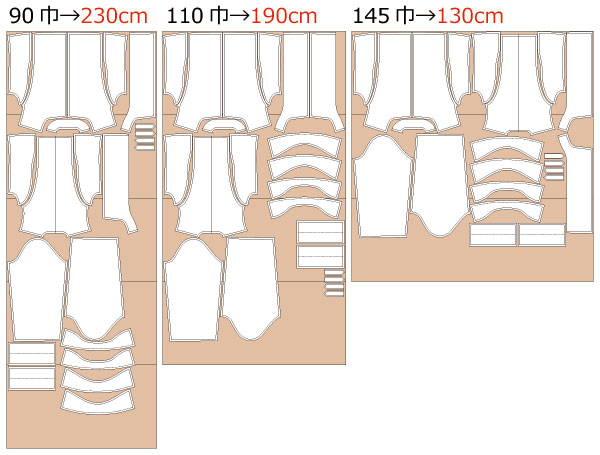
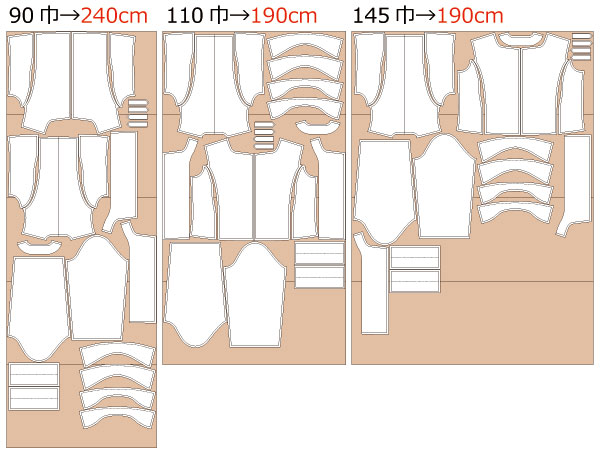
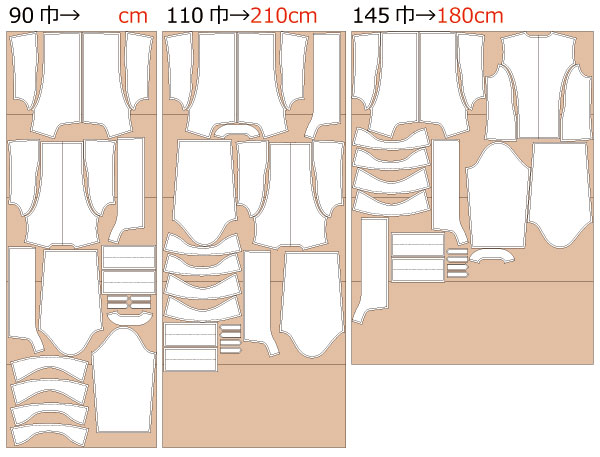
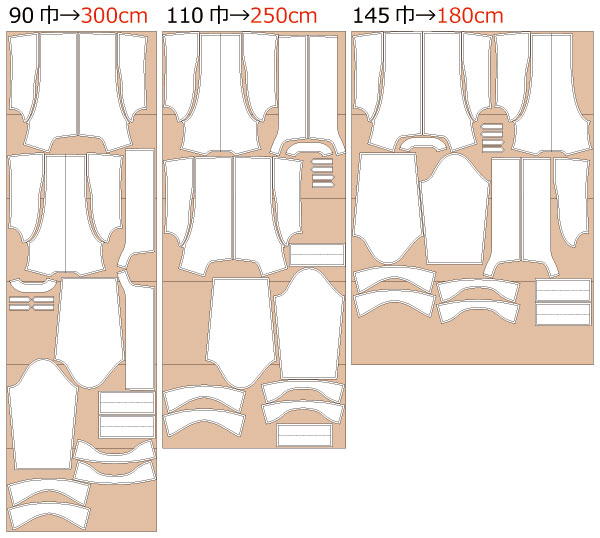
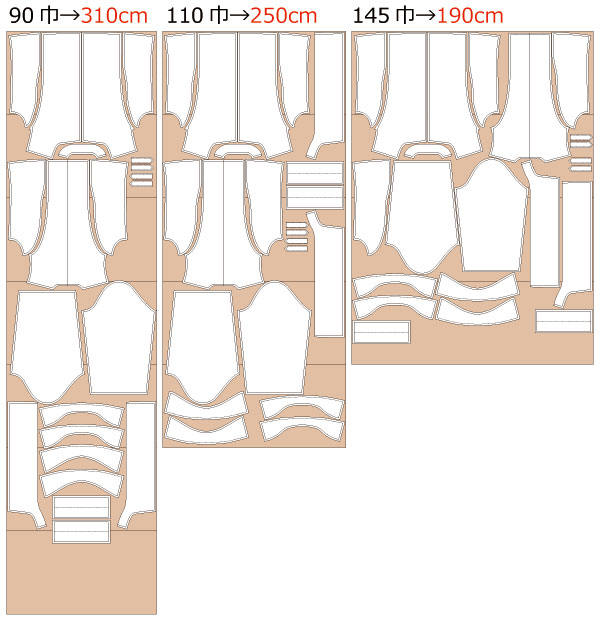
This jacket is suitable for cosplay, military-inspired outfits, or unique fashion styling. After printing, align the pages along the guide lines, assemble the pattern, and cut it out. Seam allowances are included, so the pattern is ready to use.


(1) Iron on fusible interfacing to the "Collar", "Collar Stand", "Cuffs", and "Facing" (front and back).
(2) Sew the "Shoulder Strap", turn it inside out, shape it with topstitching, make buttonholes, and prepare it so it can be inserted later.
(3) Sew the "Collar" pieces together, turn inside out, press with an iron to shape, and stabilize the shape with topstitching.
* When turning the collar right side out, clip the seam allowance where the fabric pulls. For pointed areas, trim the seam allowance leaving 1–2 mm.
(4) Fold the insertion edge of the "Collar Stand" inward by 1 cm (0.5 in) in advance and press to set the shape. Sew the side seams together, turn inside out, insert the "Collar", secure it in place, and topstitch.
(5) Sew the "Facing" pieces together, press the seam allowances open with an iron, and finish the outer edges with serging.
(6) Serge the side seams of the "Sleeves", sew them together, and press the seam allowances open with an iron.
![]() How to Serge / Overlock (Sewing Machine & Overlock Sewing Machine)
How to Serge / Overlock (Sewing Machine & Overlock Sewing Machine)
(7) To make inserting the "Cuffs" easier, press one side in advance. Sew the side seams of the cuffs, turn inside out, and attach them to the sleeves.
![]() How to Sew Sleeves and Sleeve Cuffs
How to Sew Sleeves and Sleeve Cuffs
(8) Serge the shoulders and side seams of the "Front Body" and "Back Body", and the side seams of the "Front Body Side" and "Back Body Side".
(9) Sew the side seams of the "Body", join all body sections together with stitching, and finally sew the shoulder seams.
(10) Align the "Collar" with the collar stop position on the "Body", sandwich it with the "Facing", and attach the "Facing" to the "Body".
(11) Turn the "Facing" to the inside and stitch around the entire perimeter to shape the garment.
* When turning the facing, clip the seam allowance where the fabric pulls.
(12) Make buttonholes at the marked buttonhole positions.
* Buttonholes are placed on one side of the right front body only. Always confirm the buttonhole positions before sewing.
(13) Attach the "Sleeves" to the "Body" while inserting the "Shoulder Strap" between the body pieces.
(14) Sew buttons at each button position.
![]()
Free Paper Patterns are possible because of your support.
If you use our patterns, please share them on social media and tell your friends.
Your support helps DRCOS continue to provide patterns in the future.
![]()
![]()
Children's-100
bust63cm waist59.5cm length36.5cm 9sheets of A4 size (or legal size)

Children's-4
bust24.8in waist23.4in length14.4in 10sheets of letter size

Children's-120
bust68.5cm waist63.5cm length42cm 10sheets of A4 size (or legal size)
Children's-8
bust26.9in waist25in length16.5in 12sheets of letter size
Children's-140
bust78cm waist72.5cm length49.5cm 13sheets of A4 size (or legal size)
Children's-10
bust30.7in waist28.5in length19.5in 15sheets of letter size
Ladies'-S
bust89cm waist82.5cm length55cm 17sheets of A4 size (or legal size)
Ladies'-S
bust35in waist32.4in length21.6in 20sheets of letter size
Ladies'-M
bust96cm waist90cm length56.5cm 20sheets of A4 size (or legal size)

Ladies'-M
bust37.7in waist35.4in length22.2in 20sheets of letter size
Ladies'-L
bust105cm waist98.5cm length57.5cm 20sheets of A4 size (or legal size)
Ladies'-L
bust41.3in waist38.8in length23.6in 21sheets of letter size
Ladies'-LL
bust111cm waist104cm length60cm 20sheets of A4 size (or legal size)

Ladies'-LL
bust43.7in waist40.9in length23.6in 21sheets of letter size
Men's-L
bust116cm waist110cm length69cm 24sheets of A4 size (or legal size)
Men's-L
bust45.7in waist43.3in length27.1in 26sheets of letter size
Men's-LL
bust121cm waist115cm length73.5cm 26sheets of A4 size (or legal size)
Men's-LL
bust47.6in waist45.3in length28.9in 28sheets of letter size


