


![]()
Comments are made using translation software.
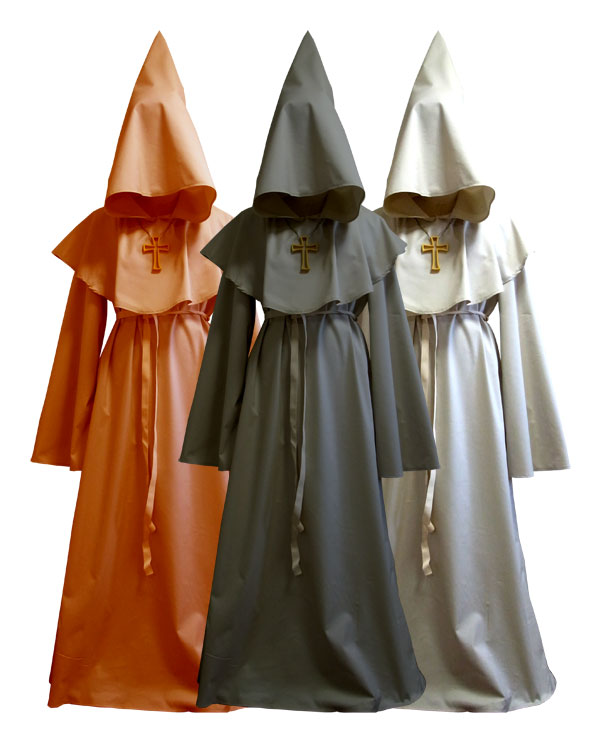
This is a pattern suitable for cosplays, stage costumes, parties, and Halloween, designed for making monk, friar, or clergy costumes.
It's a fairly simple pattern, designed in a larger size, without zippers, allowing for easy construction by beginners as it can be worn directly by pulling it over the head.
For thinner fabrics, it's recommended to create a double-layered hood to stabilize its shape.
The pattern does not include a waist cord; please use a thick hemp cord available in stores.
To achieve an authentic look, consider using a coarse fabric.
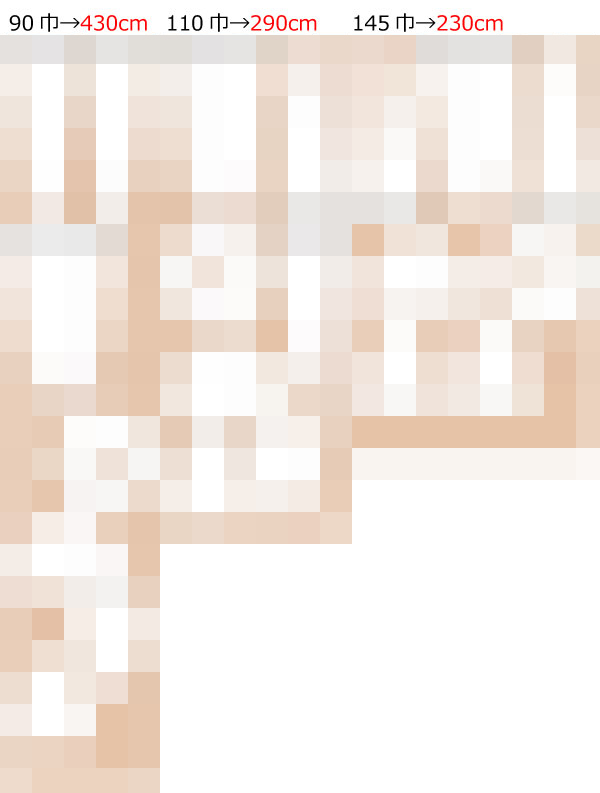
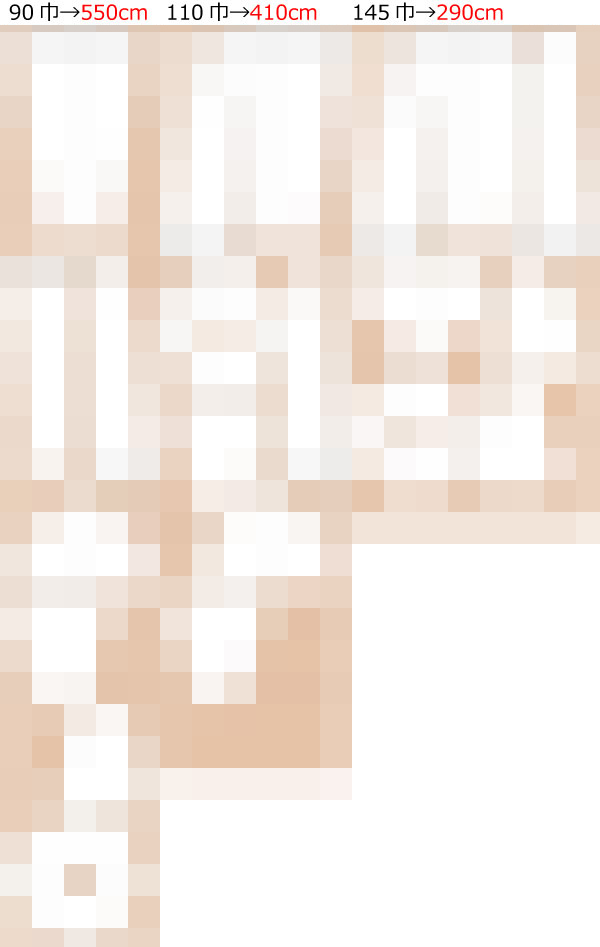
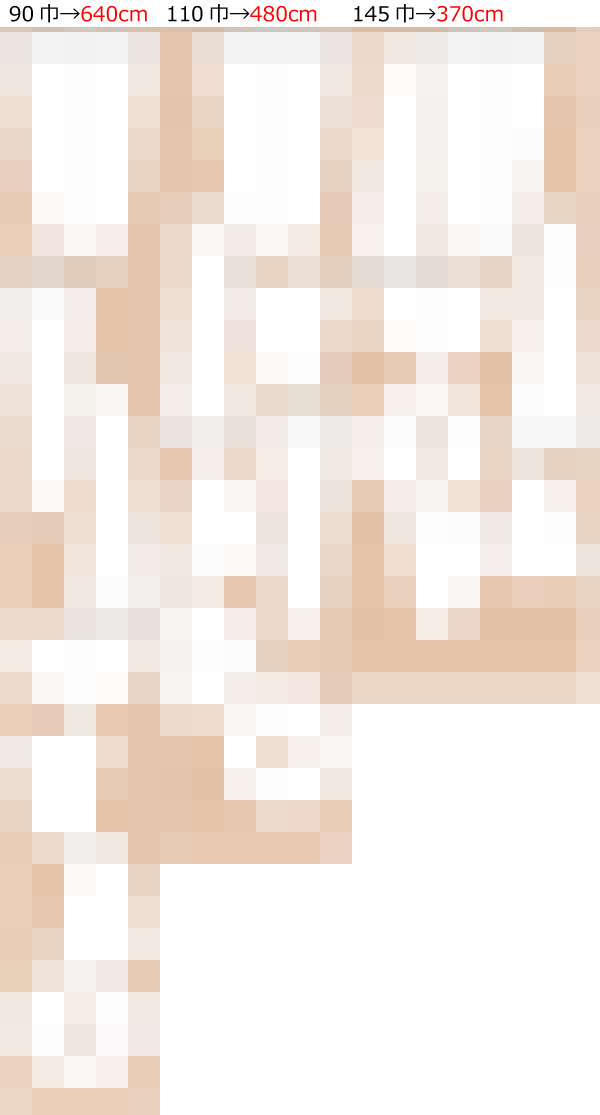
The pattern includes lines for adjusting the length, so please make any necessary modifications to the pattern before cutting the fabric.
After printing, paste it according to the pasting line,Cut and use.
The pattern has a seam allowance, so it can be used as is.


I'm not so good at English.
So all explanations/instructions were translated using AI.
This is not always perfect and I apologise for any parts that are difficult to follow.
(1) Serge the shoulders, sides, and center back of the “Front bodice” and “Back bodice.”
![]() How to Serge/overlock (sewing machine & overlock sewing machine)
How to Serge/overlock (sewing machine & overlock sewing machine)
(2) Sew together the shoulders, sides, and center back of the “Bodice,” then press the seam allowances open with an iron.
(3) Serge the neckline of the “Bodice,” fold the seam allowances inward with an iron, and then topstitch to secure.
(4) Serge the hem of the “Bodice,” fold the seam allowances inward with an iron, and then topstitch to secure.
(5) Serge the side seams of the “Sleeve,” sew them together, and then press the seam allowances open with an iron.
(6) Serge the hem of the “Sleeve,” fold the seam allowances inward with an iron, and then topstitch to secure.
(7) Attach the “Sleeve” to the “Bodice,” and serge the armhole.
(8) Serge the front edge of the “Hood,” fold the seam allowances inward with an iron, and then topstitch to secure.
* If making the “Hood” double-layered, align and sew the two layers together.
(9) Serge the seams of the “Hood,” sew them together, and then press the seam allowances open with an iron.
(10) Serge the outer edge of the “Cape,” fold the outer seam allowances with an iron, and then topstitch to secure.
(11) Attach the “Hood” to the inner side of the “Cape,” then serge the seam allowances and press them with an iron.
If you cannot see the SHOP due to 403 error
Price: ¥700 (JPY)
Approx. USD — / EUR — (for reference)
![]()
![]()
Children's 140 size
shoulder width 37cm length 106.5cm A4 paper size 28 sheets

Children's 10 size
shoulder width 14.6in length 41.9in letter paper size 27 sheets

Ladies' ls-lm size
shoulder width 40cm length 135cm A4 paper size 39 sheets
Ladies' ls-lm size
shoulder width 15.7in length 53.1in letter paper size 39 sheets
Ladies' ll-lll size
shoulder width 43cm length 143cm A4 paper size 43 sheets
Ladies' ll-lll size
shoulder width 16.9in length 56.3in letter paper size 43 sheets
Men's ml-mll size
shoulder width 45cm length 148cm A4 paper size 44 sheets
Men's ml-mll size
shoulder width 17.7in length 58.3in letter paper size 46 sheets


