


![]()
Free sewing pattern and instructions for a butterfly style bow tie (necktie bow).
This is a classic tie-on type, not a one-touch clip-on, making it perfect for formal wear, stage performances, and cosplay costumes.
It is very easy to make, and also recommended for remaking unused or vintage neckties.
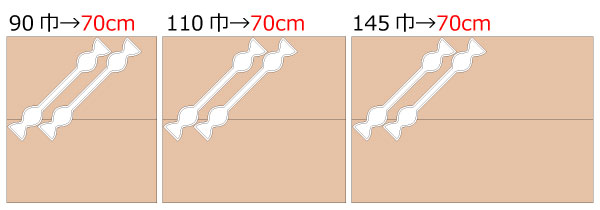
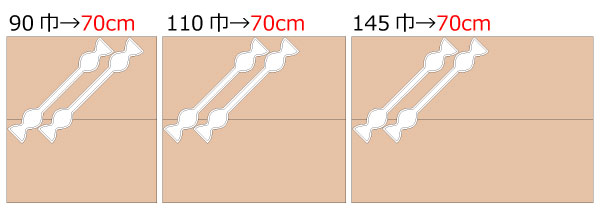
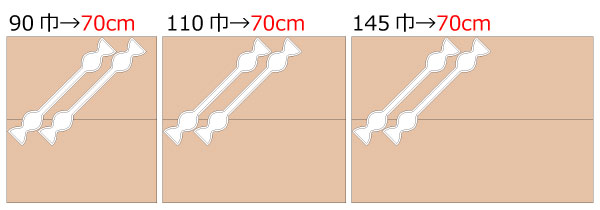
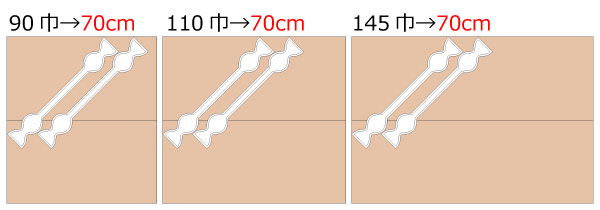
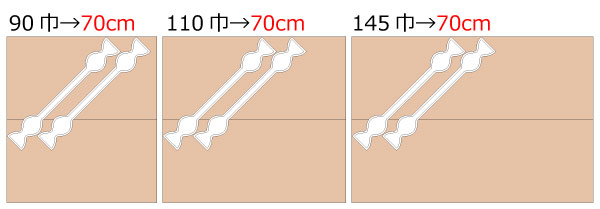
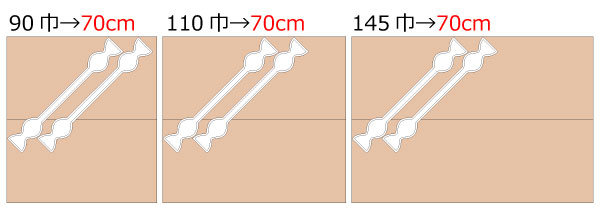
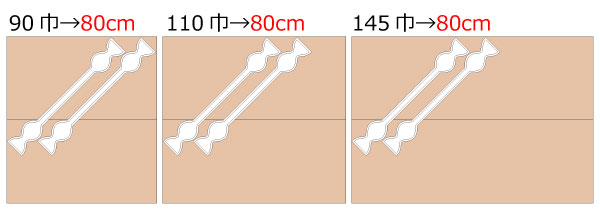
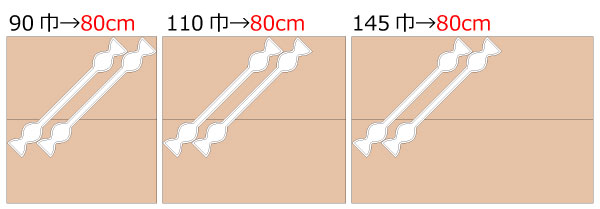
The pattern is drafted to match the neck circumference, but please choose the size according to the shirt or outfit you plan to wear.
Great for presentations, parties, weddings, and cosplay accessories.
After printing, align the sheets along the dotted lines, paste them together, and cut along the outline.
The paper pattern includes a seam allowance (S/A), so it can be used immediately without adding extra margins.

I'm not so good at English.
So all explanations/instructions were translated using AI.
This is not always perfect and I apologise for any parts that are difficult to follow.
If you have any suggestions on how to write like this, please let us know at info@dr-cos.com
We operate this site with your cooperation.
(1) Attach fusible interlinings to the "Body" and sew them together at the notch mark.
(2) Cut the seam allowance and turn inside out.
(3) Iron into shape and sew around the perimeter.
* For a clean finish, use a cardboard pattern, iron, cut into the seam allowance, and stitch around the seam allowance.
![]()
Free Paper Patterns are possible because of your support.
If you use our patterns, please share them on social media and tell your friends.
Your support helps DRCOS continue to provide patterns in the future.
![]()
![]()
Children's 100 size
neck24cm A4 paper size 4 sheets (or legal size)


Children's 4 size
Coming soon?
Children's 120 size
neck26cm A4 paper size 4 sheets (or legal size)

Children's 8 size
Coming soon?
Children's 140 size
neck28cm A4 paper size 4 sheets (or legal size)

Children's 10 size
Coming soon?
Women's S size
neck30cm A4 paper size 4 sheets (or legal size)

Women's S size
Coming soon?
Women's M size
neck32cm A4 paper size 4 sheets (or legal size)

Women's M size
Coming soon?
Women's L size
neck34cm A4 paper size 4 sheets (or legal size)

Women's L size
Coming soon?
Women's LL size
neck36cm A4 paper size 4 sheets (or legal size)

Women's LL size
Coming soon?
Men's L size
neck38cm A4 paper size 4 sheets (or legal size)

Men's L size
Coming soon?
Men's LL size
neck40cm A4 paper size 4 sheets (or legal size)

Men's LL size
Coming soon?


