


![]()
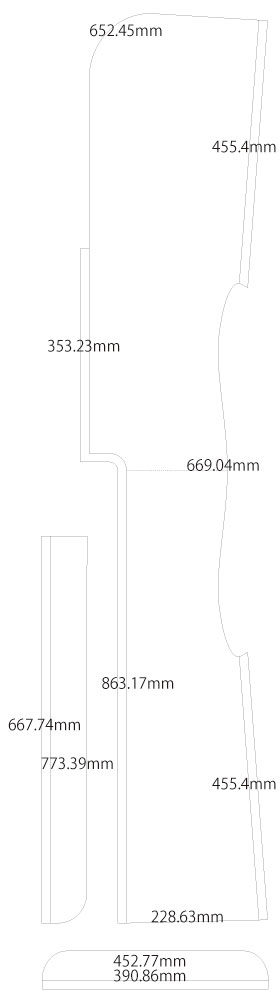
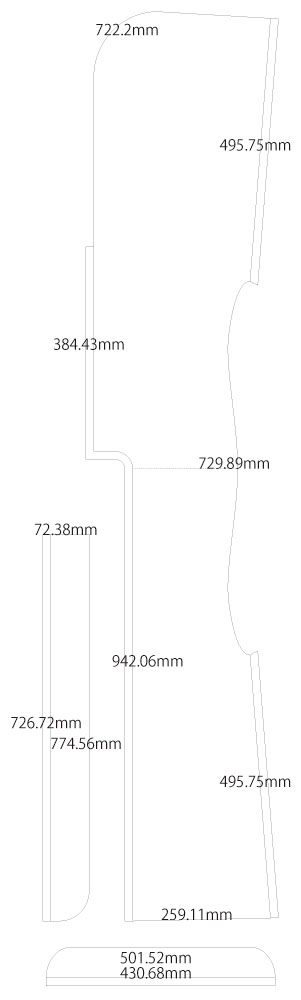
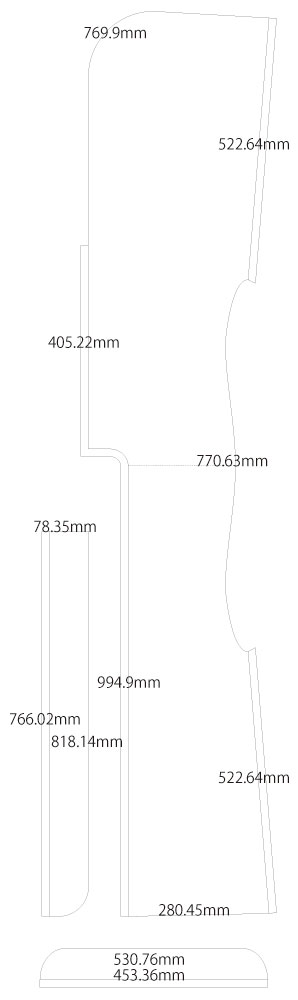
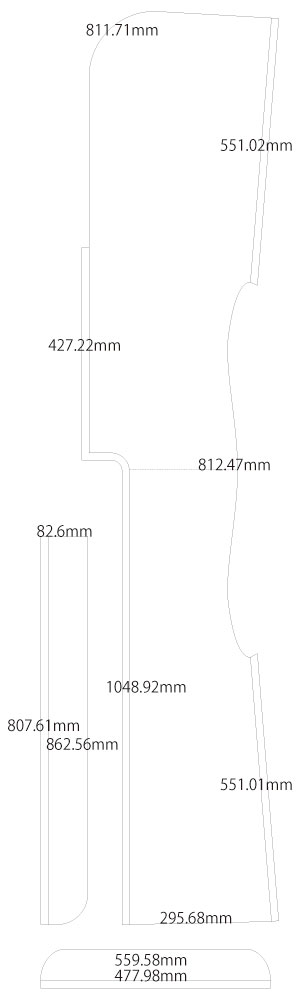
This is a free sewing pattern for a basic jinbaori (traditional Japanese sleeveless coat), designed with seam allowances included for beginners.
The construction is similar to Western garment sewing rather than traditional Japanese sewing, as the front and back panels are enclosed with bias tape. Although attaching the bias to the back neckline and collar can be a little challenging, the rest of the sewing process is relatively easy.
This is a simplified version, so if you want to make an authentic jinbaori, please refer to a traditional Japanese sewing reference book. The lower collar is usually secured to the body with decorative cords or tassels, but using Chinese frog buttons can also give a suitable look.
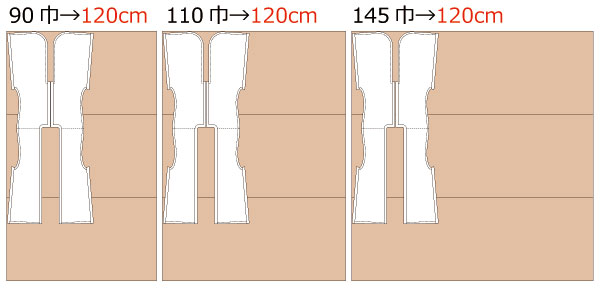
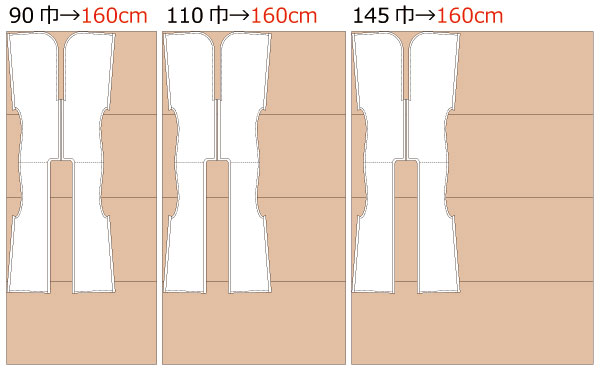
For the collar, fabrics with bold patterns—such as traditional Japanese prints, kimono fabric, or gold brocade—are recommended. When binding with bias tape, gold or red bias adds a striking accent. Since a large amount of bias tape is needed, it is cost-effective to make your own using a 25 mm bias tape maker, as store-bought gold bias can be expensive.
If your chosen fabric is thin or lacks structure, use a slightly heavier fusible interfacing to add firmness.
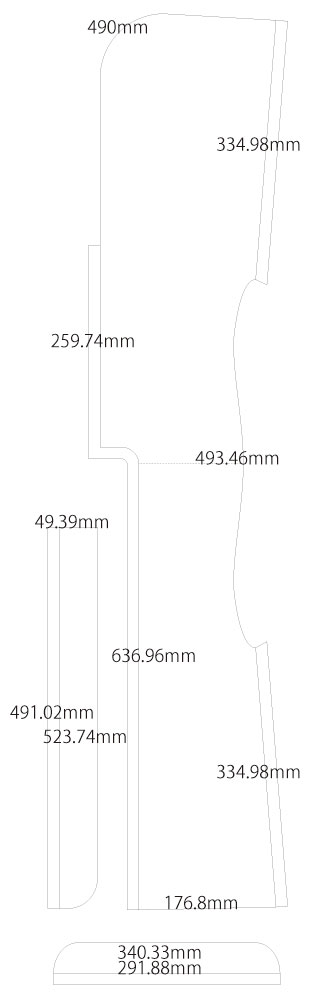
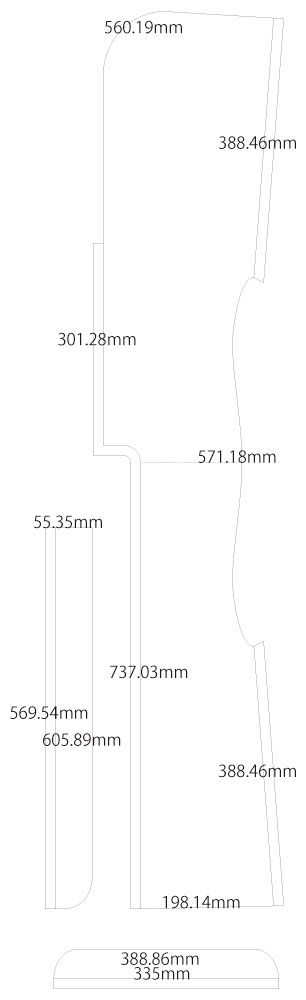
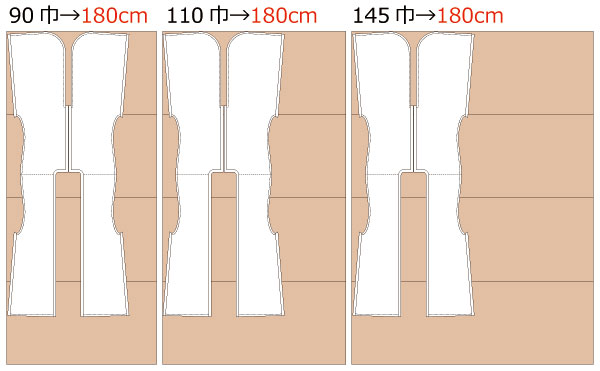
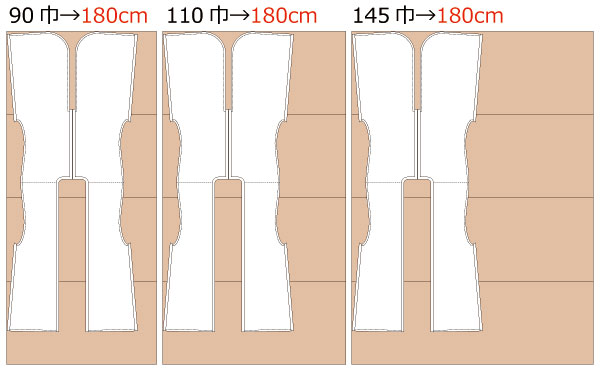
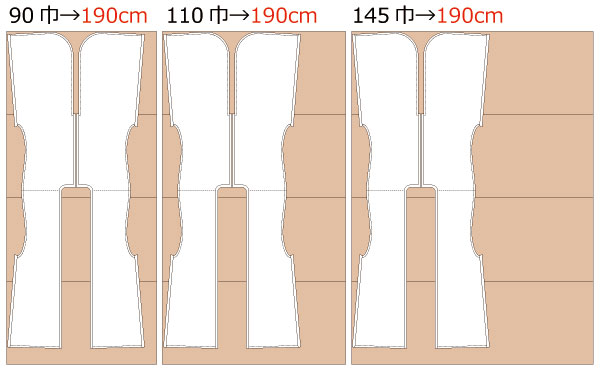
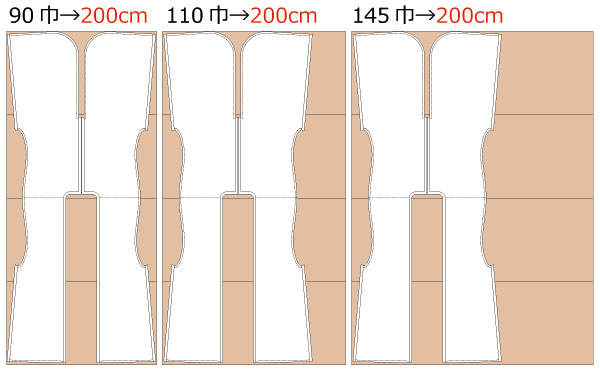
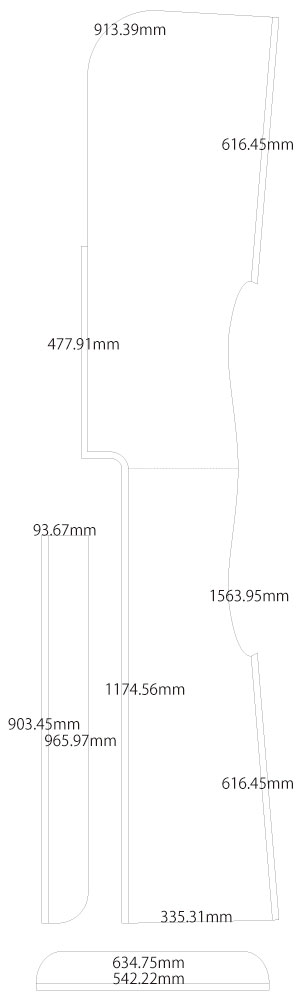
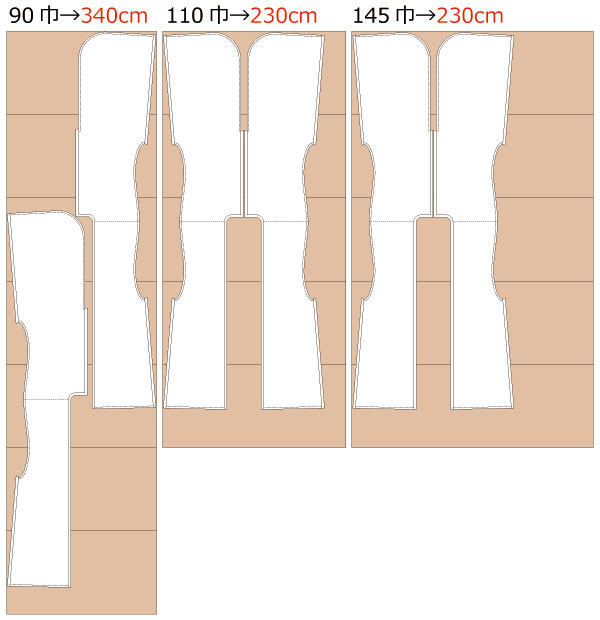
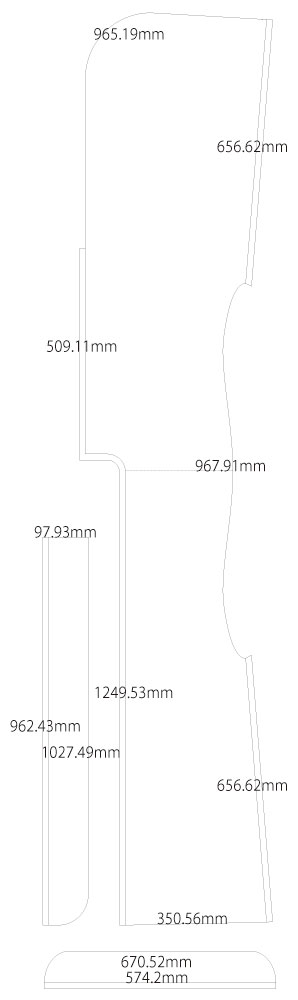
After printing, align the pages along the join lines, cut, and use the pattern directly as it already includes seam allowances.

The production process is explained with translation software.
If you have any suggestions on how to write like this, please let us know at info@dr-cos.com
We operate this site with your cooperation.
* This pattern is a simplified version of the jinbaori pattern for cosplay costumes.
Please refer to Japanese sewing manuals when making a full-fledged Jinbaori.
Although this is a simplified version, it will be made with a full lining.
* If you want to put your family crest, sew it on after the process of (2).
(1) Attach fusible interlining to the lining of the "collar" and "lower collar".
* If you use thin fabric, please make the fusible interlining a little thicker.
(2) Sew the back center of the "Body" outer fabric together and press seam allowances open with an iron.
(3) Attach the "Collar" of the outer fabric to the outer fabric of the "Body", cut a seam allowance, and iron the seam allowance down to the body side.
(4) Sew the "Body" outer fabric to the "Lower collar" of the lining fabric, and iron the seam allowance down to the body side.
* The "Lower collar" will be folded over after completion, so sew the lining to the body outer fabric.
(5) Sew the sides together and press seam allowances open with an iron.
* Finish the lining fabric by the same process (2) to (5).
(6) Sew all the perimeters and armholes together with the outer and lining fabrics with a temporary seam (0.25in)
(7) Fold over the "lower collar" and fasten with decorative ties after bias seaming all around the perimeter and armholes.
![]()
Free Paper Patterns are possible because of your support.
If you use our patterns, please share them on social media and tell your friends.
Your support helps DRCOS continue to provide patterns in the future.
![]()
![]()
Children's-100
length55cm 6sheets of A4 size (or legal size)

Children's-4
length21.6in 8sheets of letter size

Children's-120
length63.5cm 10sheets of A4 size (or legal size)

Children's-8
length25in 11sheets of letter size
Children's-140
length74.5cm 12sheets of A4 size (or legal size)
Children's-10
length29.3in 12sheets of letter size
Ladies'-S
length81.5cm 14sheets of A4 size (or legal size)
Ladies'-S
length32in 14sheets of letter size
Ladies'-M
length86cm 16sheets of A4 size (or legal size)
Ladies'-M
length33.8in 14sheets of letter size
Ladies'-L
length90cm 20sheets of A4 size (or legal size)
Ladies'-L
length35.4in 20sheets of letter size
Ladies'-LL
length95cm 22sheets of A4 size (or legal size)

Ladies'-LL
length37.4in 20sheets of letter size
Men's-L
length101.5cm 22sheets of A4 size (or legal size)

Men's-L
length39.9in 23sheets of letter size
Men's-LL
length108.5cm 24sheets of A4 size (or legal size)
Men's-LL
length42.7in 23sheets of letter size


