


![]()
Simple sewing instructions are included in the pattern. This hoodie pattern is designed with a clean, fitted sleeve line to create a sharp silhouette. The hood is made larger than standard designs, giving it a bold and distinctive look.
The front bodice includes plackets on both sides. If you prefer to use a zipper, remove the plackets and attach an open zipper instead. The pockets are welt pockets, which may be slightly advanced for beginners.
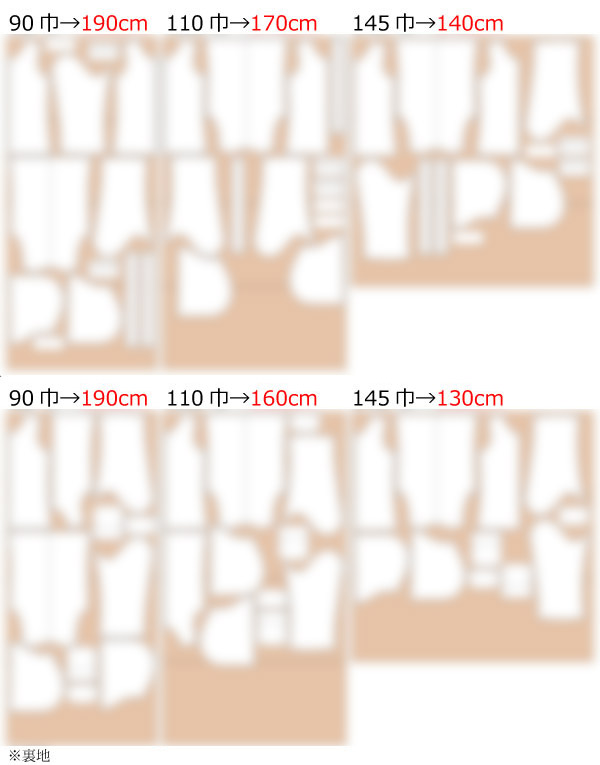
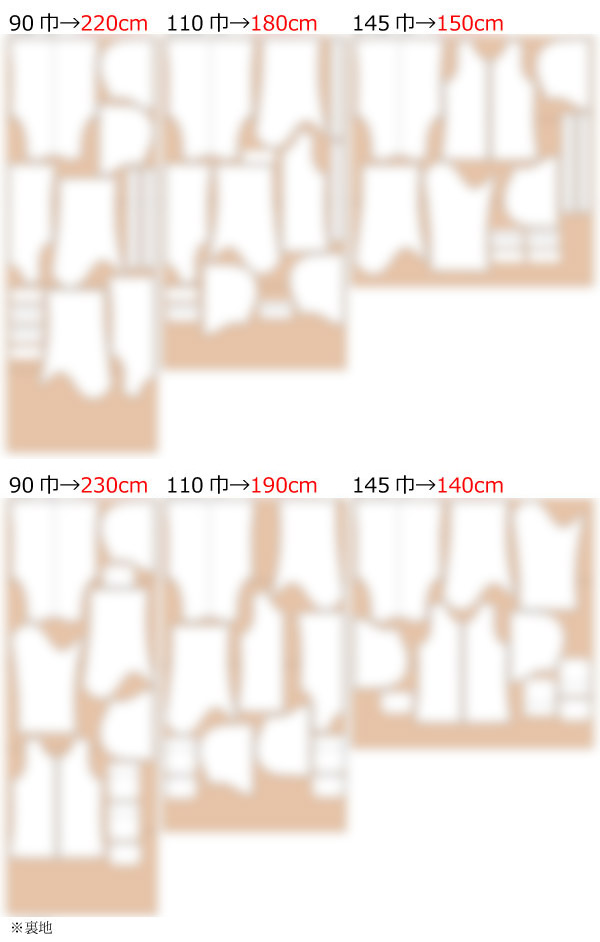
After printing, align the pages along the guide lines, tape them together, and cut out the pattern pieces. Seam allowances are already included, so the pattern can be used as is.


(1) Create a "piping pocket" on the "Front bodice".
(2) Fold the front part of the "Front bodice" by 1cm and press with an iron to shape it.
(3) Sew the shoulders and sides of the outer fabric and lining of the "Body" together, press the seam allowances open with an iron, and shape the "Body".
(4) Sew the "Sleeve" and hood pieces to shape them.
(5) Place the front plackets right sides together, fold them in half, sew both ends with a sewing machine, turn them right side out, and press with an iron.
(6) Insert fur into the hood, hem, and "Sleeve", and stitch with a sewing machine.
(7) Insert the hood into the neckline of the "Body", stitch with a sewing machine, turn it right side out, and insert the front plackets into both front sides.
(8) Attach the "Sleeve" to the "Body" and finish the edges (serge/overlock).
![]() How to Serge/overlock (sewing machine & overlock sewing machine)
How to Serge/overlock (sewing machine & overlock sewing machine)
If you cannot see the SHOP due to 403 error
Price: ¥800 (JPY)
Approx. USD — / EUR — (for reference)
![]()
![]()
Ladies' S-M size
Bust 92 cm Waist 90 cm Length 65.5 cm A4 paper size 20 sheets
Sleeve parts 45 size

Ladies' S-M size
Bust 36.2 in Waist 35.4 in Length 25.8 in letter paper size 20 sheets

Ladies' M-L size
Bust 100 cm Waist 98 cm Length 69.5 cm A4 paper size 21 sheets
Sleeve parts 55 size
Ladies' M-L size
Bust 39.4 in Waist 38.5 in Length 27.4 in letter paper size 21 sheets


