Facing is a common problem for many people! Here we explain how to sew Facings and hems, which tend to appear when making clothes!
It's very tedious to do the blind stitching by hand, the connection to the lining, and all the other things you have to think about.
After all, you can make cute clothes if you can do it, so let's do our best to learn it.
This Facing type is for blouses, but it can also be used for thin coats and other unlined garments. This is an explanation of how to sew the facing and hem on a sewing machine.
To make it as easy to understand as possible, we have included a large number of photos. Please have the fabric ready at hand and follow the sewing process with us while looking at the pictures.
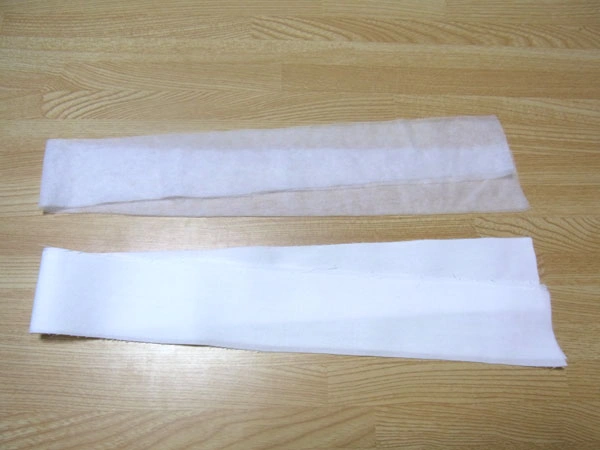
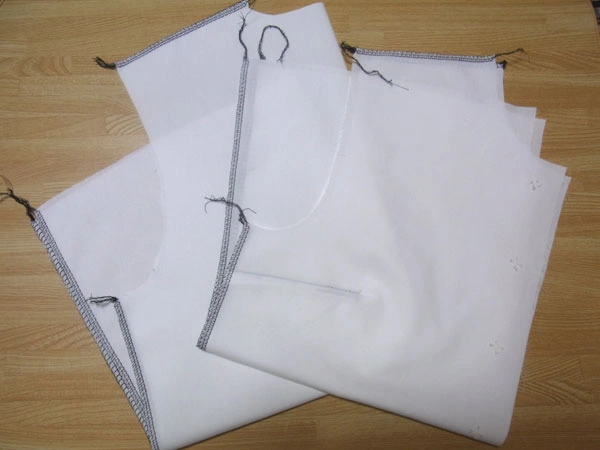
First, prepare two pieces of Facing fabric and interfacing by cutting them according to the pattern. If there is a "facing" for the neck, please prepare it as well.
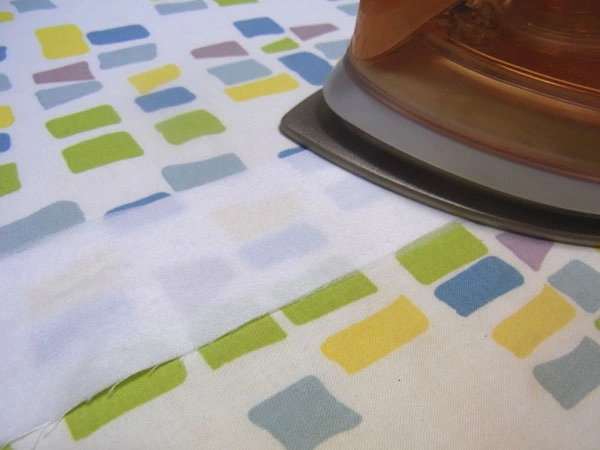
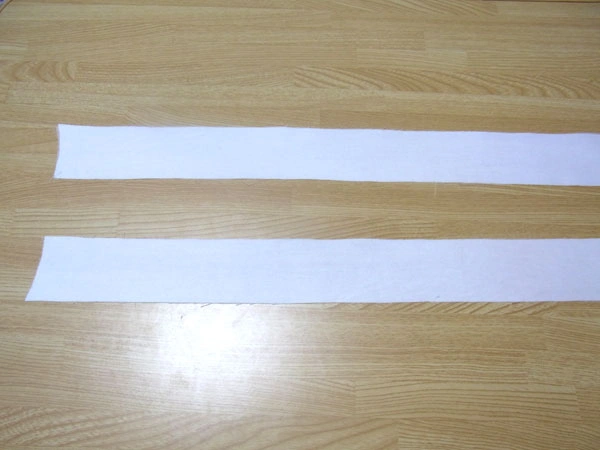
First, iron on the interfacing to the Facing. This is only one side of the facing, so please proceed in a symmetrical manner. Beginners should be careful not to make Facings in the same direction! Facing is symmetrical.
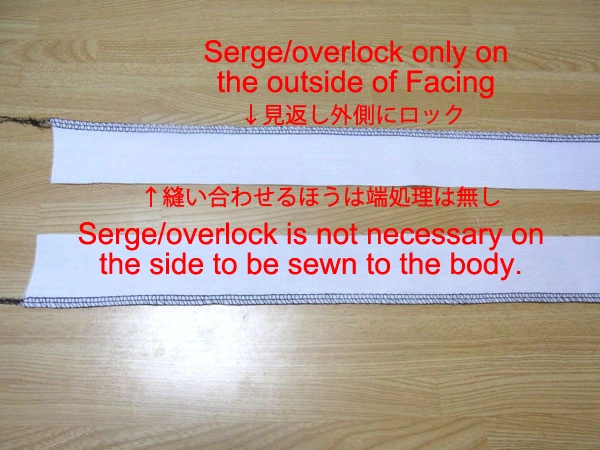
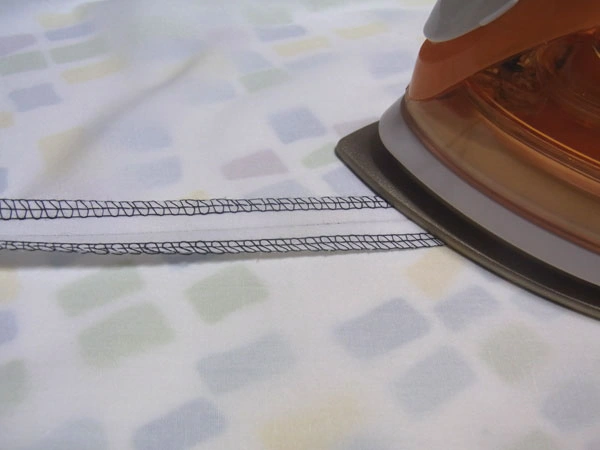
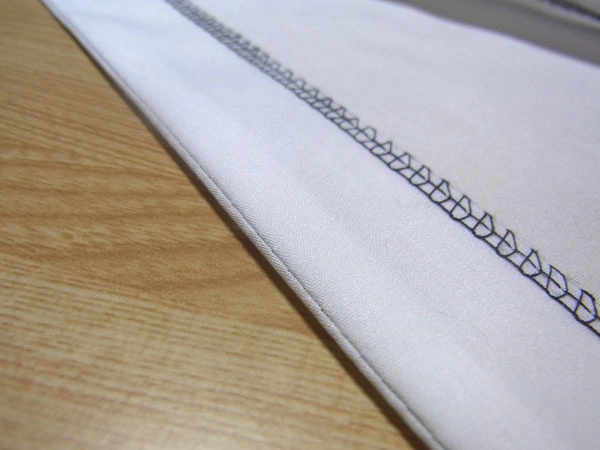
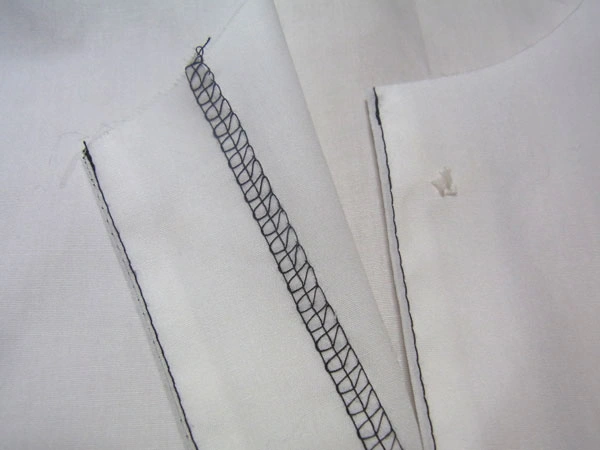
After attaching the interfacing, serge/overlock the outside. Serge/overlock is done with black threads to make it easier to see, but the same color should be used. Serge/overlock must be done from the front side. Overlock sewing machine users in particular should start overlock from the front side, since the front and back sides of a garment have different stitching methods. See "How to Serge/overlock" for details on how to serge/overlock.
*If there are darts, finish the darts first. For details on sewing darts, please refer to "How to Sew Darts" .
Serge/overlock the shoulders and sides of the body.
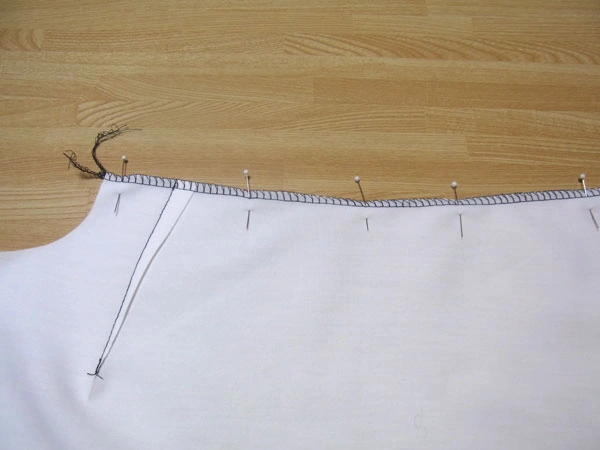
Fasten the shoulders and sides of the body with marking pins and sew them together. Be sure to backstitch at the beginning and end of sewing.
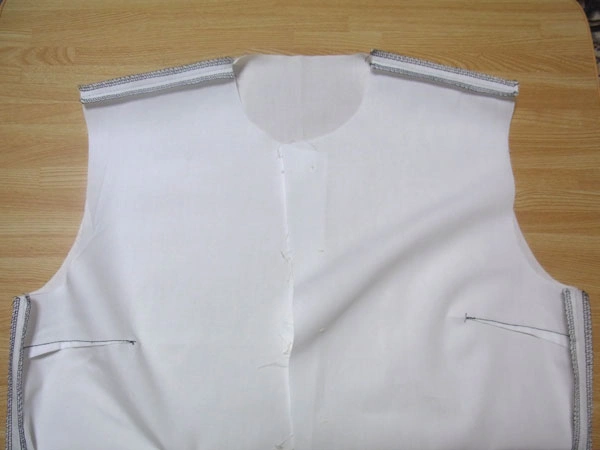
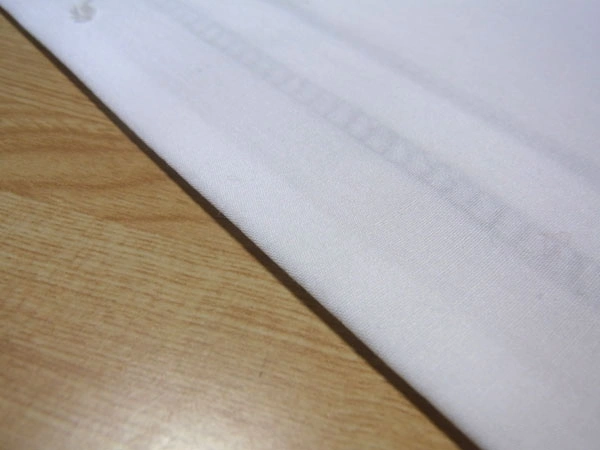
After sewing the shoulders and sides together, iron open the seam allowance. For polyester fabrics, which are difficult to iron, open the seam allowance with stitches for a clean line.
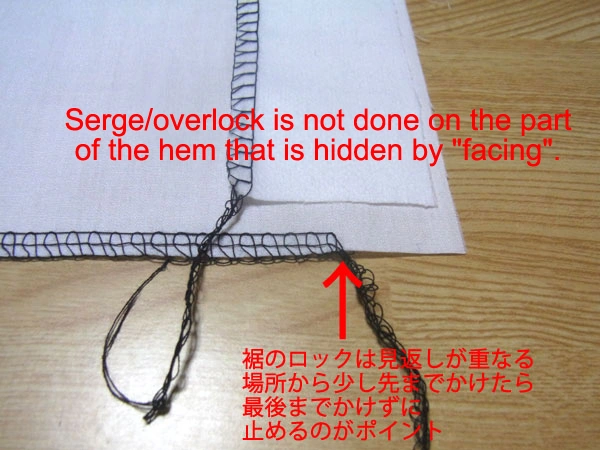
Serge/overlock the hem after ironing. Serge/overlock is not applied until the end, as shown in the picture.
It does not matter if you apply it all the way to the end. However, since this part will be turned over, it is better not to Serge/overlock it until the end to reduce the thickness, so that it will be nicely finished.
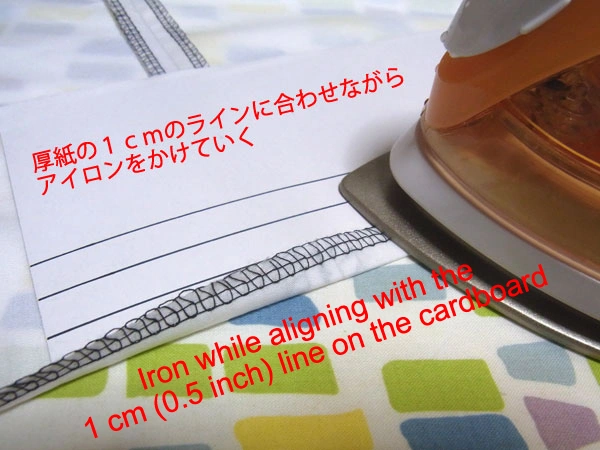
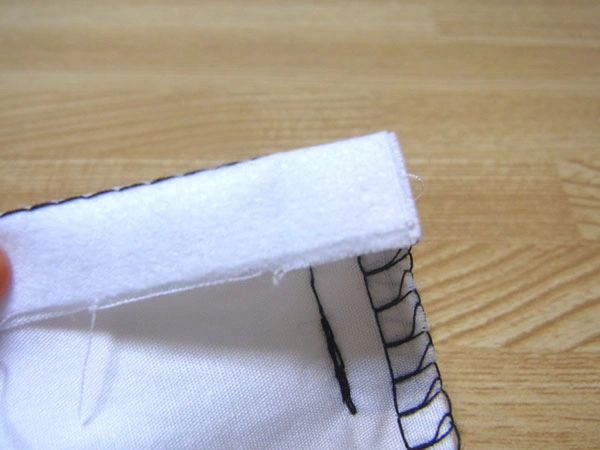
After the Serge/overlock is finished, fold in 1 cm with an iron in advance to give it a shape. The cardboard shown in the photo is a useful item that also appeared when making the sleeve cuffs. See How to sew sleeves and sleeve cuffs for instructions.

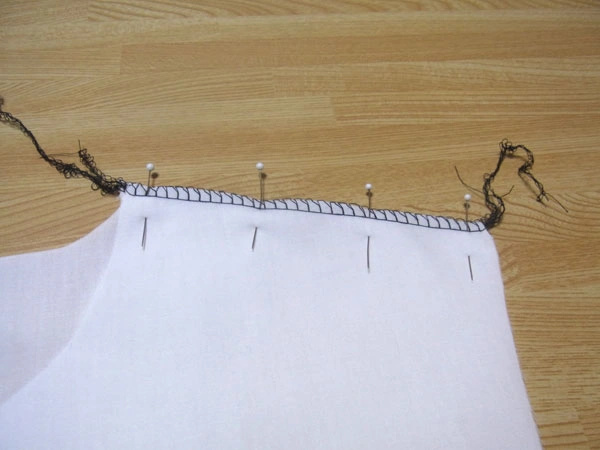
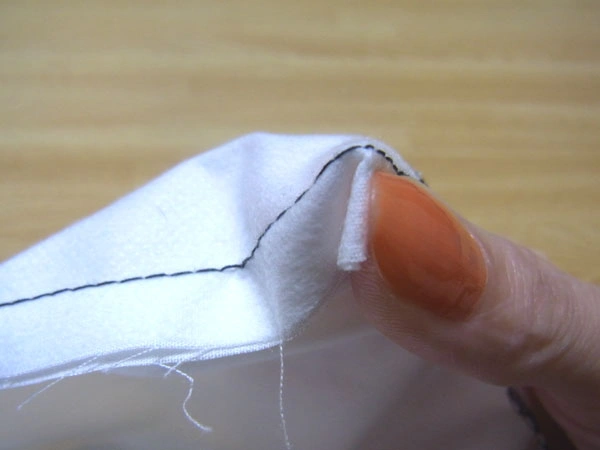
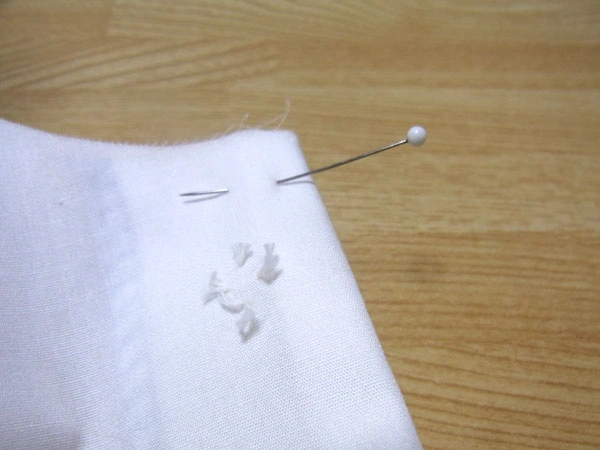
After folding up the hem by 1 cm, fasten the Facing to the body with marking pins. The key point here is to first align the hem corners exactly and fasten with marking pins.
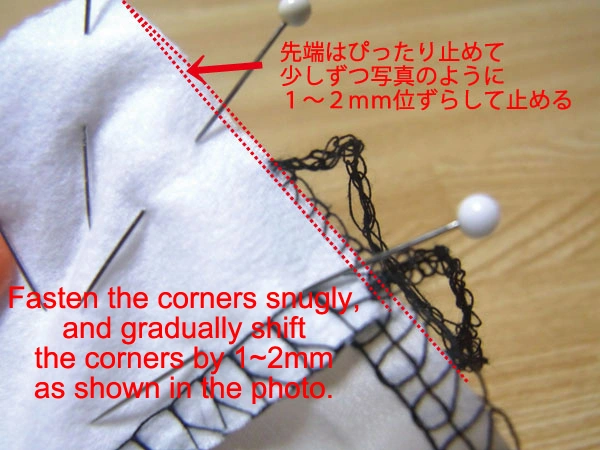
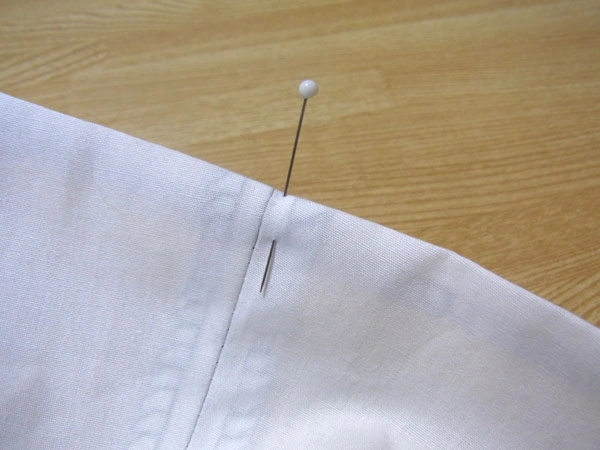
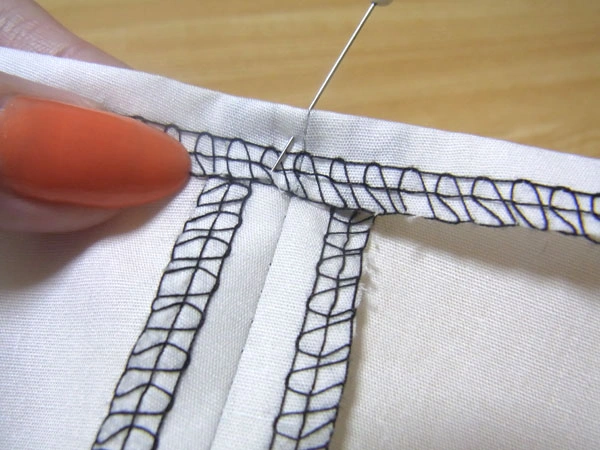
Next, from the tip of the corner, as shown in the photo above, the seam is shifted slightly and stopped with a marking pin. This is to prevent the stitches from coming out on the front side when finished. If you don't mind, you can sew as usual, but if you want to make the finished product as beautiful as the photo that will appear later, this method is recommended.
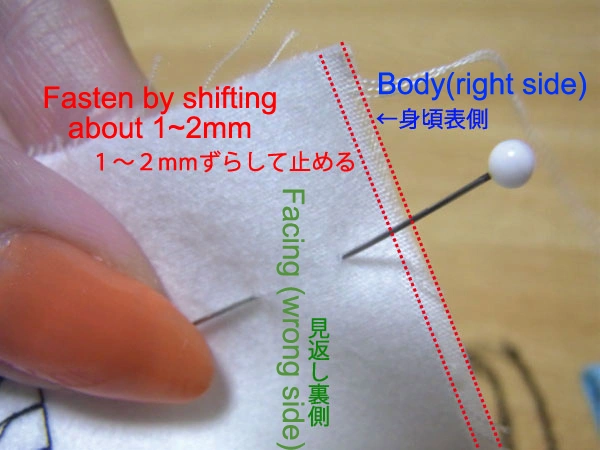
In the photo above, the Facing is being fastened to the body of the garment by shifting the fabric. The key point is to shift all the fabric except for the tip.
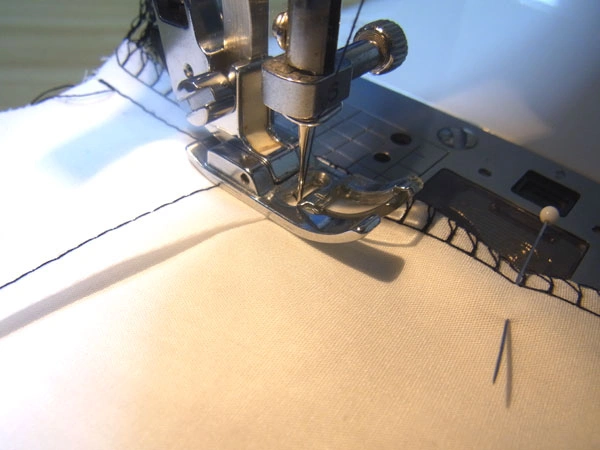
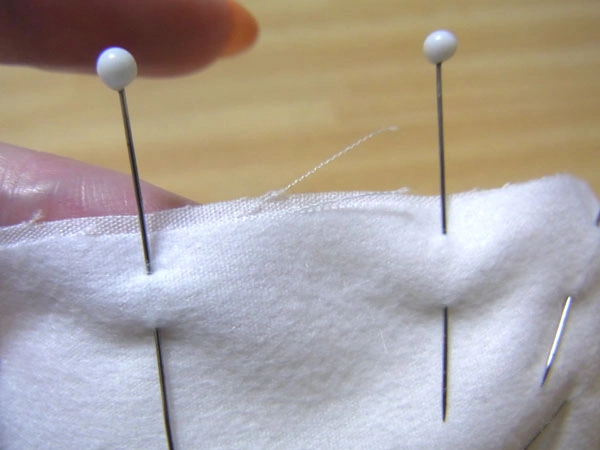
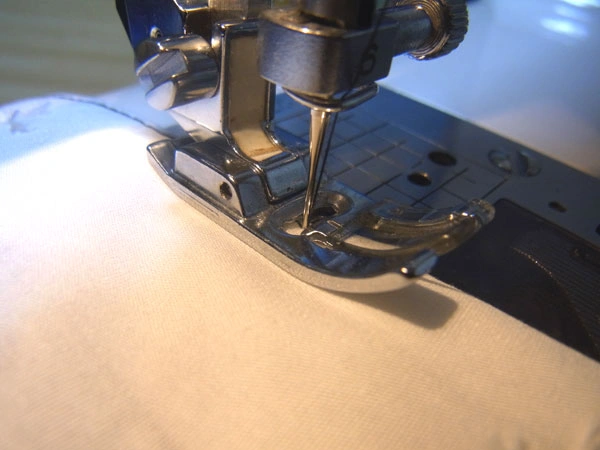
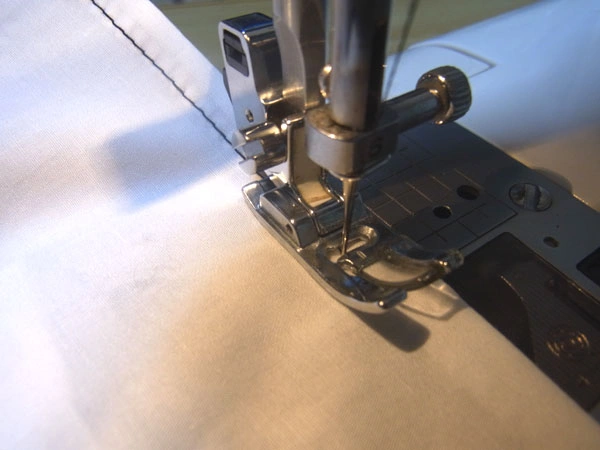
After fastening the marking pins, begin sewing from the hem side in an L-shape. Reverse stitch at the beginning and the end of sewing.
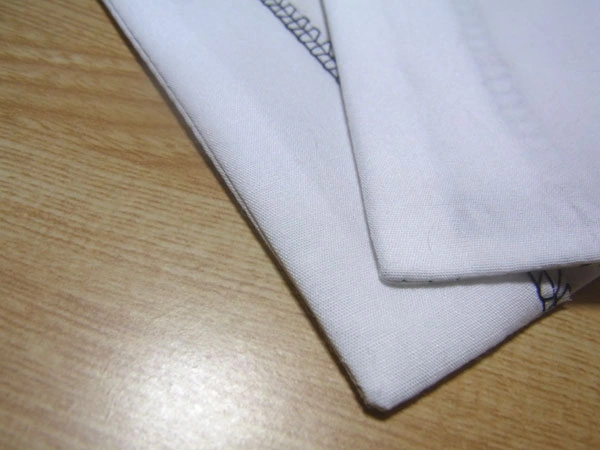
When you finish sewing, it will look like this. For this type of Facing with no lining, there are three ways to handle the corners of the hem. Please choose your favorite one from the methods below, considering the thickness of the fabric.
Method (1): Fold the seam allowance as it is and hide it inside
First, fold it along the seam line as shown in the photo.

Next, fold the hem side in the same way along the seam line.
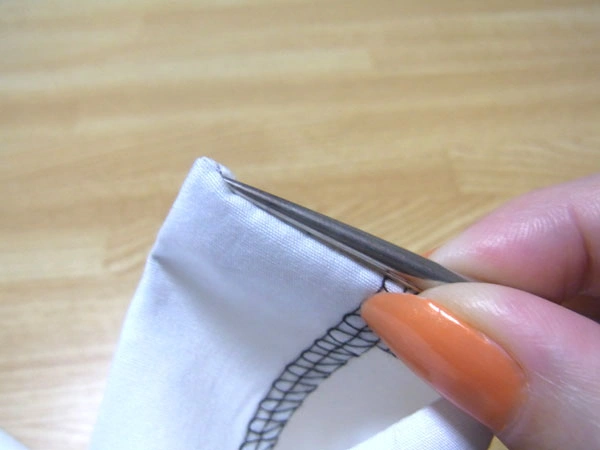
Pinch the folded seam allowance to.....
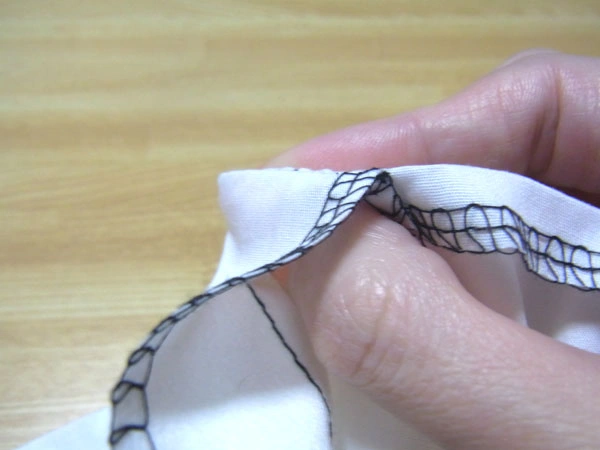
Overturn
When shaped, the seam allowance can be folded in like this to hide it inside. This is the easiest and sturdiest method, but it can be used only with lightweight fabrics, as this part can be stiff when using thicker fabrics.
Method (2): Drop the corners to make it easier to fold
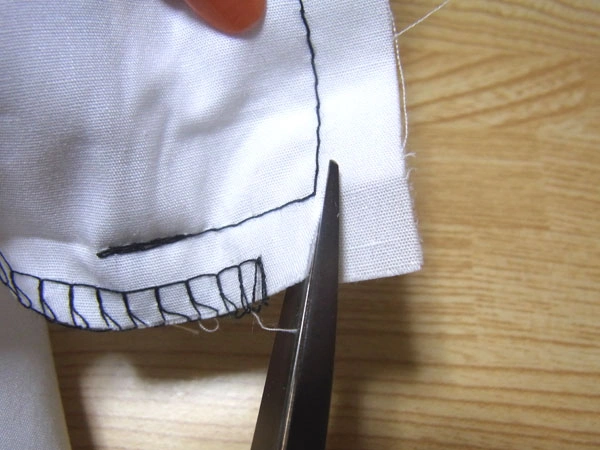
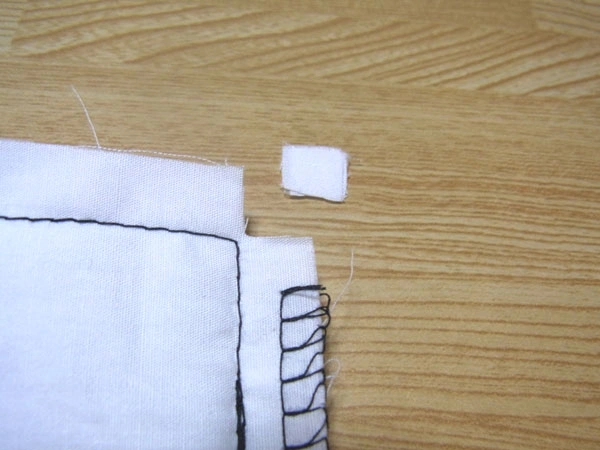
Cut off a square from the seam allowance, about 2 mm from the seam line, in the area shown in the photo.
This method is often used for medium-thick fabrics because the corners are slightly dropped, so it is less stiff and the corners can be easily folded together. This method is also recommended for medium-weight fabrics and shirts, as the corners will be well-shaped, unless the fabric is very thick.
Method (3): Reduce the thickness of the fabric in the seam allowance
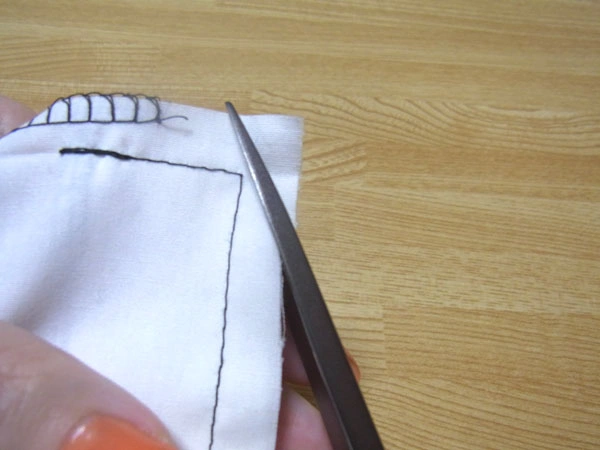
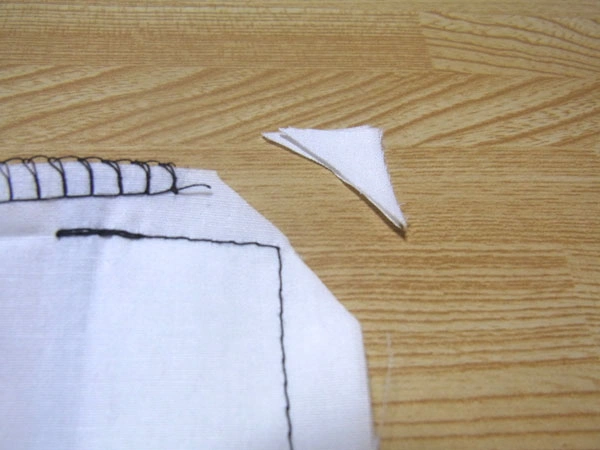
This is the method of cutting off the corners diagonally as shown in the photo.
By cutting off at an angle, the seam allowance at the corners will not overlap, as shown in the photo. This is an effective method for very thick fabrics, and it can eliminate the stiffness of the corners.
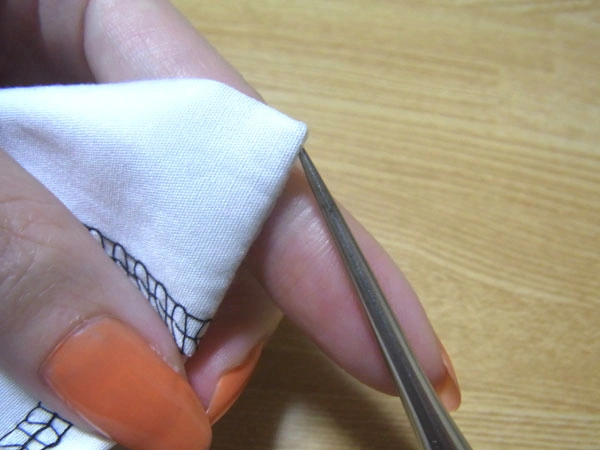
If you cut the seam allowance diagonally as shown in Method (3), the corners may not be cleanly shaped, in which case, please adjust the shape of the corners using a Tapered AWL.
The above three methods of corner seam allowance processing are listed above, but you can use different methods depending on the thickness of the fabric and the ease of doing so.
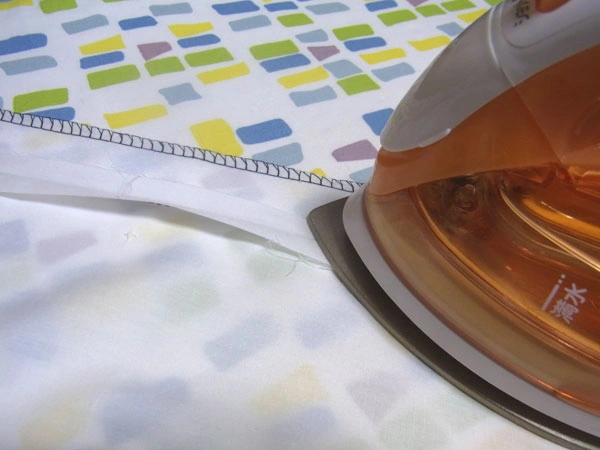
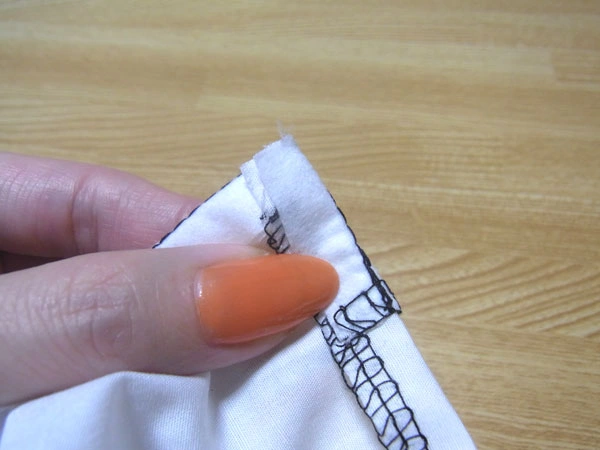
After the corners are done, split open the seam allowance of Facing with an iron. Iron all the way to the end of the corners.
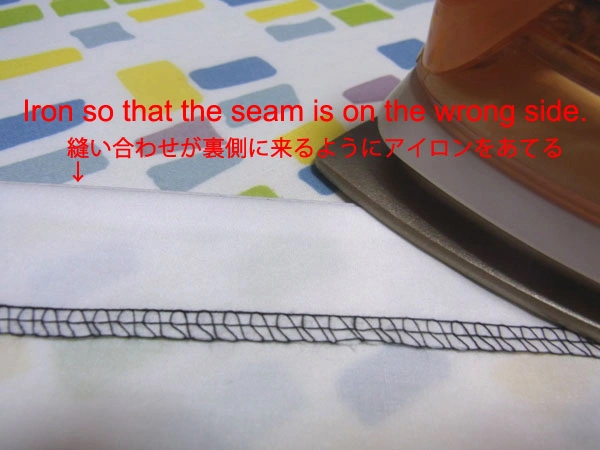
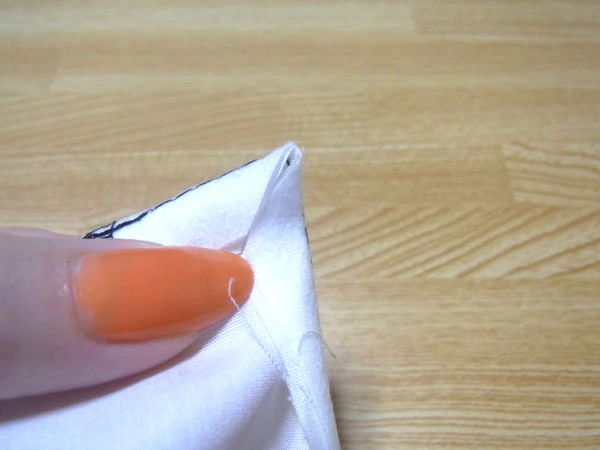
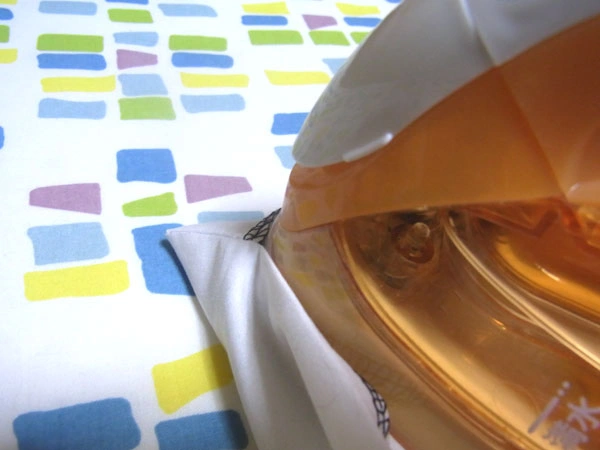
Next, iron from the Facing side, but make sure to iron neatly so that the seam is on the reverse side.
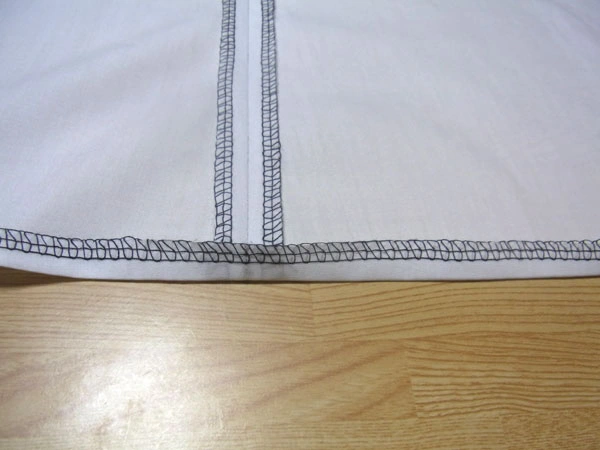
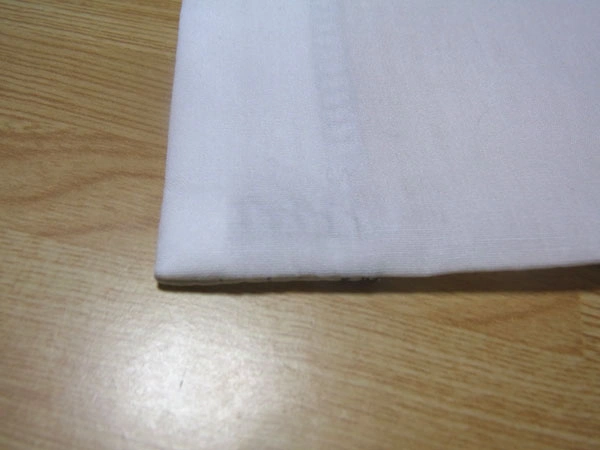
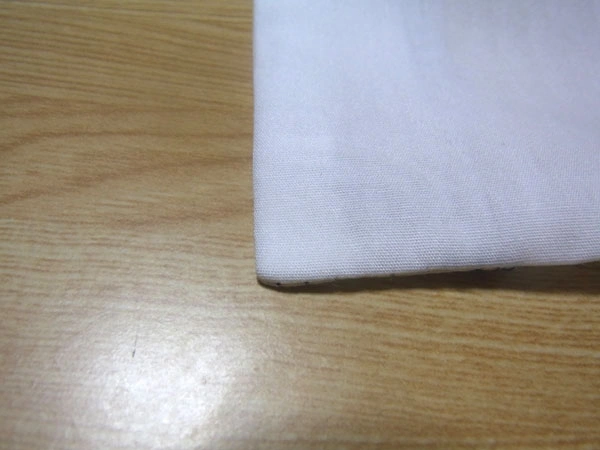
If the iron is applied neatly, the finished product will be clean with no seam lines on the front side, as shown in the photo.
Next, we move on to Facing stitches and sewing the hem. First, the side seam allowance of the hem is fastened with a marking pin.
Facings are also stopped with marking pins.
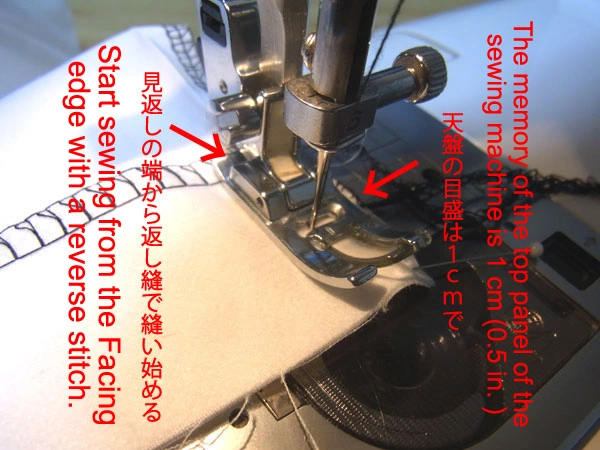
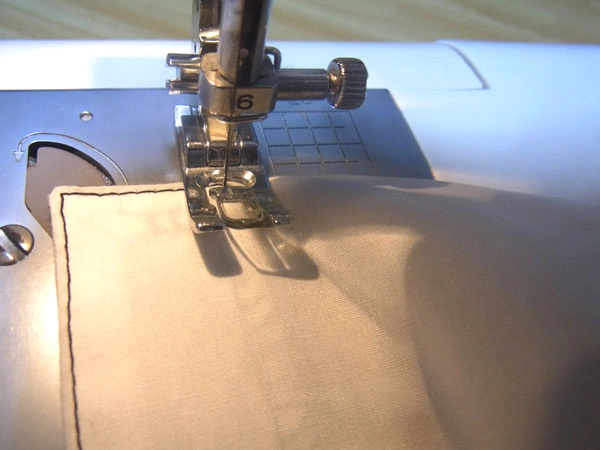
After marking pins are fastened, sew around the perimeter. Start sewing from the top of the neck with a topstitch.
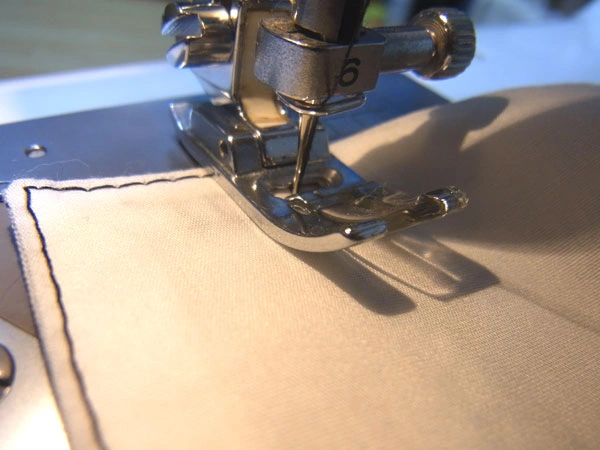
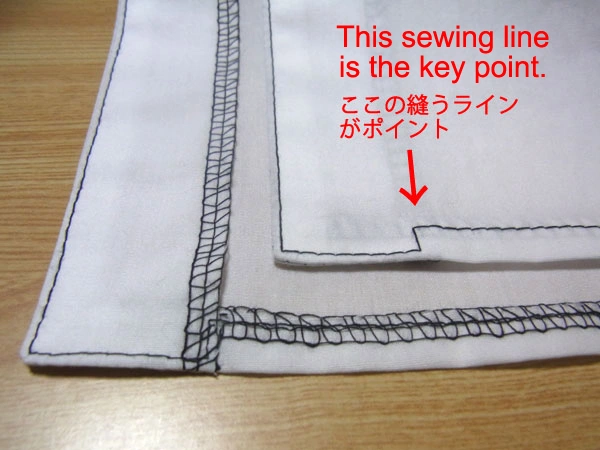
When you come to the corner of the hem, change direction here ... This is where the movement starts to get a little different.
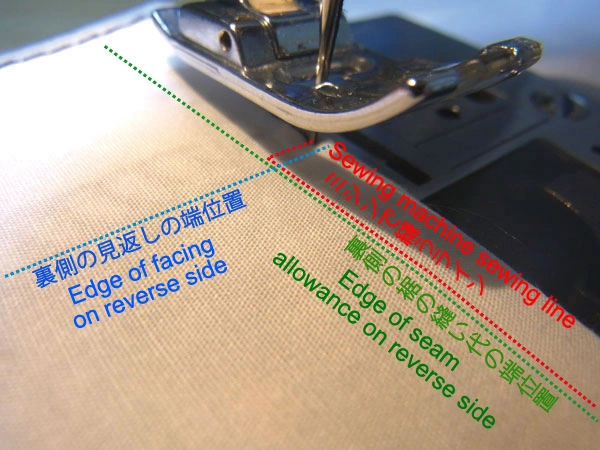
As shown in the photo, sew the seam allowance from the front side to the Facing and Hem seam allowance with a red dotted line.
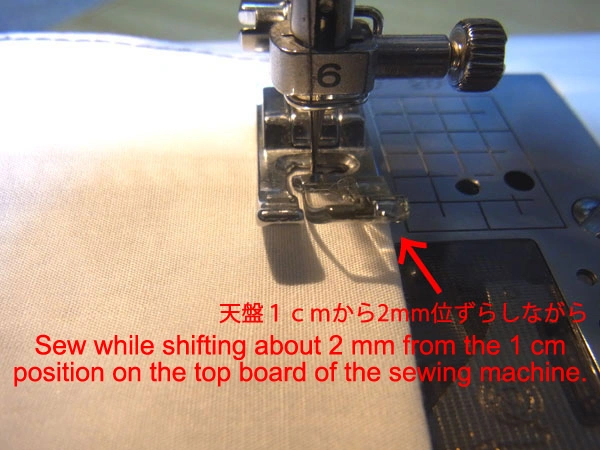
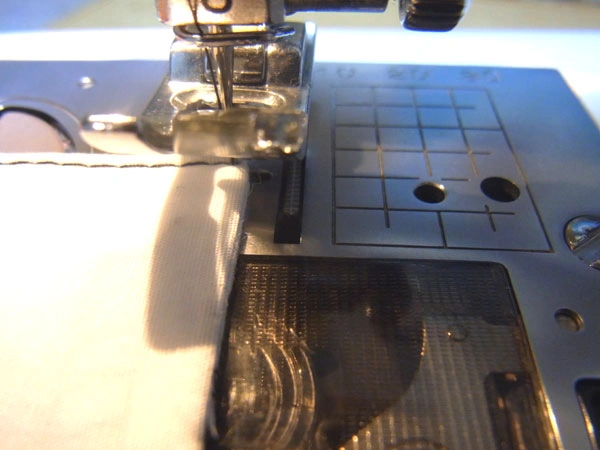
Then, after Facing is finished, sew the seam allowance of the hem with a sewing machine. Since the hem is folded in at 1 cm, sew about 2 mm off the 1 cm scale on the top board to prevent the back side from falling off.
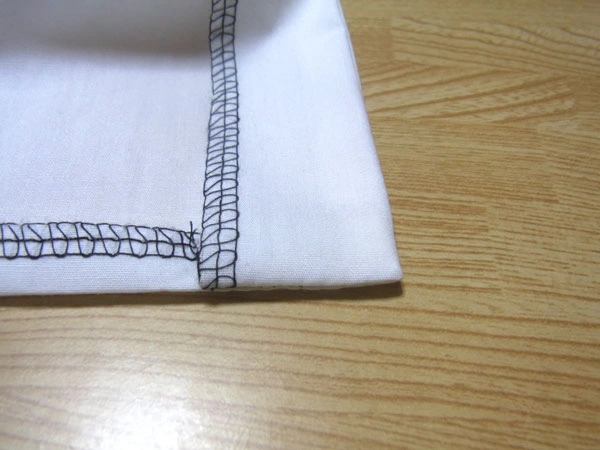
The Facing on the other side is also completed by continuing sewing and sewing all the way around the neck on the other side.
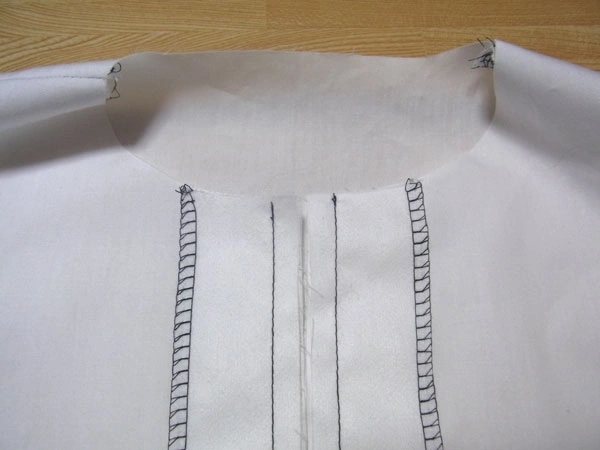
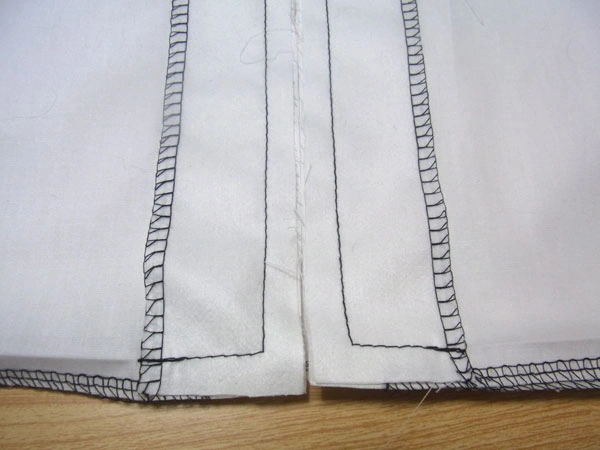
Here is what the finished sewed item looks like from the front and back.
This blouse will have buttons and buttonholes after this, so there is no need to sew the Facing.
The "facing" and the hem are now neatly sewn together. Even if there is "facing" around the neck, the process is the same, just the "facing" around the neck is added.


