How to Sew Sleeves and Cuffs
I want to attach cuffs to the sleeves... but pinching and stitching is difficult and troublesome!
Here is a simple and neat way to attach sleeves and cuffs for those who want to try.
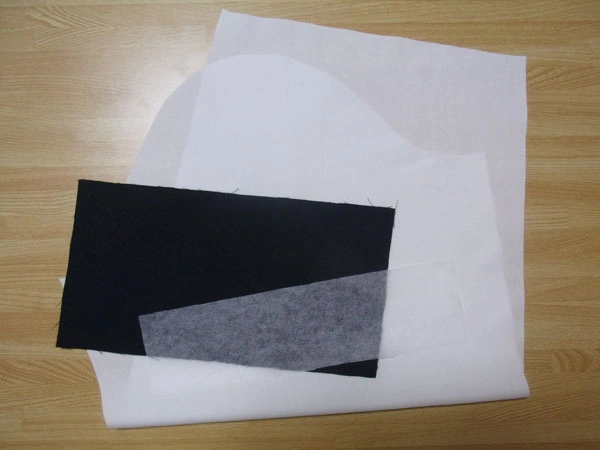
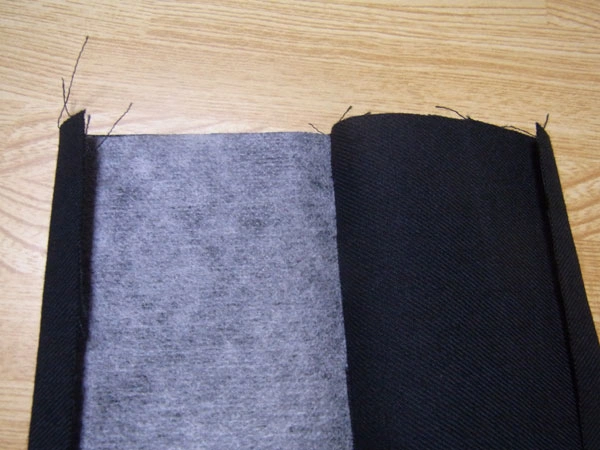
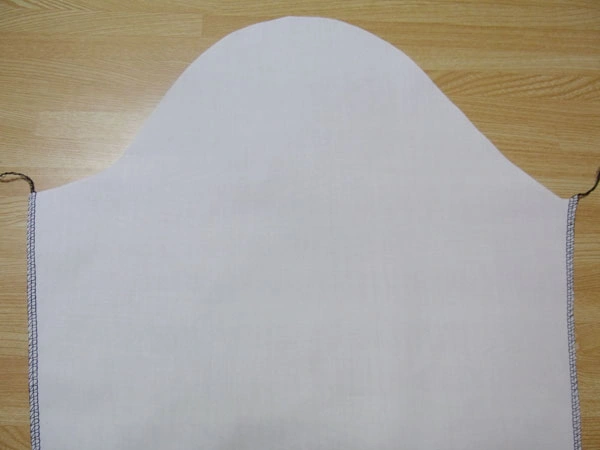
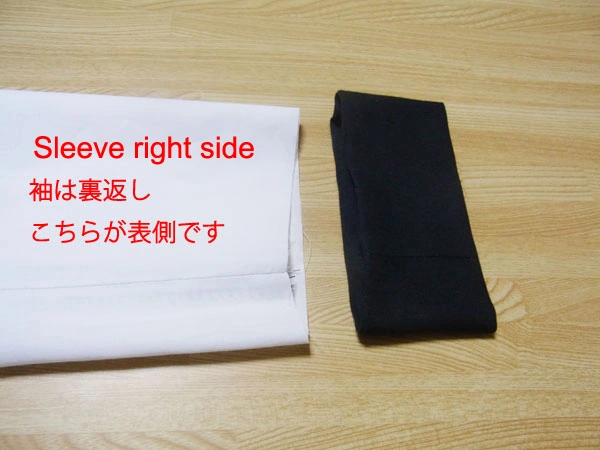
First, let’s introduce the parts: sleeves (white fabric), cuffs (black fabric), and fusible interlining. This time, because the fabric is solid, I applied fusible interlining to only half of the cuff. If the fabric is thin, apply it to the entire cuff or use thicker interlining.
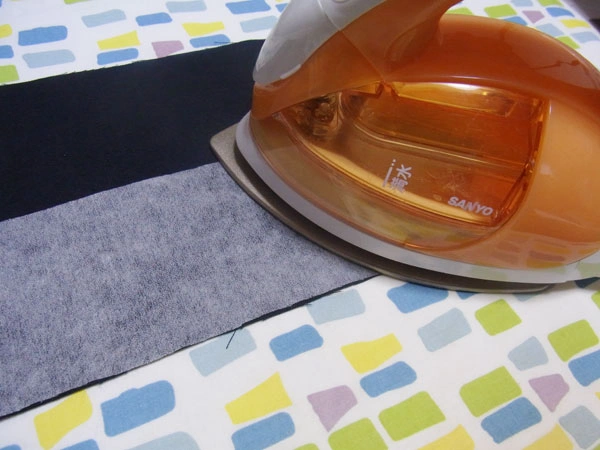
First, iron the fusible interlining onto the cuffs. The process is shown for one sleeve only, but please proceed symmetrically since they are sleeves. Occasionally, beginners make both sleeves in the same direction... Remember, sleeves are symmetrical!
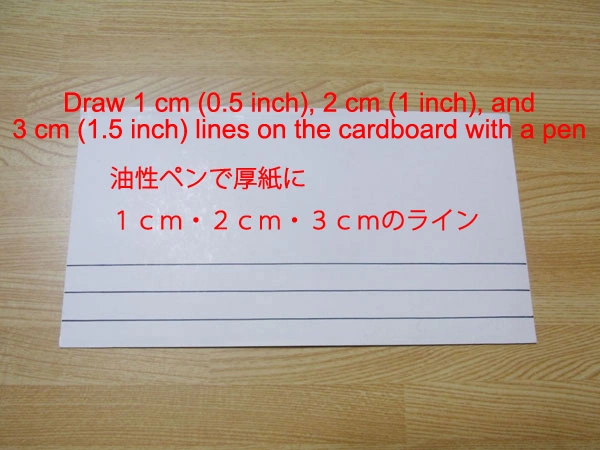
Here’s a secret item! Please prepare this! You may wonder, “What is it?” It’s simply a piece of cardboard with lines drawn at 1 cm, 2 cm, and 3 cm.
This cardboard is very useful for ironing while aligning to the 1 cm line. It is also handy for folding skirt hems at 2 cm or for folding seam allowances in advance.
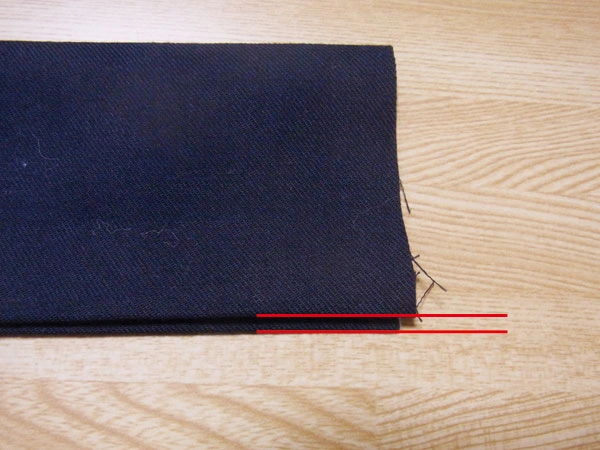
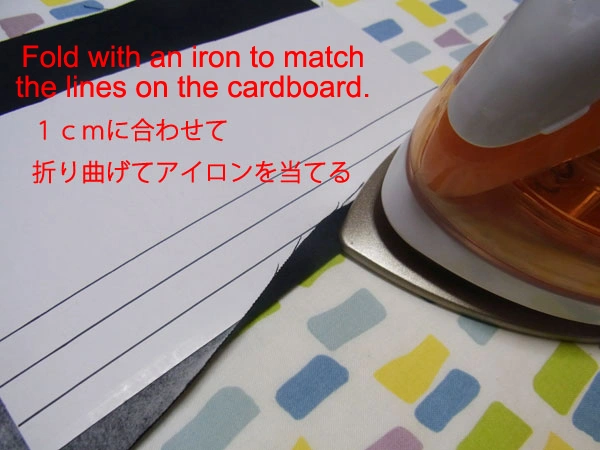
Fold in both edges 1 cm and also fold the middle to make it easy to pinch. When folding in half, be sure to shift the fusible interlining side (the lining side) by 1 mm. By doing so, when sewing from the front, the back side will also be caught neatly.

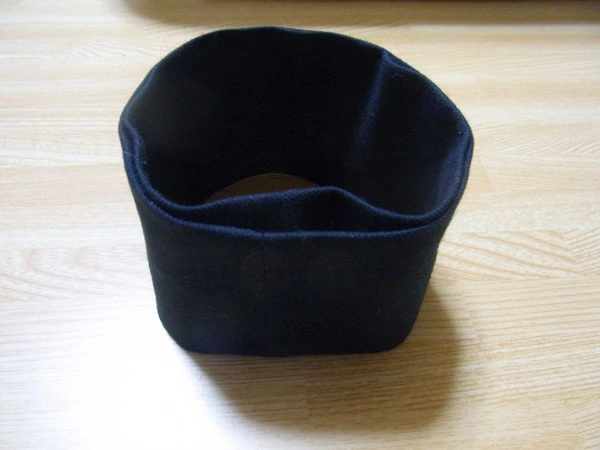
After shaping, pin the sides and sew with a sewing machine to form a loop. Don’t forget to reverse stitch!
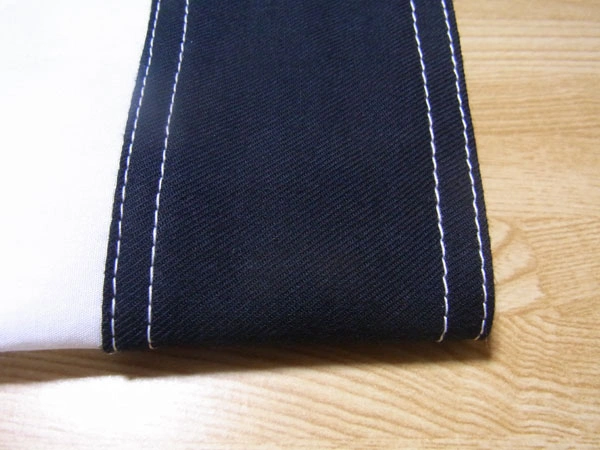
Sewing is finished. The thread is white for clarity, but if you use black fabric, use black thread.
Press the seam allowances open with an iron on a sleeve ironing board.
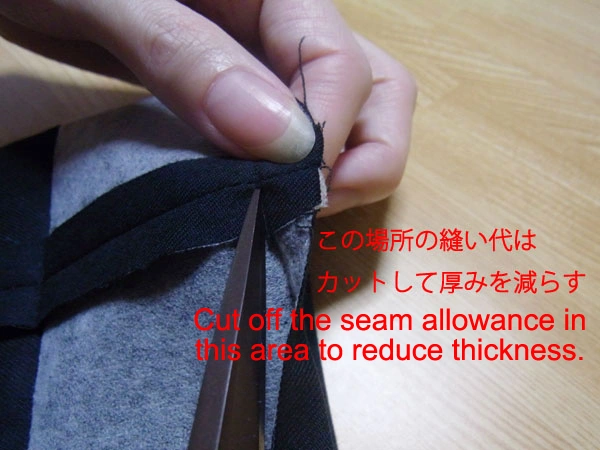
Once the seam allowances are open, the thickness is reduced. If you think this process is too troublesome or are worried the seam might fray, you may skip it. However, trimming this part of the cuff makes it more comfortable to touch.

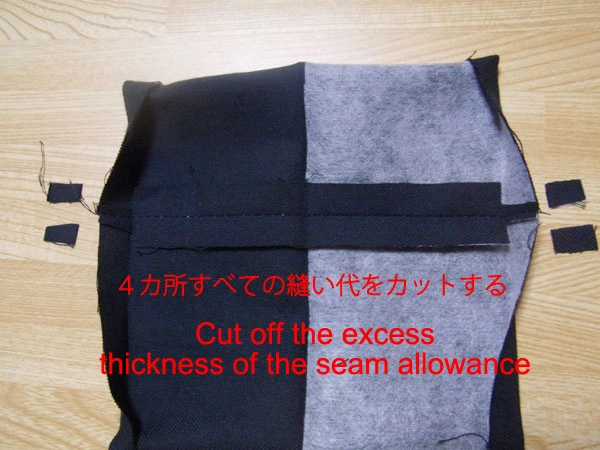
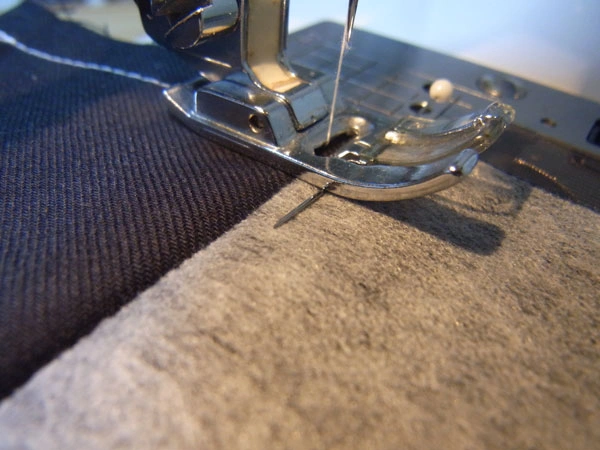
When cutting, be careful not to cut too deeply.
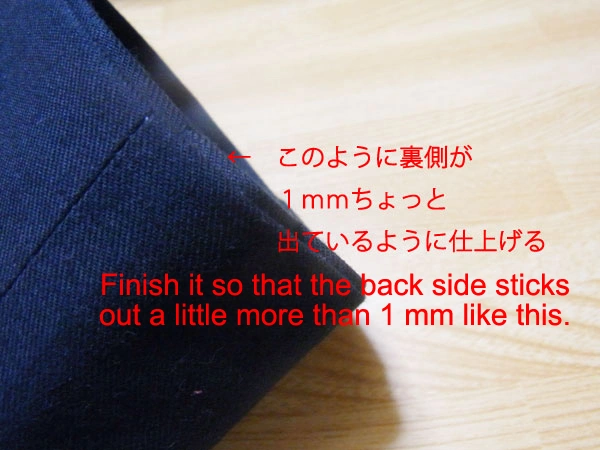
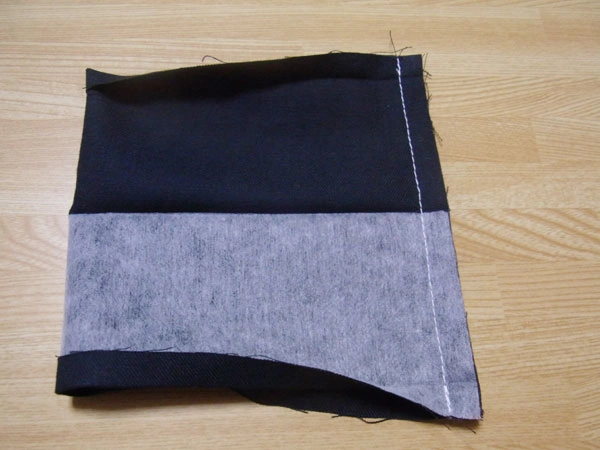
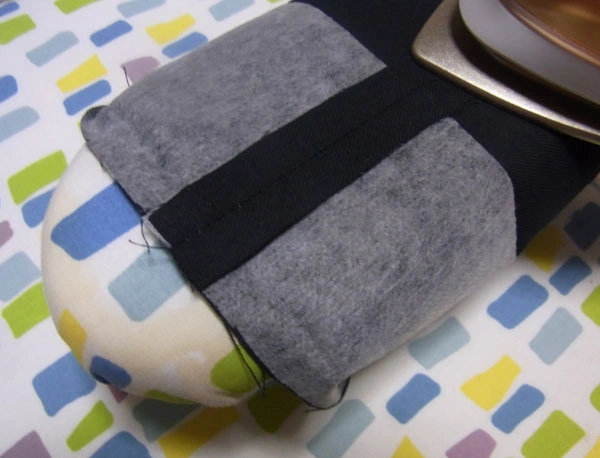
Finish so that the back side extends about 1 mm like this. The cuff preparation is now complete. Next, let’s make the sleeves.
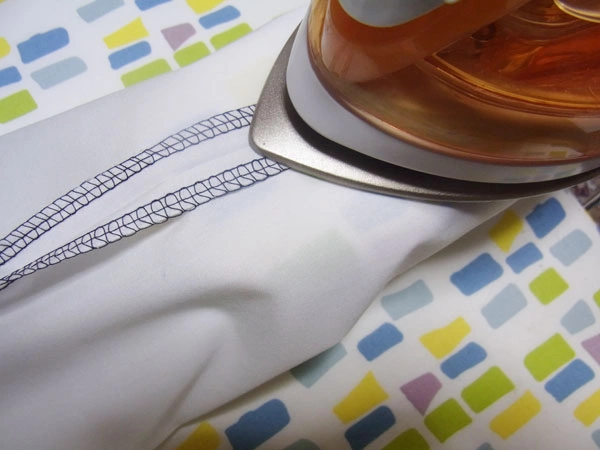
First, serge/overlock both sides of the sleeves. The photo shows an overlock sewing machine, but a regular sewing machine can also be used. Please refer to How to Serge/Overlock (Sewing Machine/Overlock Machine) for the procedure.
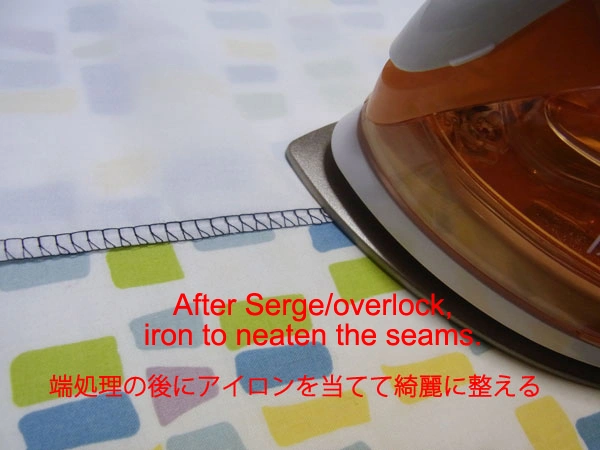
Here’s the key! After serging the fabric, iron the edges from the back once before sewing. Why? Because serged edges are often wavy or bumpy, and sewing without ironing makes it difficult to sew neatly. Ironing first makes it much easier!
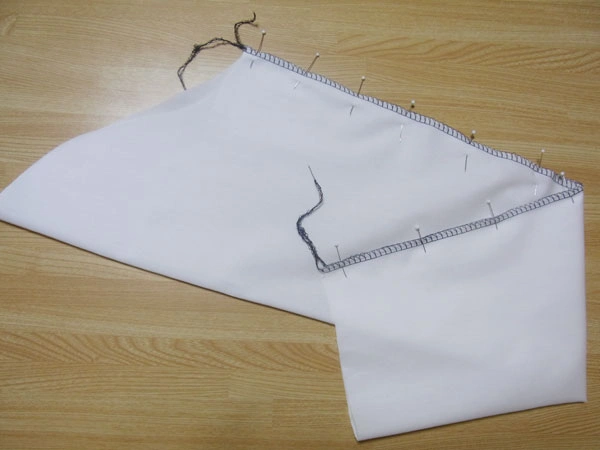
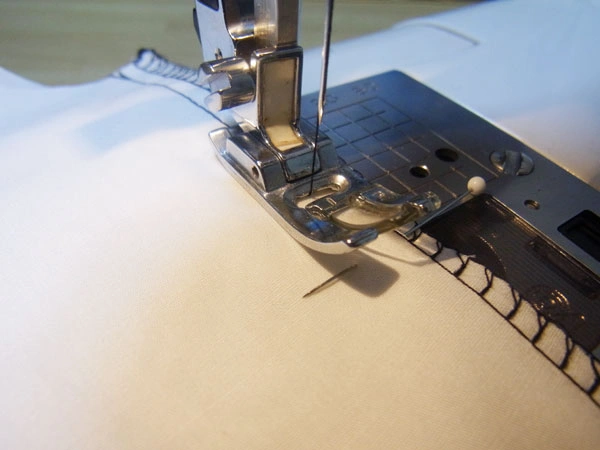

Pin the sides and sew together with a sewing machine.
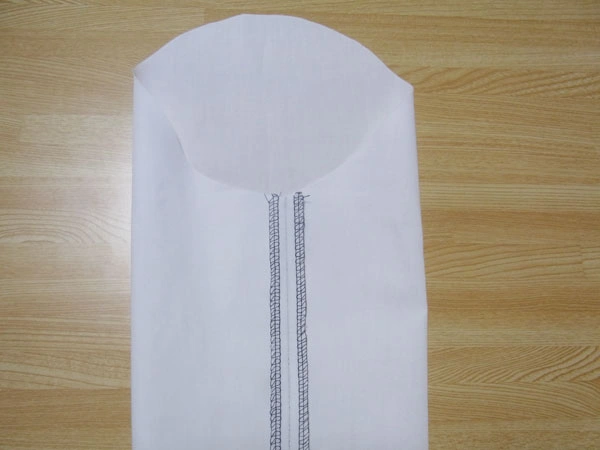
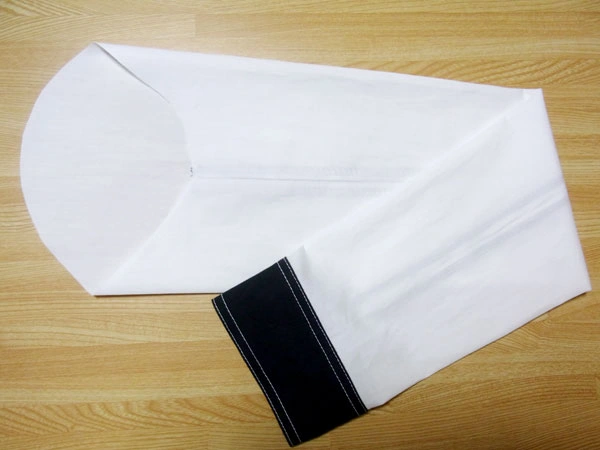
After sewing the sleeves, press again on a sleeve ironing board. Split the seam allowance neatly with an iron. After pressing, turn the sleeve right side out.
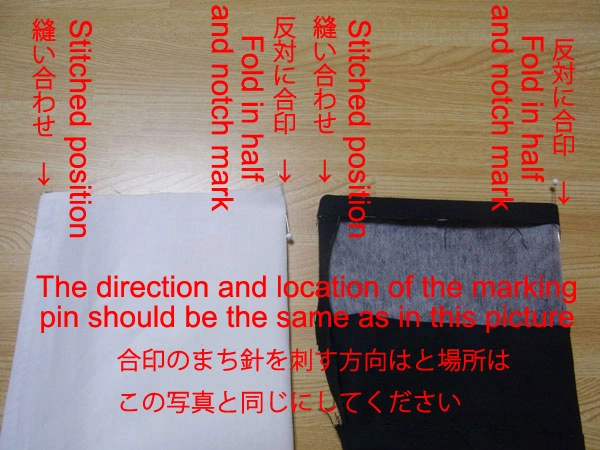
Fold the fabric in half from the seam and make a notch mark on the opposite side with a pin. The fabric is short enough to sew without a notch, but if you are not confident, it’s easier with a notch mark. Pay attention to the direction of the pins as in the photo.
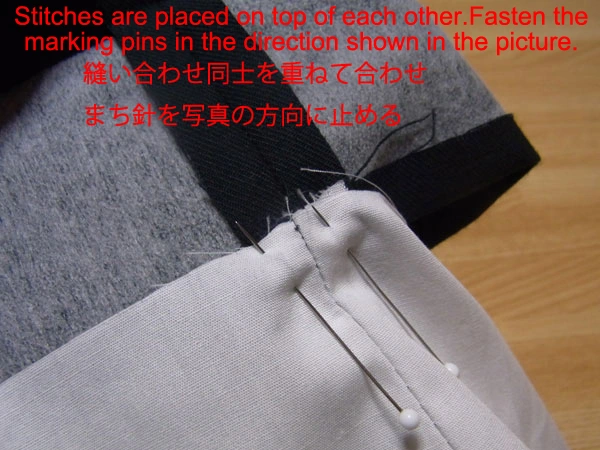
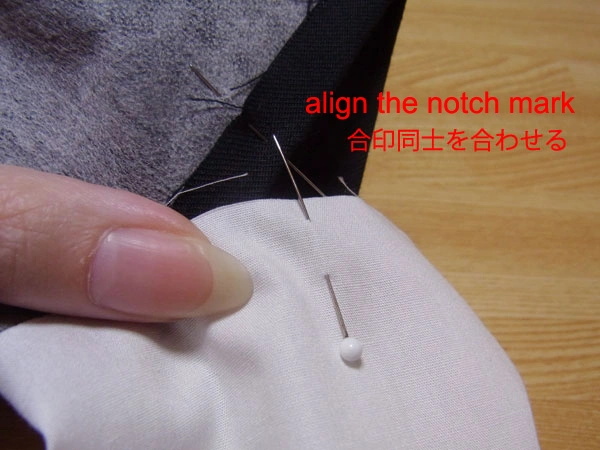
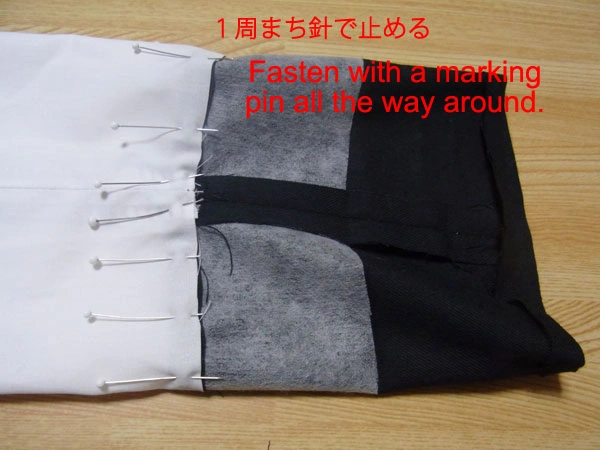
First, fasten around once with pins. Then, fold up the cuff.
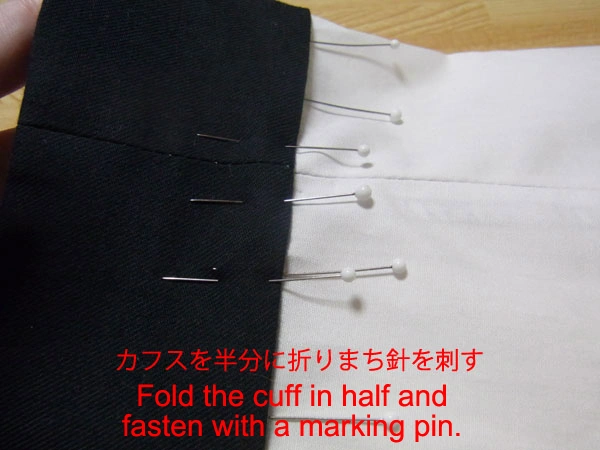
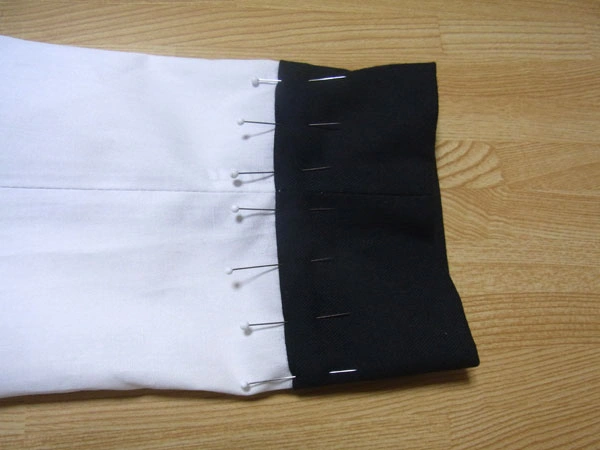
While removing the pins placed earlier, secure the folded cuff with new pins.
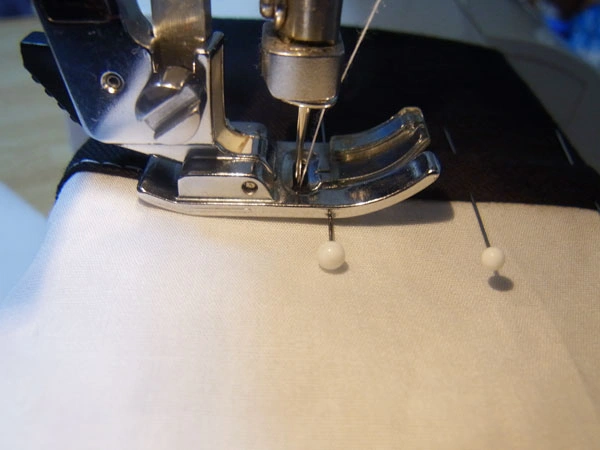
Sew around once with a sewing machine and it’s done!
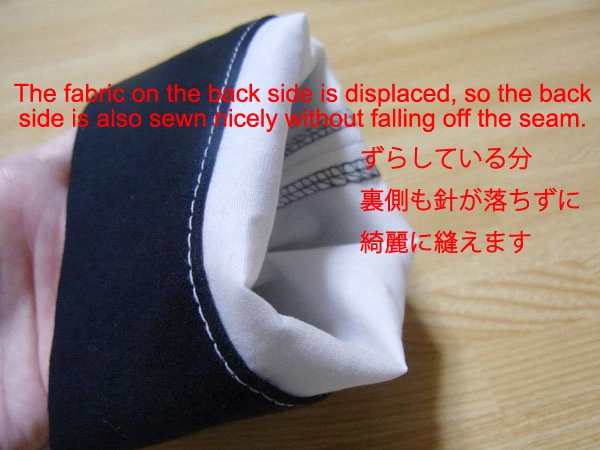
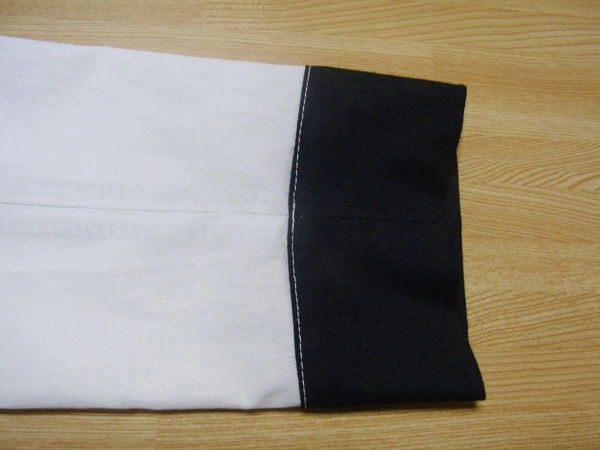
The back side also finishes neatly like this. The key is to shape and shift the cuff slightly before attaching!
Adding decorative stitching is another way to make it pretty! This completes the easy sleeve and cuff.


