How to Attach a Collar Stand
I can make simple collars such as shawl collars and flat collars, but once the collar stand is attached, it suddenly becomes very difficult...
Many people tend to avoid it.
However, when making a stylish shirt or a distinctive collar, attaching the collar stand is absolutely necessary. I will explain this as clearly as possible with many pictures.
The pattern used here is from Free Pattern & How to Make: Blouse with Collar Stand (Long Sleeve) .
There are various ways to attach a collar stand, but I chose this method because it is easier for me and results in a more beautiful finish.
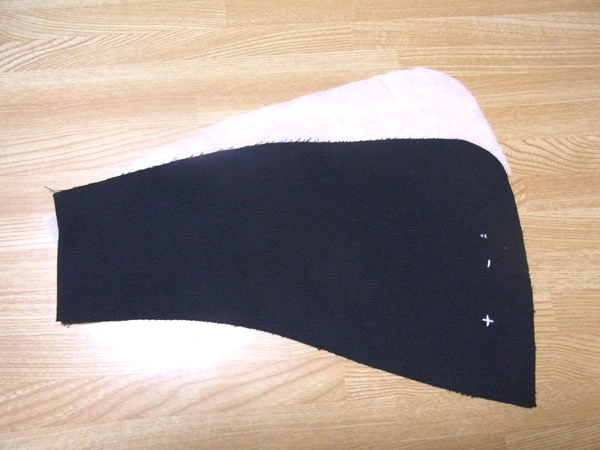
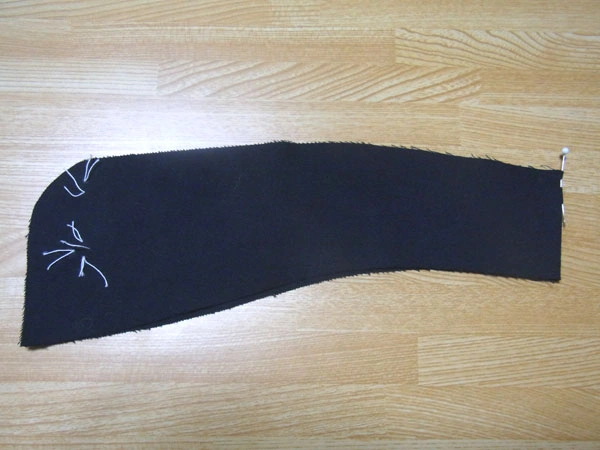
First, prepare two collar stand pieces and one fusible interlining.
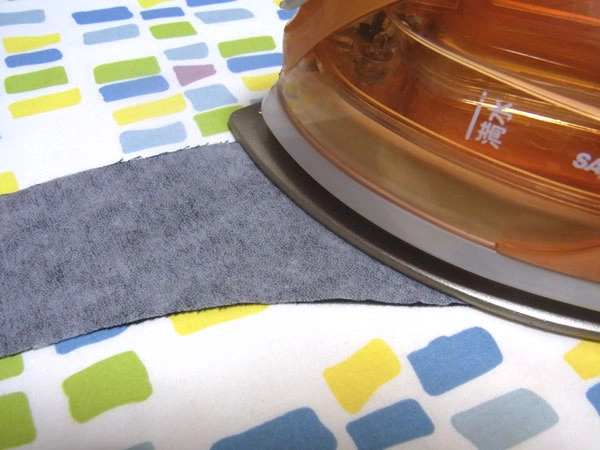
Apply the fusible interlining to one of the collar stands. The side with the interlining becomes the back side of the collar stand, the part that directly touches the neck. The front side is the one that touches the necktie.
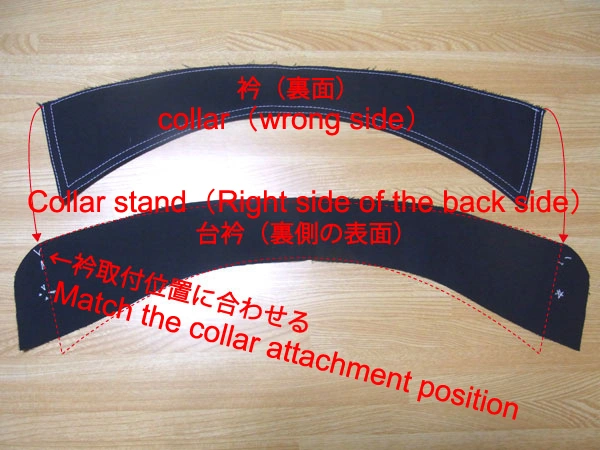
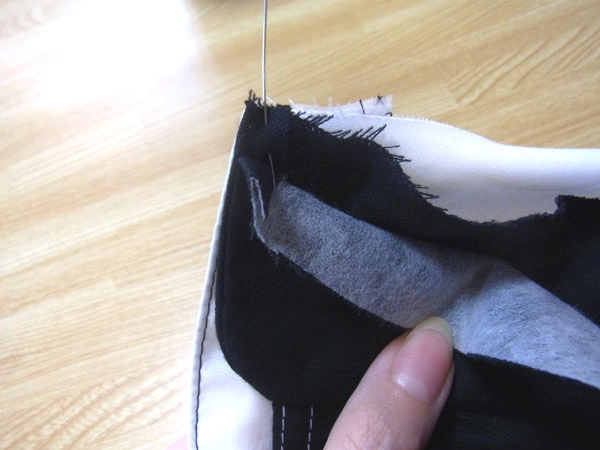
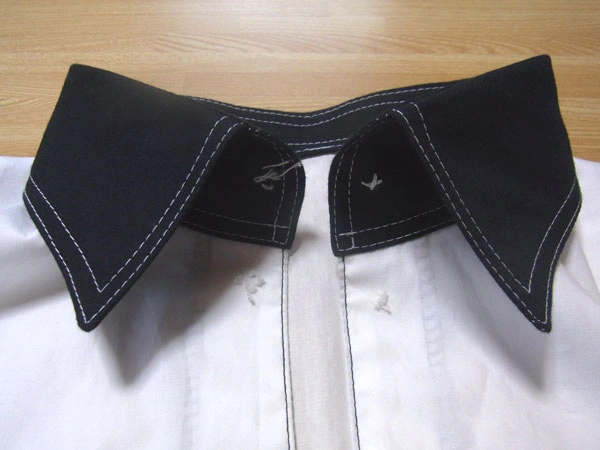
Turn the collar stand with the interlining attached to the inside, align it with the collar attachment position, insert the collar, and move on to sewing.
Since the collar folds back when worn, many people lose track of the front and back while sewing, often ending up with mistakes such as attaching it inside out. Please use the photos above as a guide and be careful not to make mistakes!
For how to make the collar part, How to Make a Collar please refer here.
Fold the collar in half and place a marking pin at the center to make a notch mark. Do the same for the collar stand.
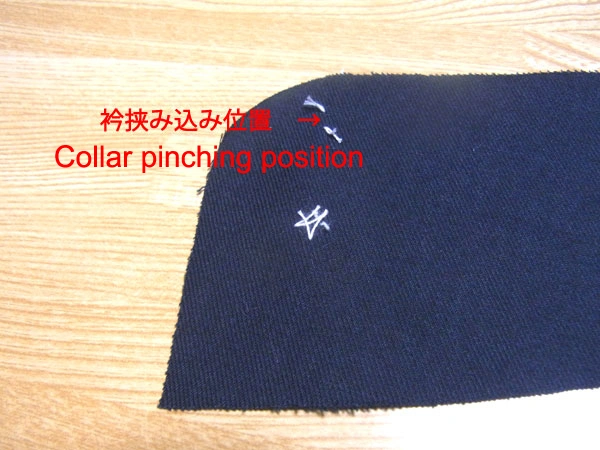
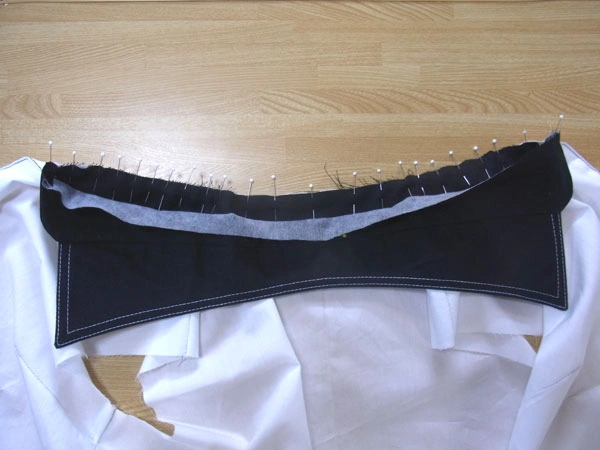
Align the collar with the pinching position and secure it with marking pins.
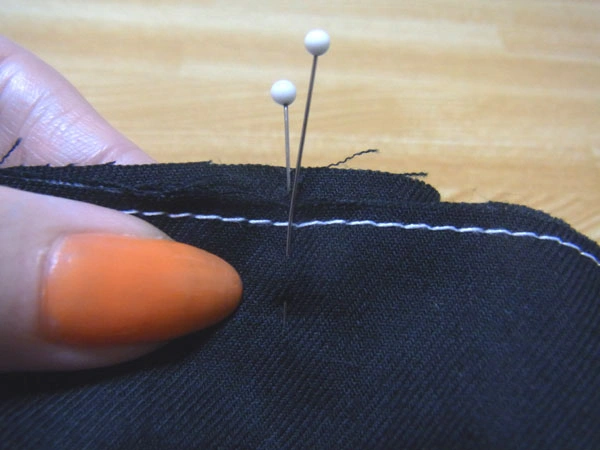
Fasten the center notch mark with a marking pin as well.


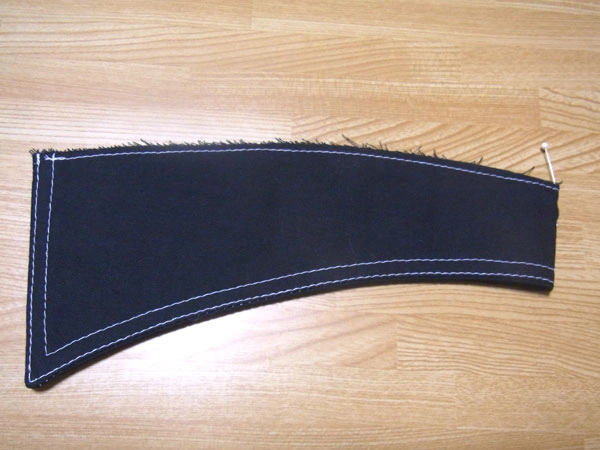
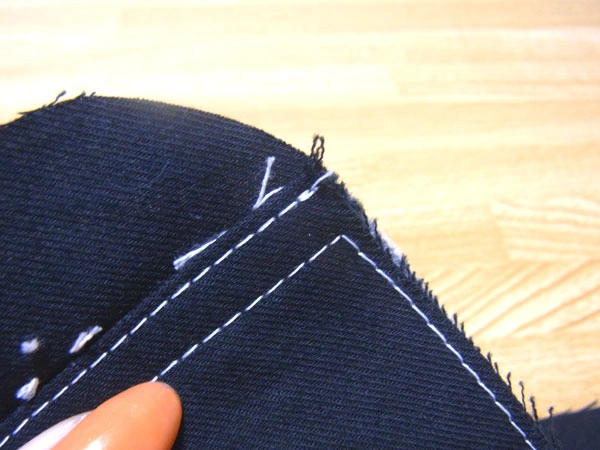
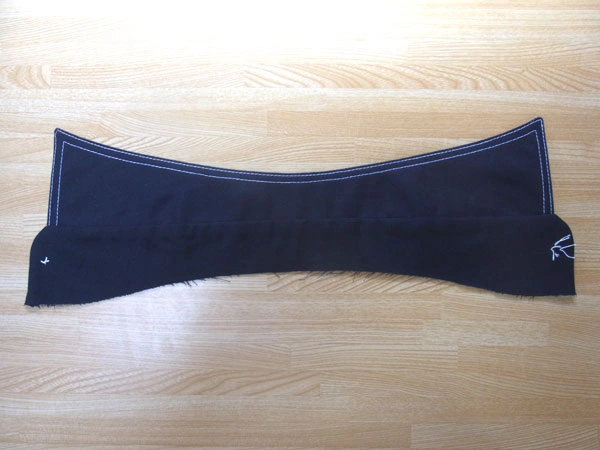
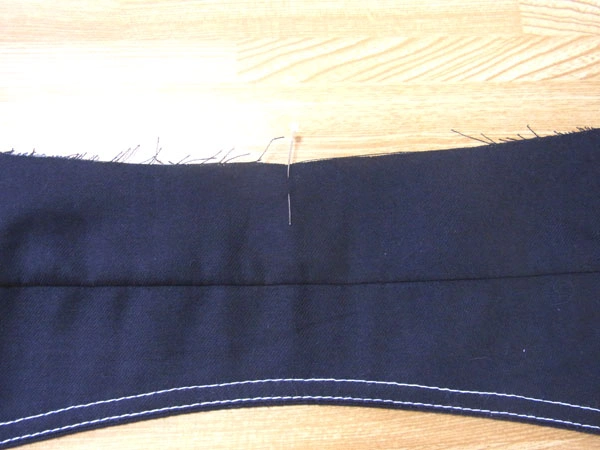
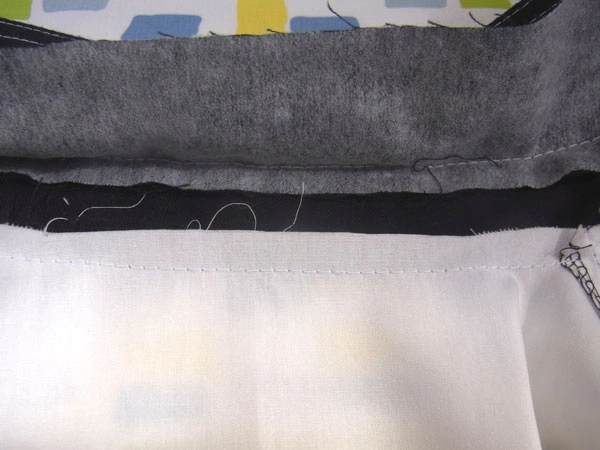
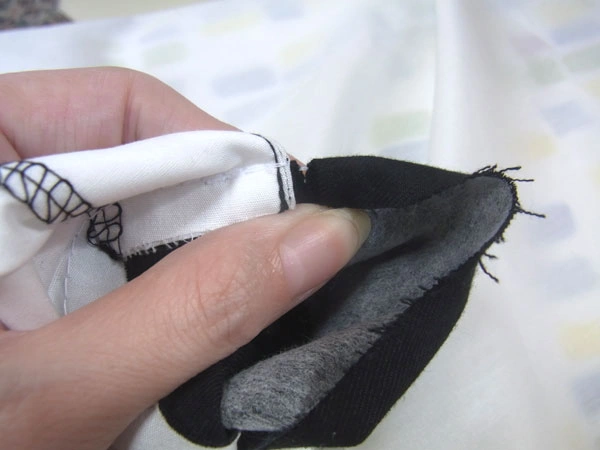
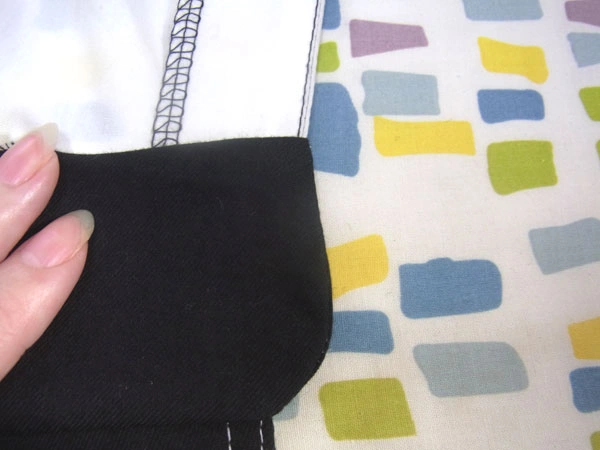
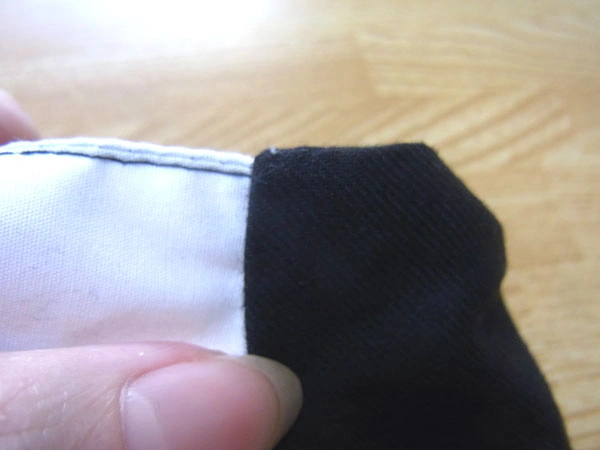
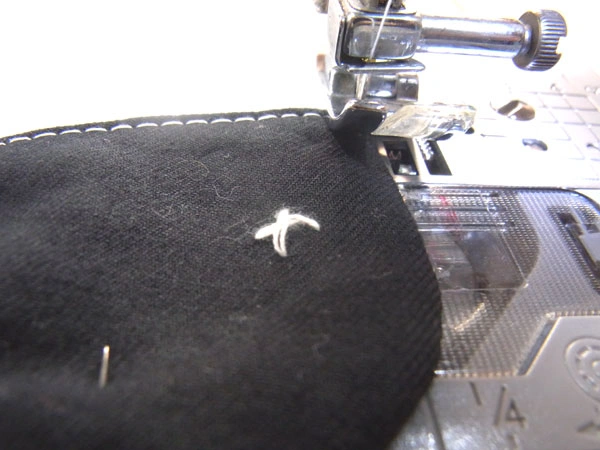
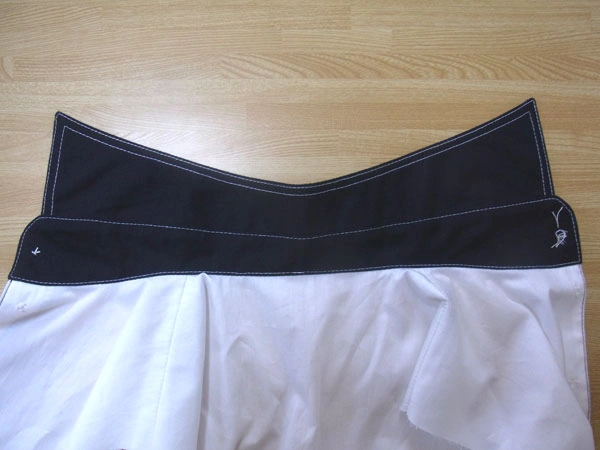
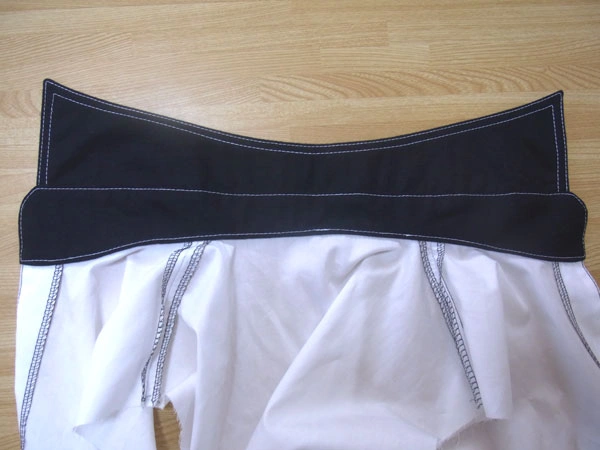
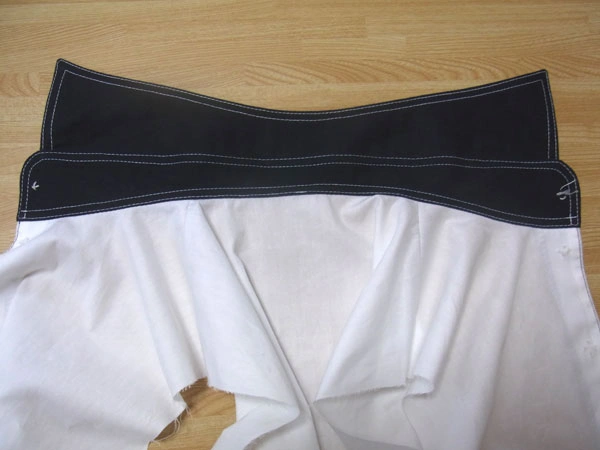
One point here! The photo above shows the finished collar stand from the front, and the one below shows it from the back.
The dotted red line is the key point. Because the seam is turned to the back, the front side looks very neat.
These small details build up to create a beautifully finished garment, so if you can, be aware of seam placement when sewing.
When I was in sewing school, it felt troublesome! But once you get used to it, the finish is very different, so please learn the method of keeping seams hidden.
For more detailed instructions, please refer to How to Make a Collar .
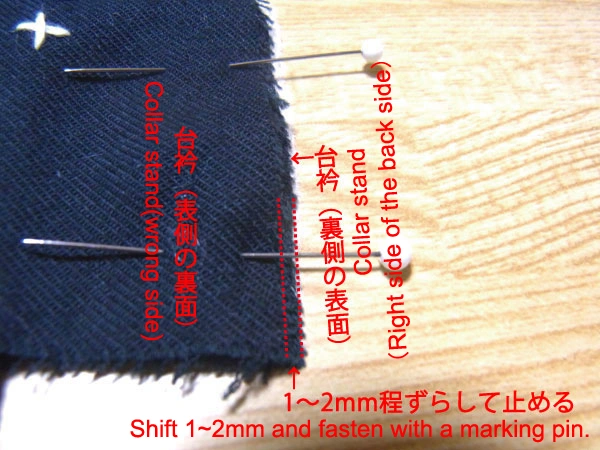
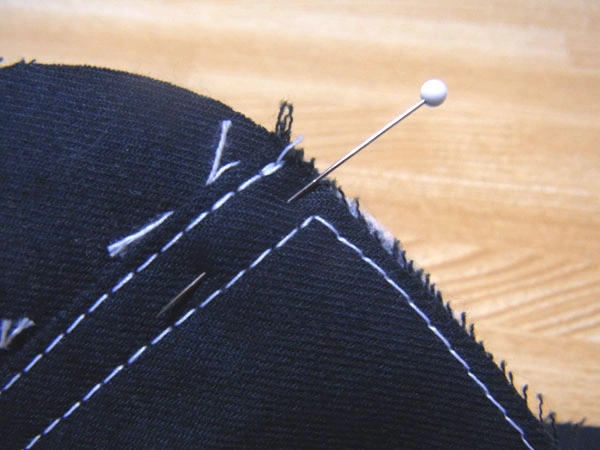
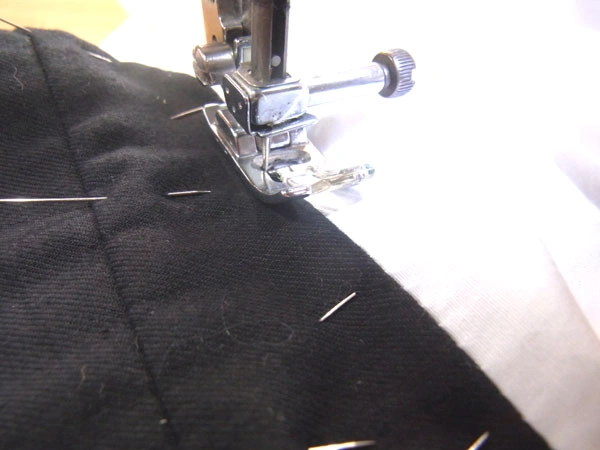
Shift and secure the collar stand. Only the red dotted line part should be shifted; the rest that holds the collar should be pinned normally without shifting.
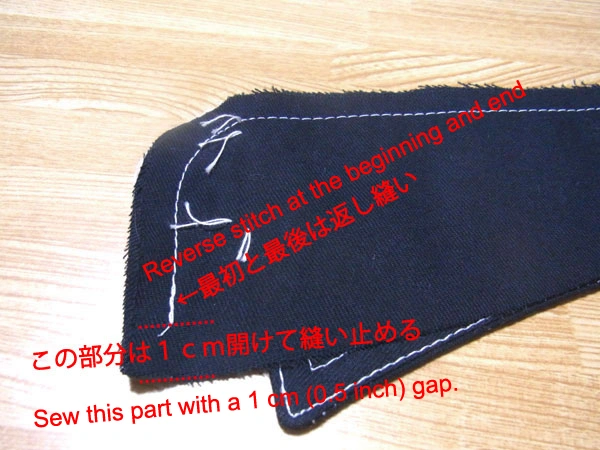
When finished pinning, sew with a sewing machine. Leave 1 cm open as shown in the photo. Start and end with a reverse stitch.
After sewing, remove the basting stitches at the collar alignment using a thread remover.
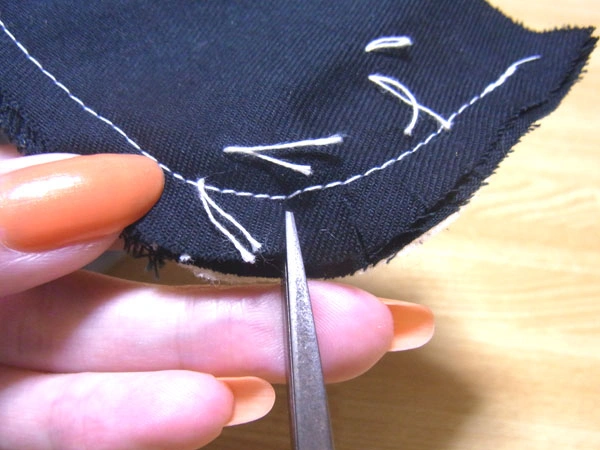
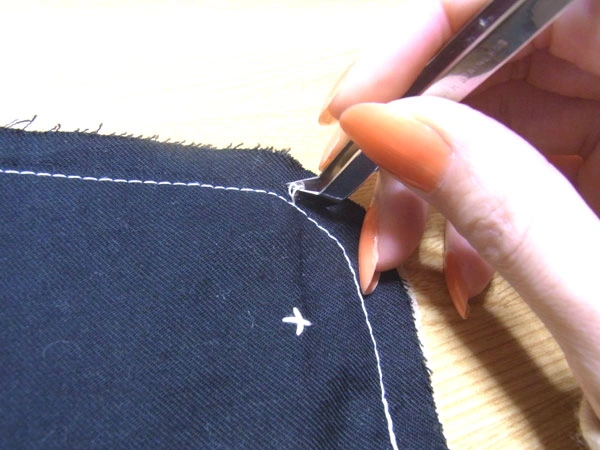
Next, before turning it right side out, treat the seam allowance at the sharp curve.
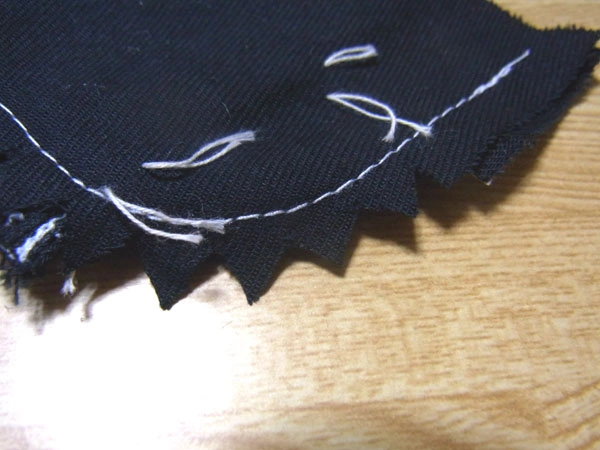
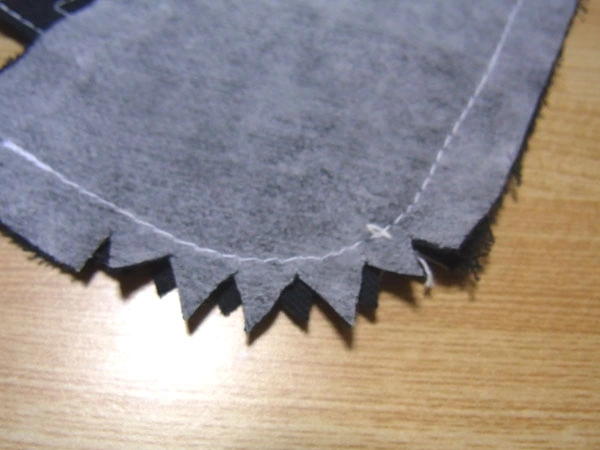
You can either cut it in a jagged pattern crossing like in the photo, or cut away the seam allowance leaving 2 mm.
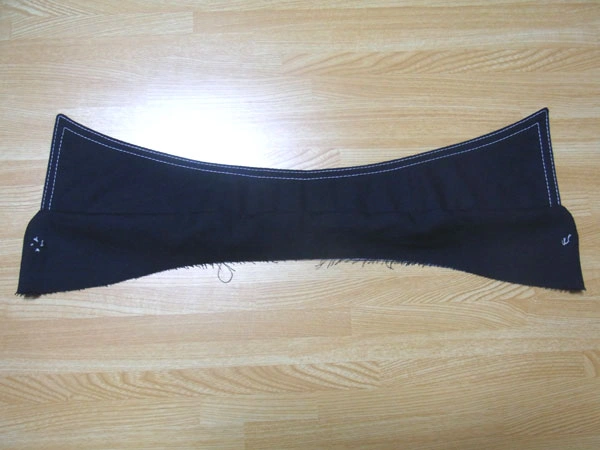
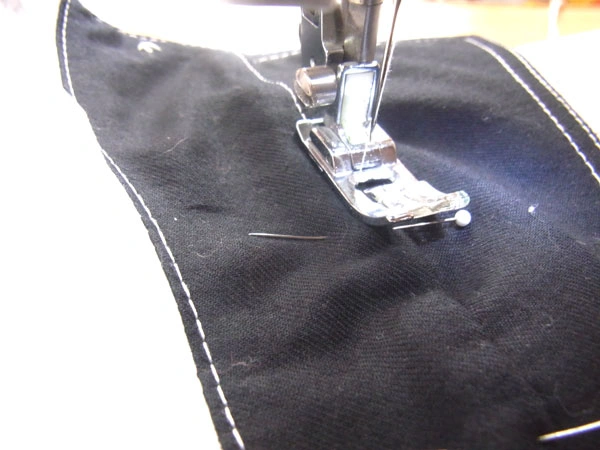
When turned over, it will look like this.
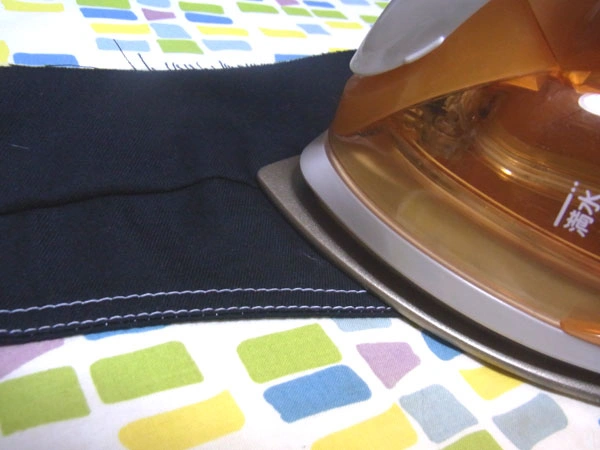
Press with an iron to stabilize the shape. The shifted seam should roll neatly to the back side so the seam line is not visible.
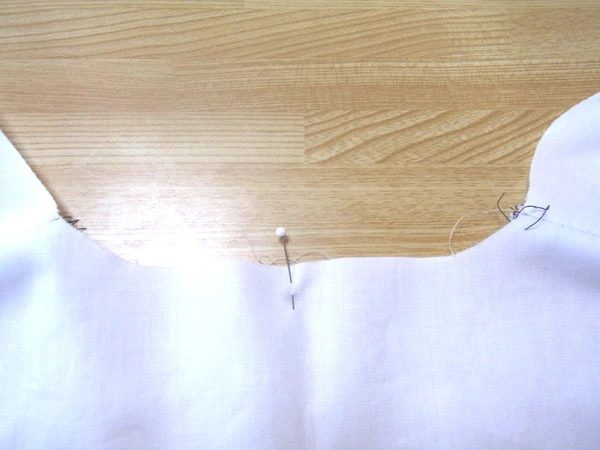
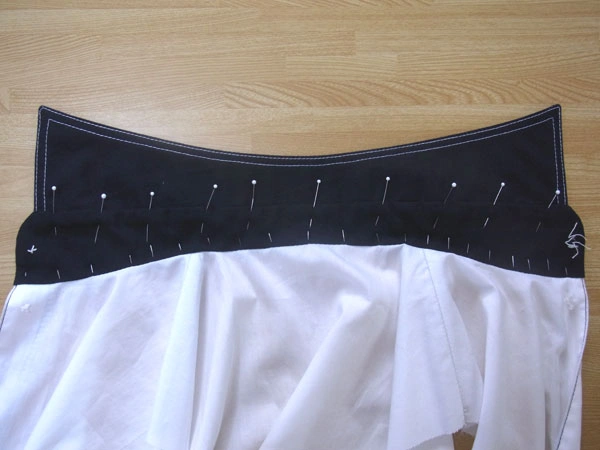
Next, attach it to the body. First, mark the center of both the collar stand and the neckline by folding them in half and placing a marking pin.
Align the edge of the collar stand with the body as shown in the photo and pin it in place.
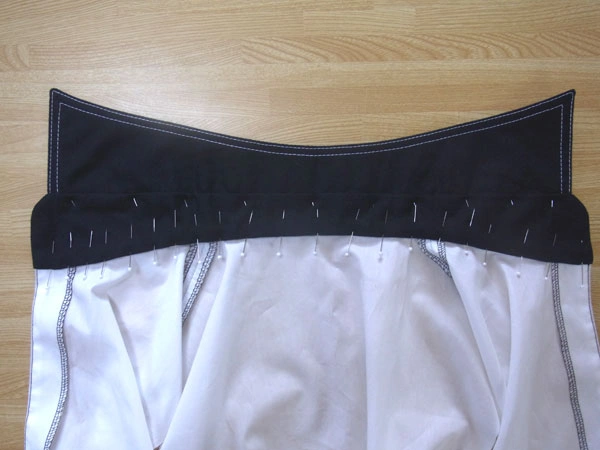
After pinning the opposite side, pin the whole thing as shown in the photo.

Sew with a 1 cm seam allowance. Start and end with a reverse stitch.

Once sewn, it will look like this.

Press the seam allowance upward with an iron instead of splitting it open.
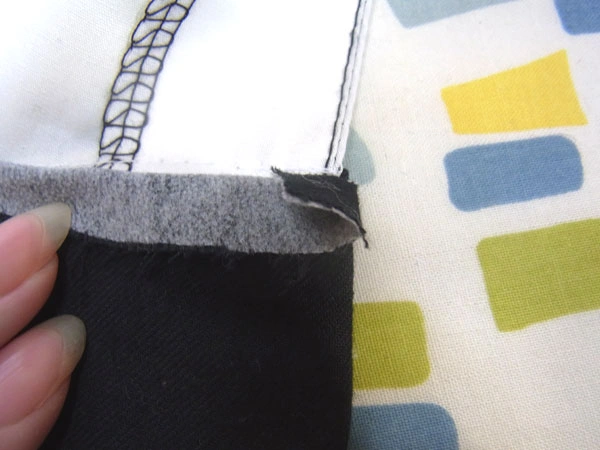
Next, fold in the back side edge as shown in the photo.
Fold neatly, settle the corners, and press with an iron. This way the seam allowance will be hidden more cleanly.

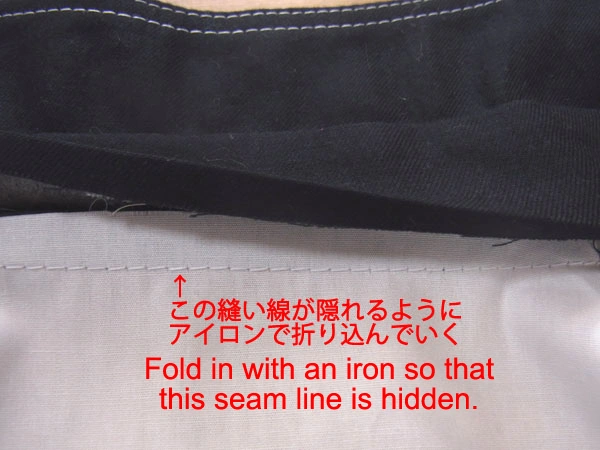
Press to shape while hiding the seam line.

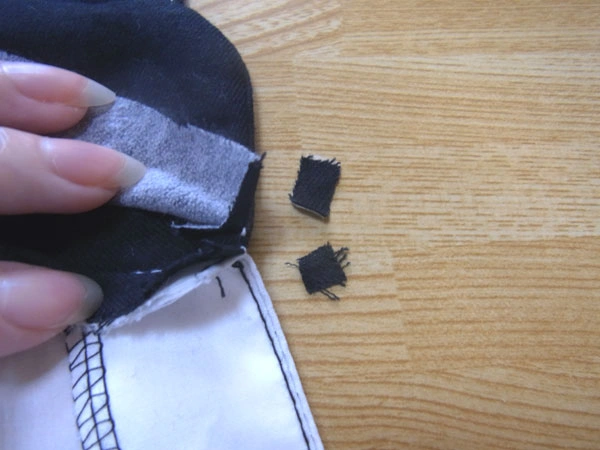
After shaping, it is also recommended to trim overlapping or unnecessary seam allowances.
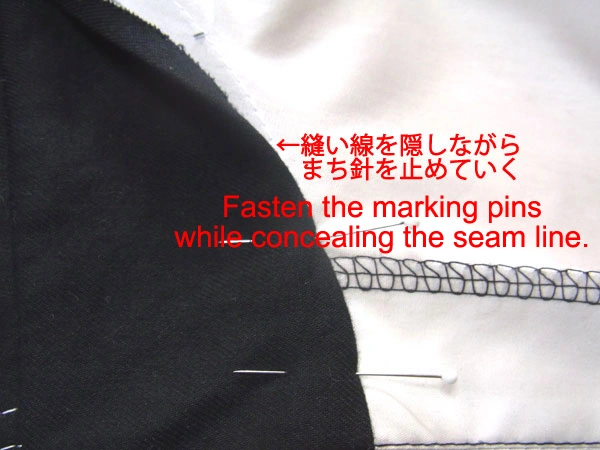
Align the corners tightly and fasten with marking pins while concealing the seam on the reverse side.
After pinning the back side, also pin the front side to prevent shifting. Preparation is complete!
The back side looks like this.
Start sewing from the center of the neckline on the front side. Since you will sew all the way around and return to this part, use a reverse stitch only at the end.
Be careful not to step on the pins on the reverse side with the sewing needle. Remove them as you sew.
Finish with a reverse stitch! When finished sewing, it will look like the photo above.
Finally, add one more topstitch as shown in the photo to give firmness and add a design touch. This also makes the collar stand stronger, so it is recommended.
This completes the collar with a beautiful collar stand, with no visible seams.
In the photo, the fabric and thread colors were changed for clarity, but normally the same fabric and thread color should be used.
For how to make the collar part, How to Make a Collar please refer here.


