How to sew Side Pockets
We will explain how to make side pockets, which are often used for pants and skirts, with step-by-step photos.
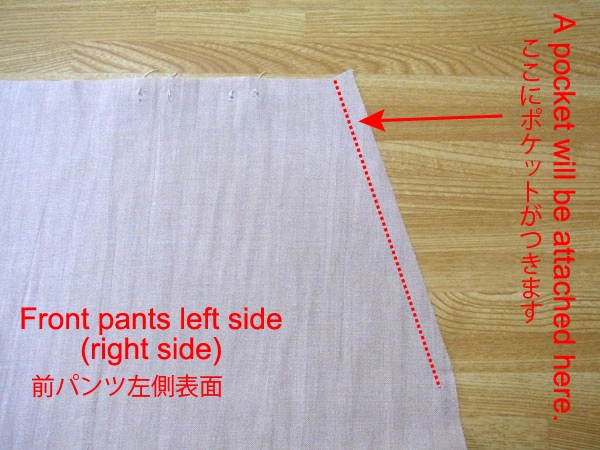
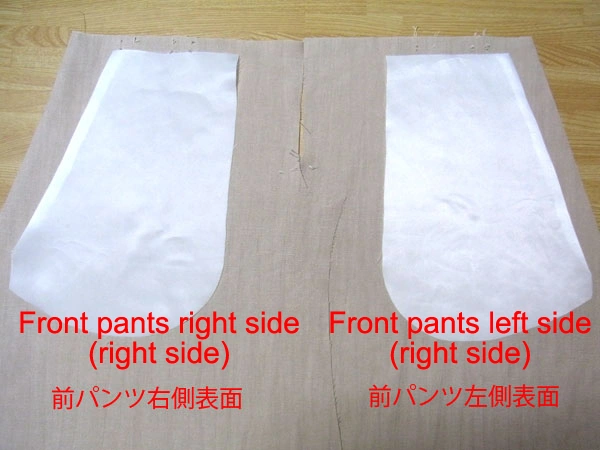
We will create slanted pockets along the side seam.
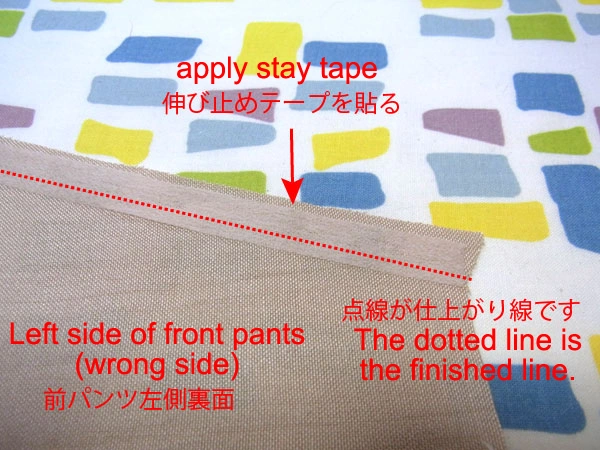
First, apply stay tape to the pocket openings of the front and back pants to prevent them from stretching out.
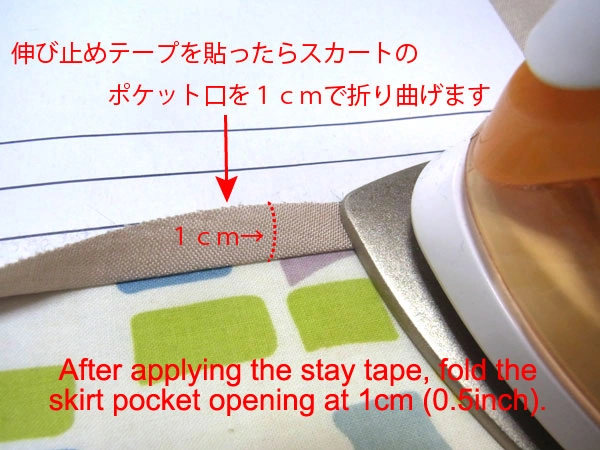
After applying stay tape, fold the pocket opening 1 cm with an iron.
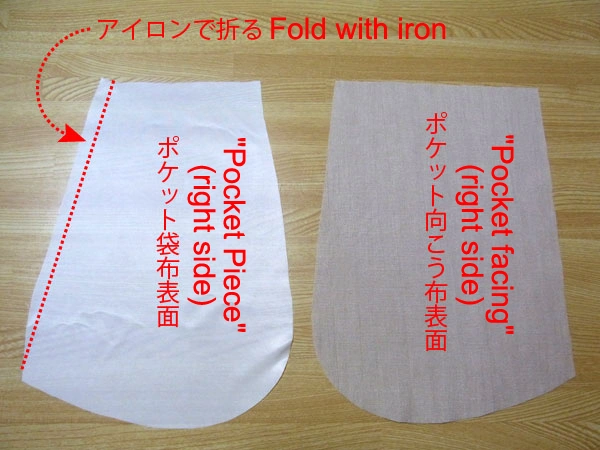
Next, press the seam allowance of the side edge of the "Pocket Piece" with an iron.
The pocket openings of the front pants and the side edges of both pocket pieces are now pressed.
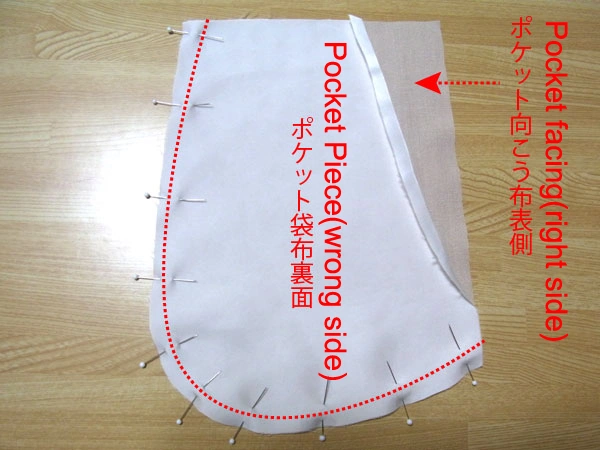
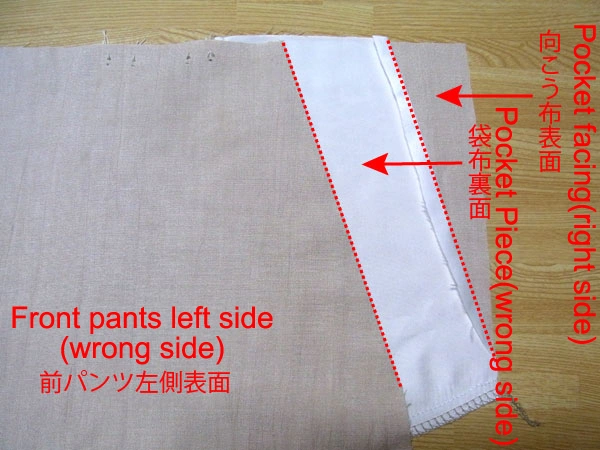
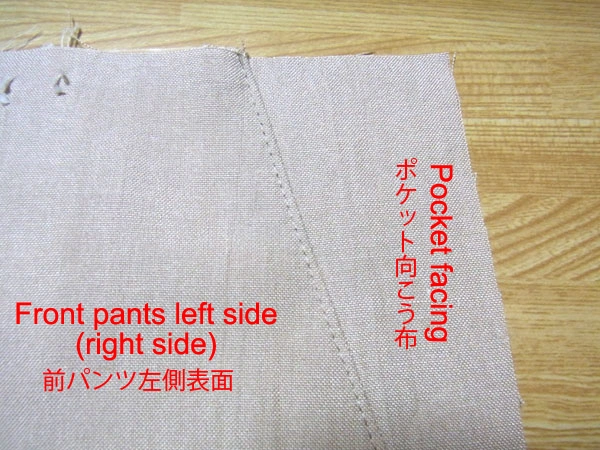
Sew the "Pocket Facing" and "Pocket Piece" together, right sides facing, along the red dotted line.

Use a 1 cm (0.5 inch) seam allowance, and backstitch at the beginning and end of sewing.
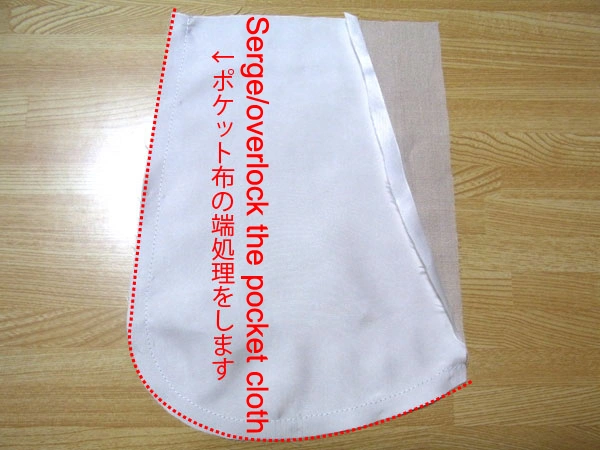
Serge/overlock along the dotted line after sewing them together.
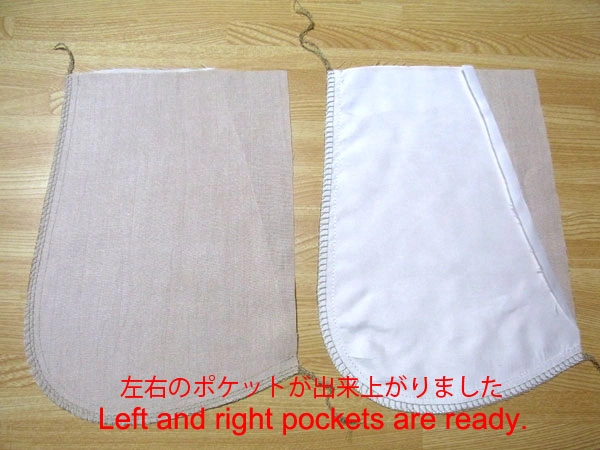
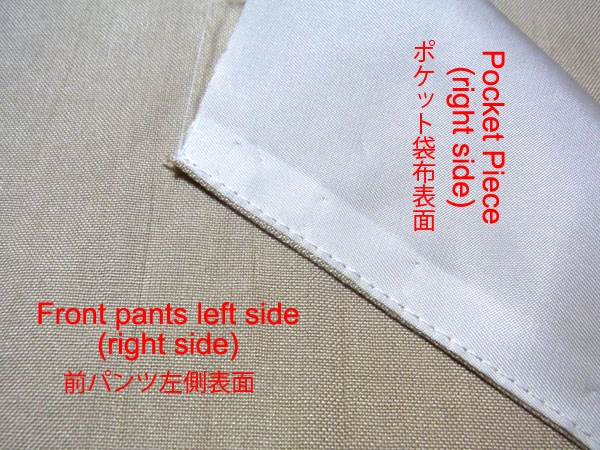
Now both pockets are ready. Attach them to the right and left sides of the pants.
Secure the red dotted line (pocket opening) with marking pins.
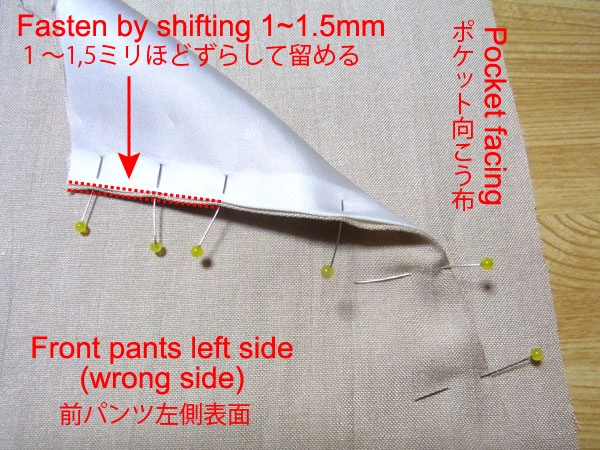
Shift the marking pin by about 1 to 1.5 mm so it won’t show on the front side of the pants.
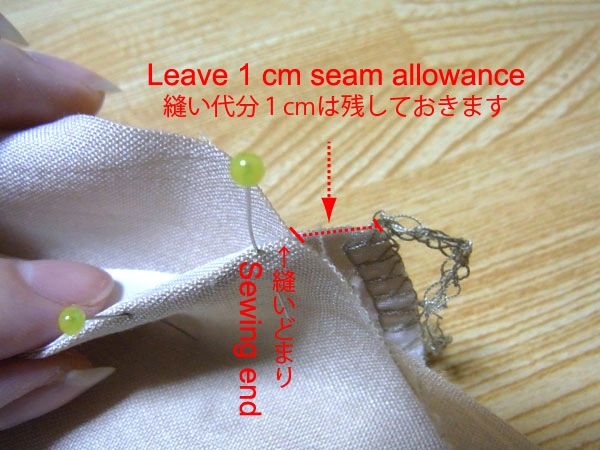
Leave a 1 cm (0.5 inch) allowance on the pocket sides for sewing.
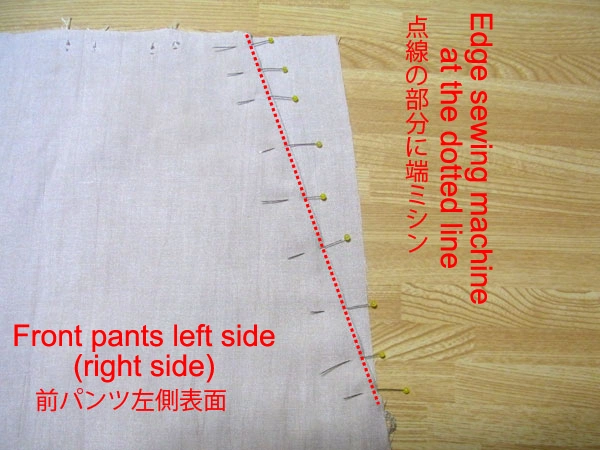
Sew the red dotted line with a sewing machine.
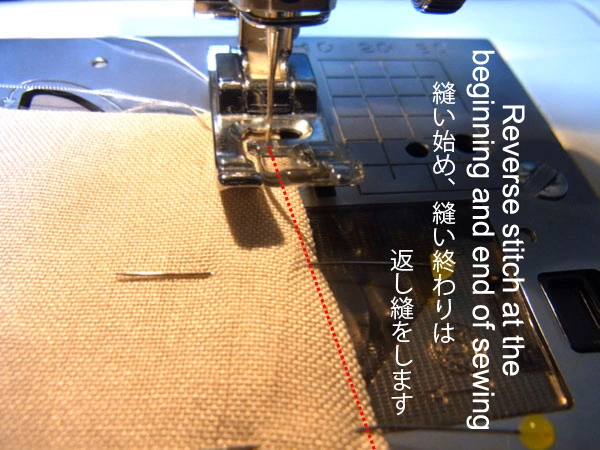
Be sure to backstitch at the beginning and end!
This is how it looks from the front after sewing.
The inside of the pocket looks like this. After sewing the left and right pocket bags together, sew the side seams.
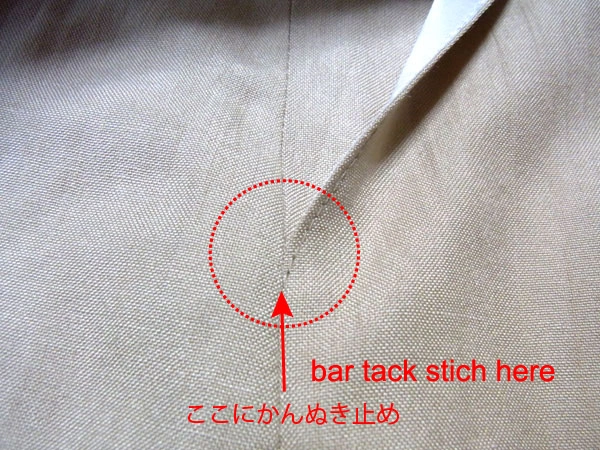
After sewing the sides and pressing the seam allowances open with an iron, reinforce the end of the pocket opening seam.
You can use a reverse stitch, but a bar tack stitch is sturdier.
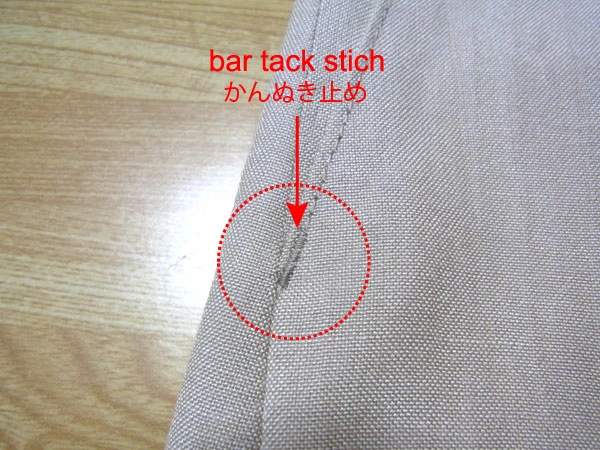
This is an example after bar tack stitching.
The side pocket is now complete.
It’s easier to attach the waistband if the pocket is temporarily basted at the waist.


