How to sew pockets
This is the easiest way to make a pocket.
Simply sewing it on is fine, but if possible, take the time to attach it properly.
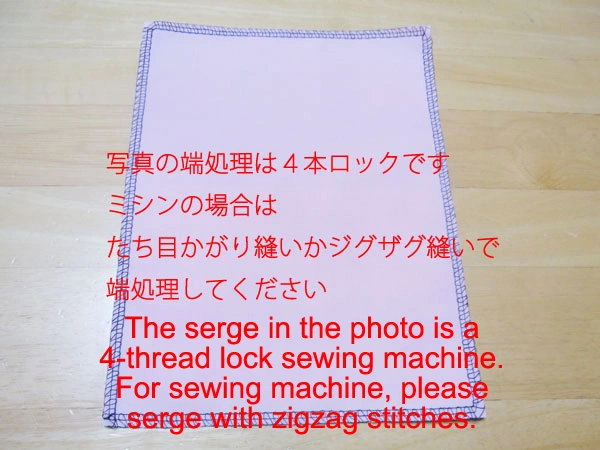
Serge/overlock the perimeter of the pocket.
Since it will be on the inside of the pocket, serging/overlocking may not always be necessary. However, it is safer to do so to prevent the fabric from fraying inside the pocket. ⇒ How to Serge/overlock (sewing machine & overlock sewing machine)
For clarity in the photos, the pocket is light pink, the body is red, and the sewing thread is black. Normally, the same color fabric and thread are used, of course.
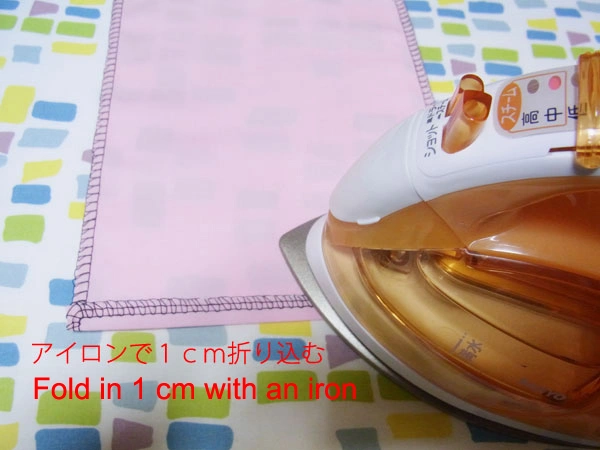
Next, fold in the seam allowance with an iron.
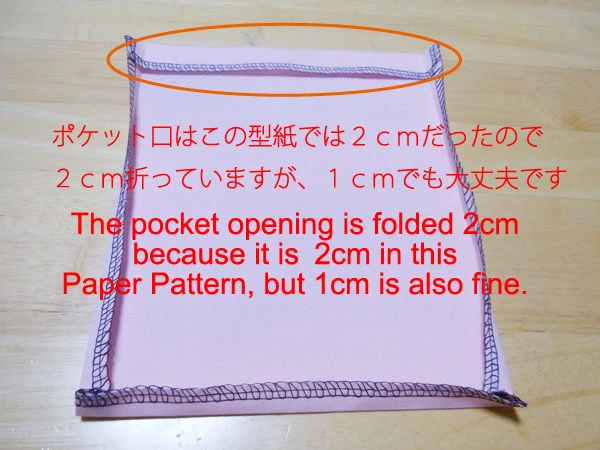
Fold with an iron to shape the pocket.
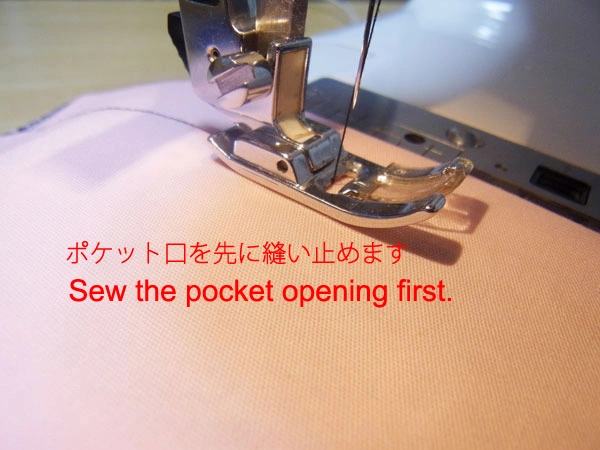
Sew the pocket opening first. Sew from the front side so that the back is firmly secured according to the top panel’s guide.
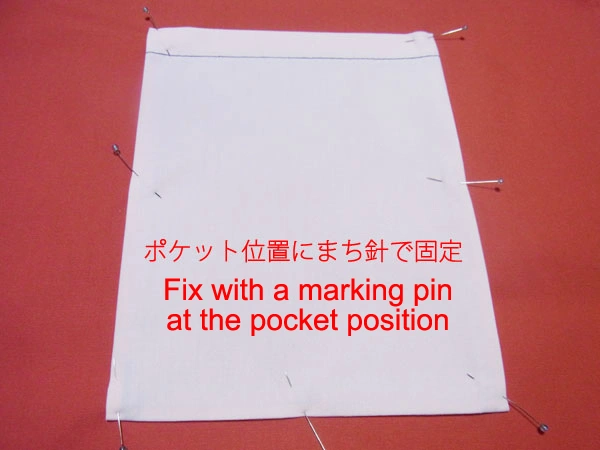
After sewing the pocket opening, secure the pocket to the attachment position on the body with marking pins. Start sewing from the upper right corner.
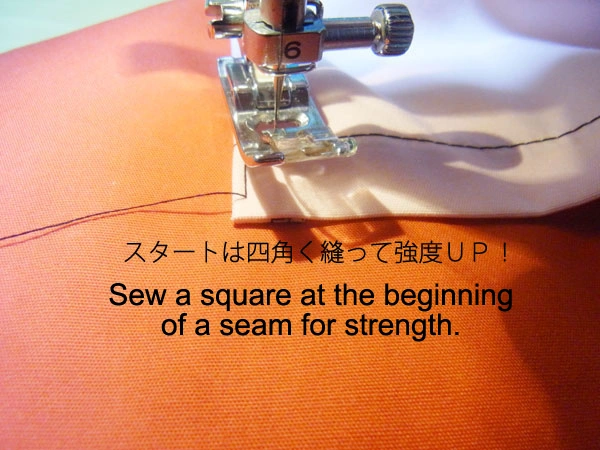
Start at the top right corner and sew a square around the beginning. One round of stitching is enough, so no reverse stitch is required at the start.
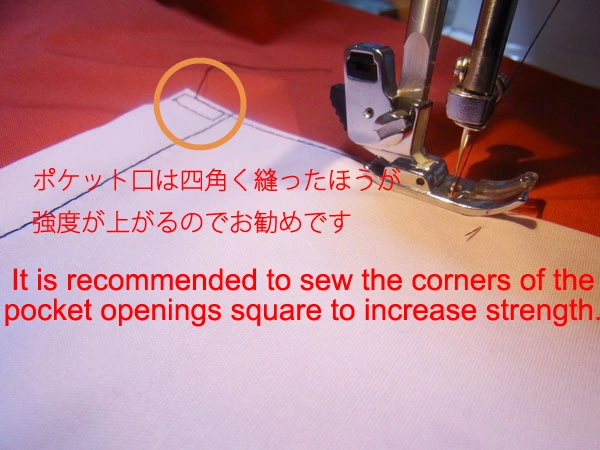
The advantage of starting with a square is that both ends of the pocket opening bear the most stress and are prone to fraying, so this method increases strength.
Sew around the perimeter, finishing by stitching another square in the same manner.
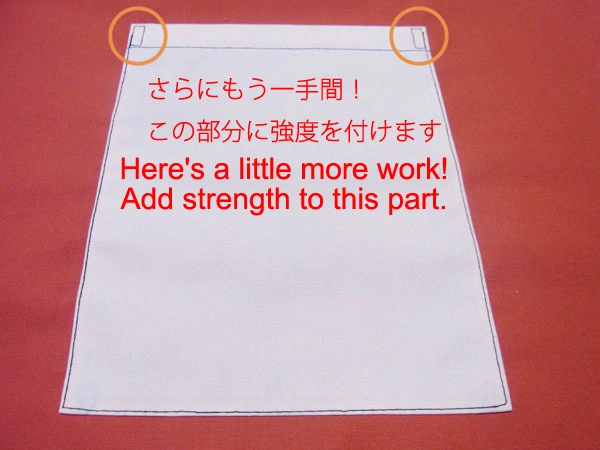
This is what it looks like when finished. And one more step!
To increase strength, apply a bar tack stitch.
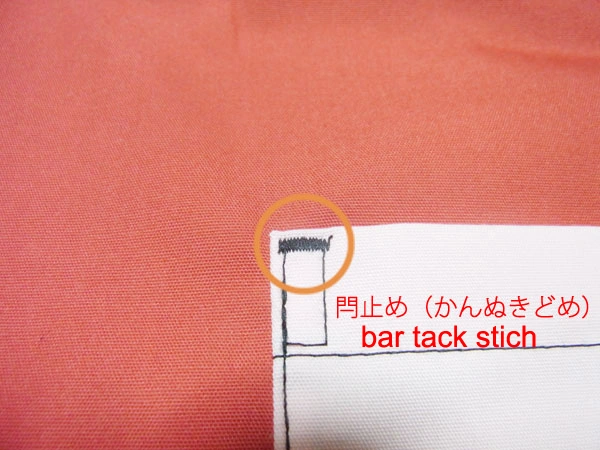
A bar tack stitch is a reinforcement to prevent fraying. As you can see on jeans, this technique is always applied to stress-prone areas.
If your sewing machine does not have a bar tack function, use a zigzag stitch (as in making a buttonhole) or the smallest zigzag setting with the shortest stitch length.
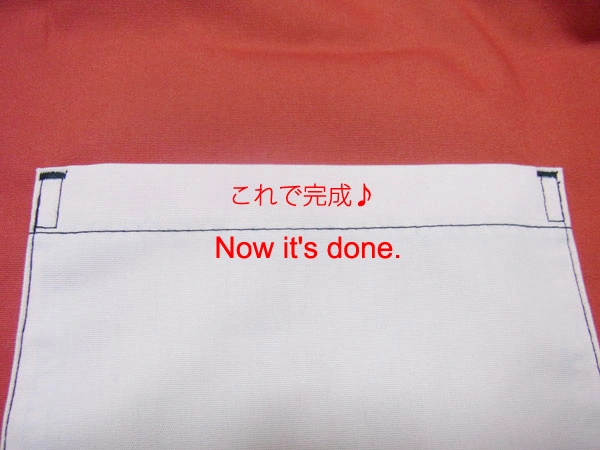
A simple pocket is perfect if you go this far! For decorative pockets, it may not be necessary, so adjust depending on your needs—simplify or reinforce as you prefer.


