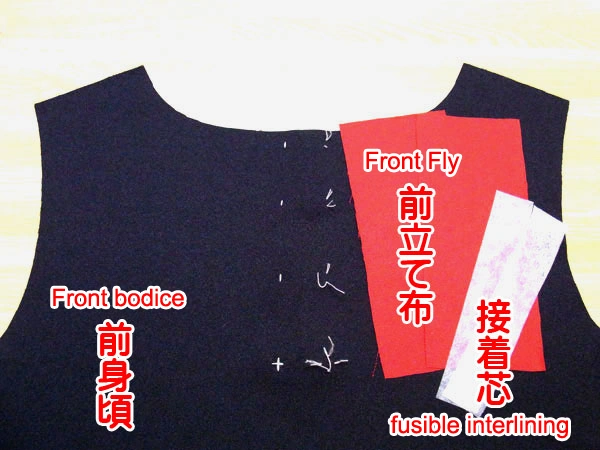
We will make the front opening that is often seen on cut-and-sew clothing and blouses.
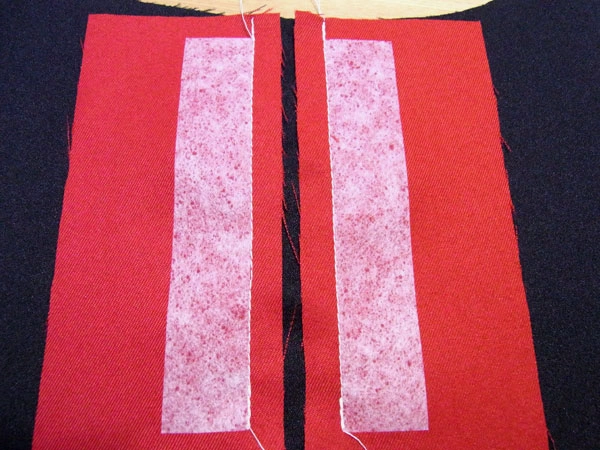
Prepare two pieces of cloth for the Front Fly and two pieces of fusible interlining.
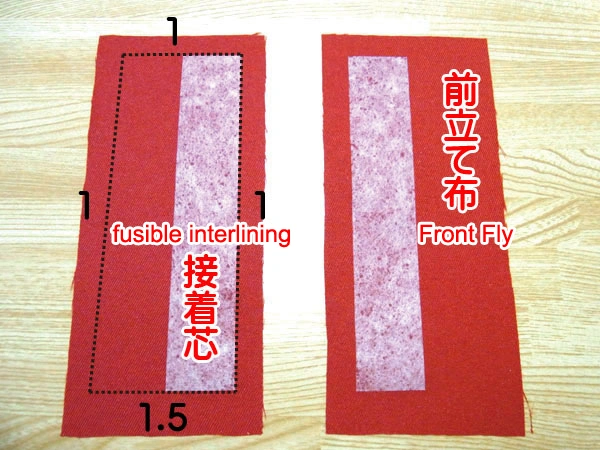
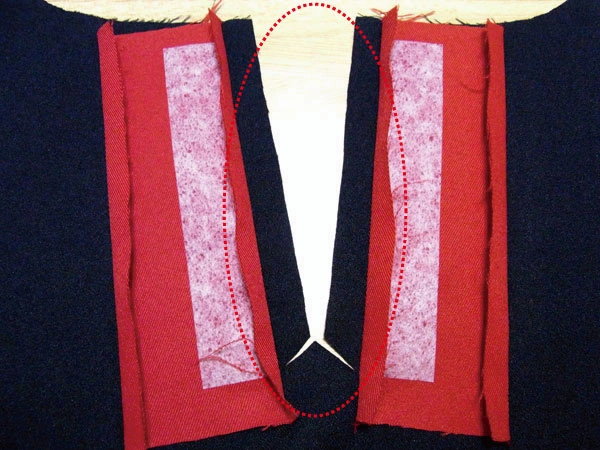
First, apply the fusible interlining symmetrically to the back side of the Front Fly.
The black numbers show the seam allowance dimensions.
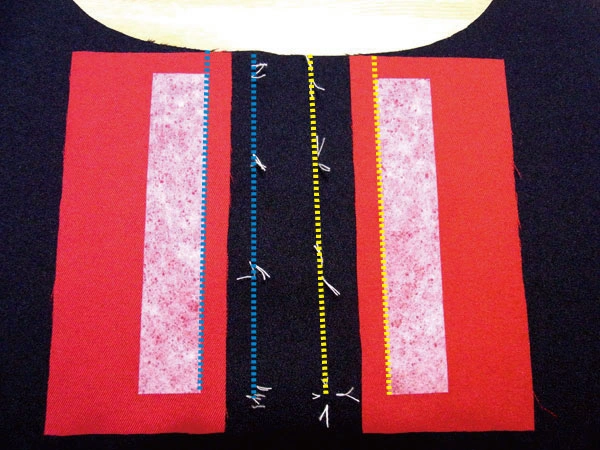
After attaching the fusible interlining, sew the Front Fly fabric to the body.
Align the blue and yellow dotted lines with each other, and fasten firmly with marking pins to prevent misalignment.
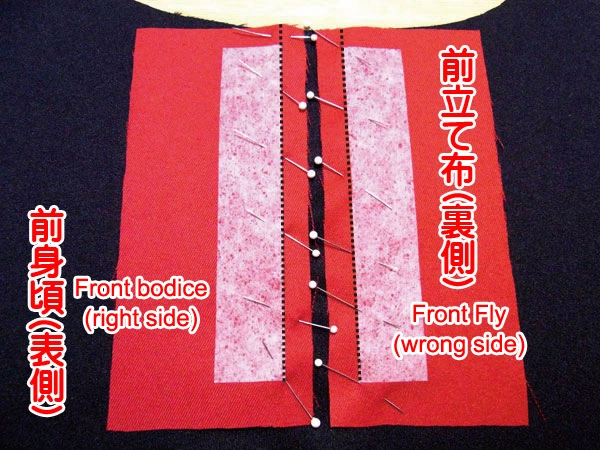
Once pinned, sew, but leave a 1.5 cm seam allowance open.
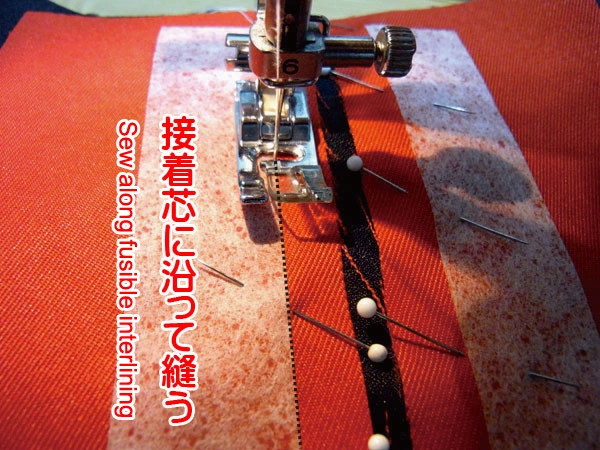
The seam allowance width is 1 cm. Sew along the fusible interlining.
Always make a reverse stitch at the beginning and end of sewing.
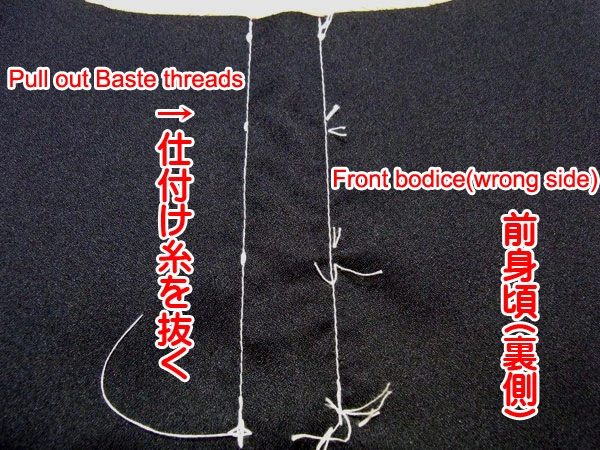
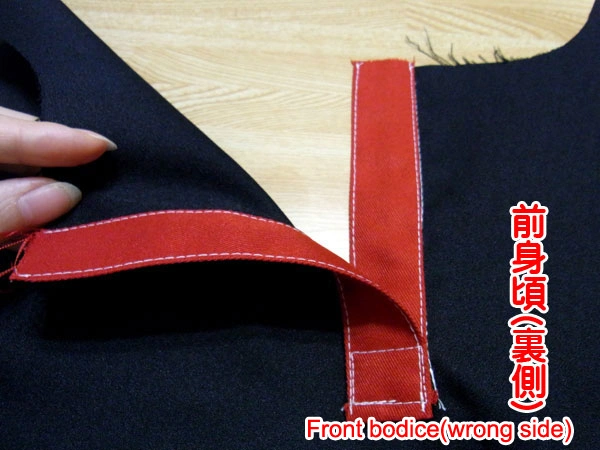
This is the back side of the front bodice. After checking for misalignment, remove the basting threads.
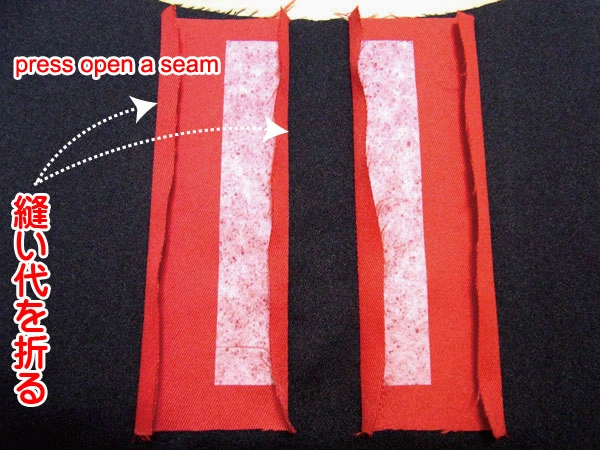
Fold over the seam allowance at the seams and Front Fly edge by 1 cm using an iron.

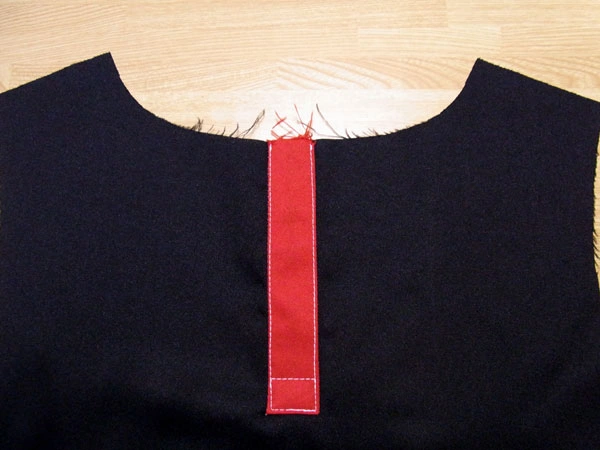
On the back side of the body, draw a line as shown in red, then make a cut along it.
The incision is made. This is what it looks like from the front side.
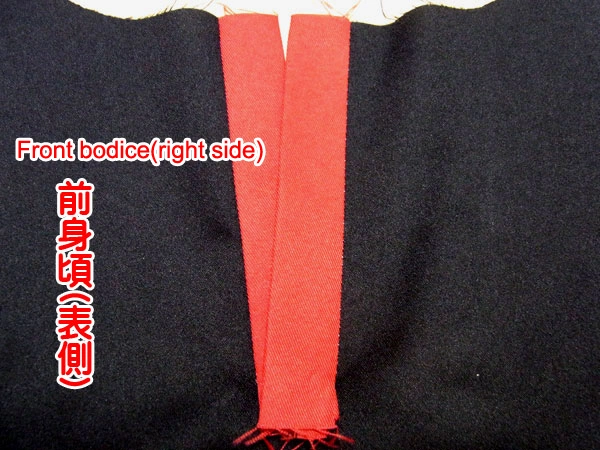
Once the incision is made, iron the Front Fly fabric to create the shape.

The above image is the back side. Iron so the seams are covered.
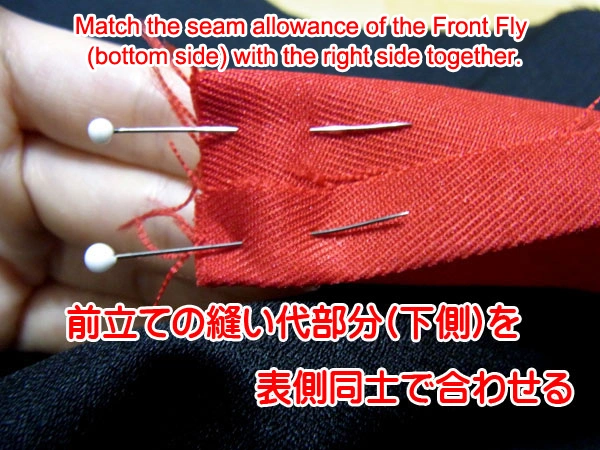
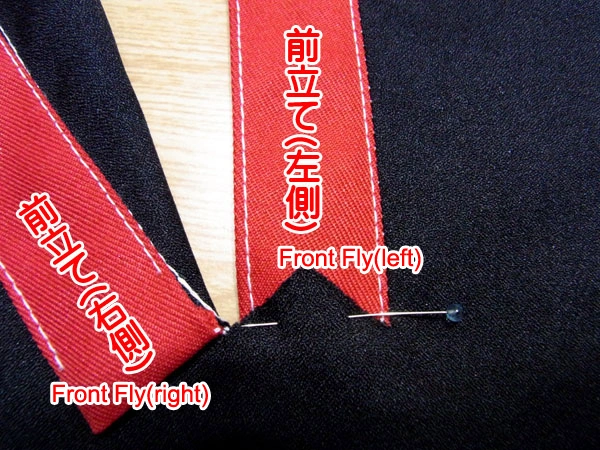
Process the seam allowance portion (bottom side) of the Front Fly. Place right sides together and fasten with a marking pin.
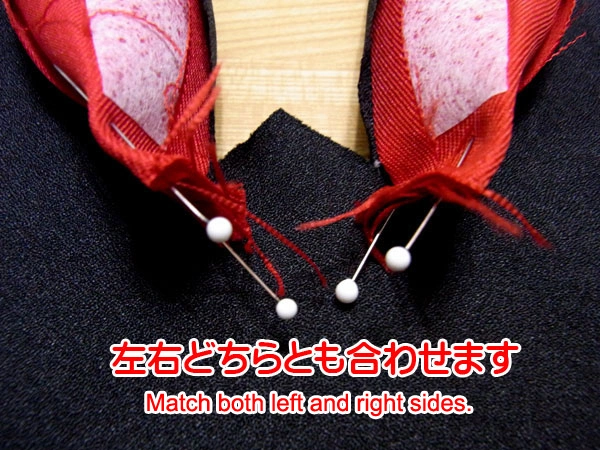
Fasten both left and right front fly with marking pins.

The left Front Fly overlaps the bottom side. Sew this one with a 1 cm seam allowance.
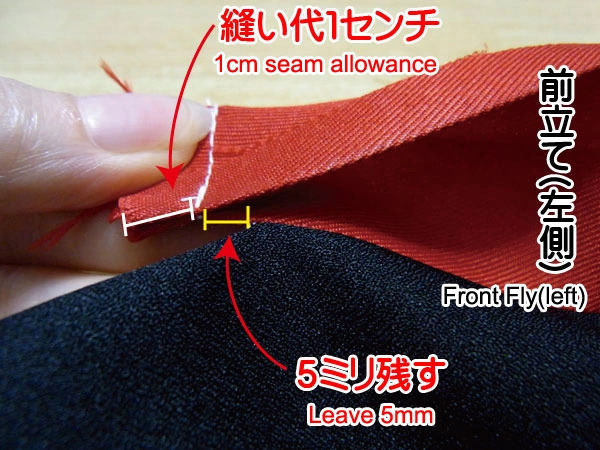
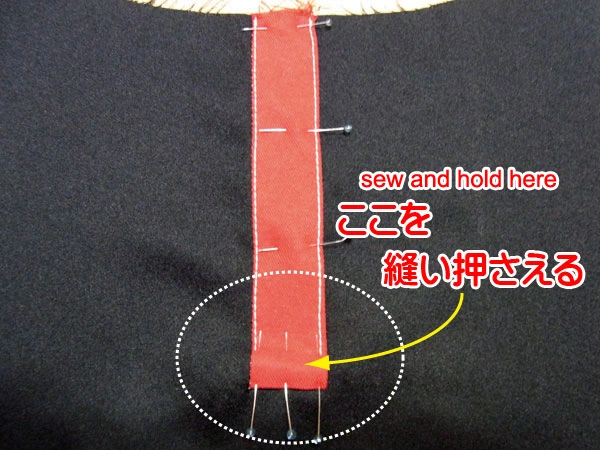
Sew the underside of the Front Fly together with a 1 cm seam allowance, leaving 5 mm as shown.
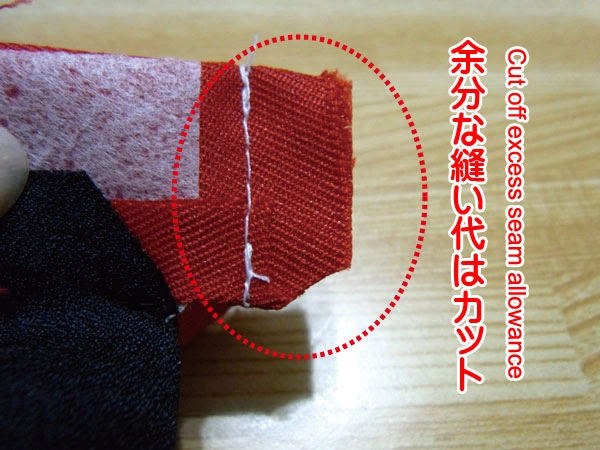
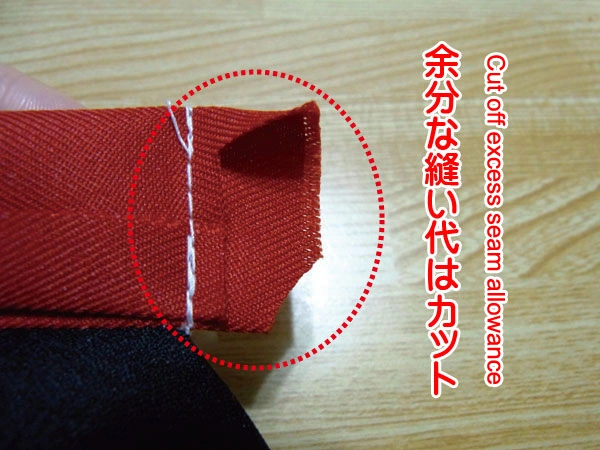
Cut the unneeded seam allowance before turning inside out.
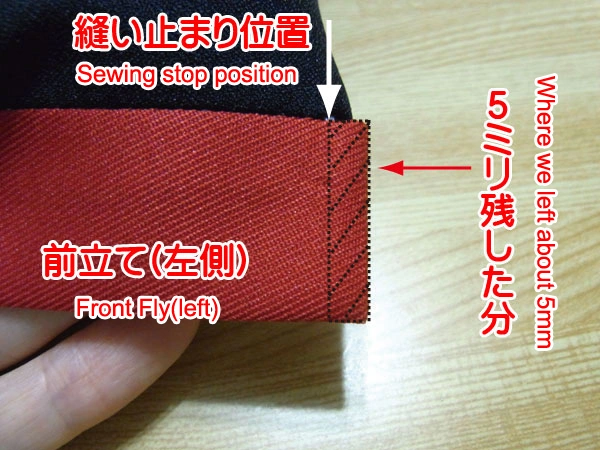
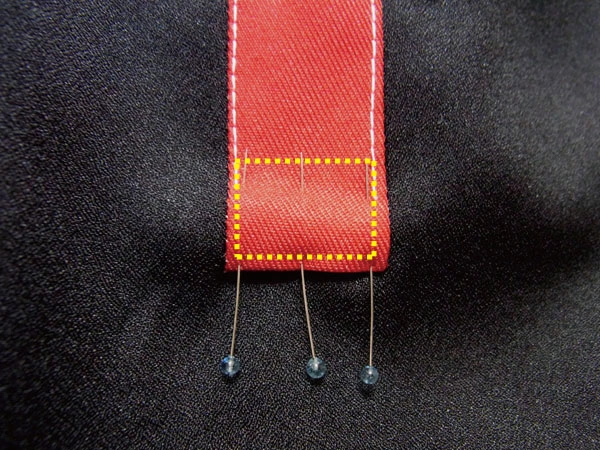
Turned over. The Front Fly extends 5 mm beyond the sew stop.
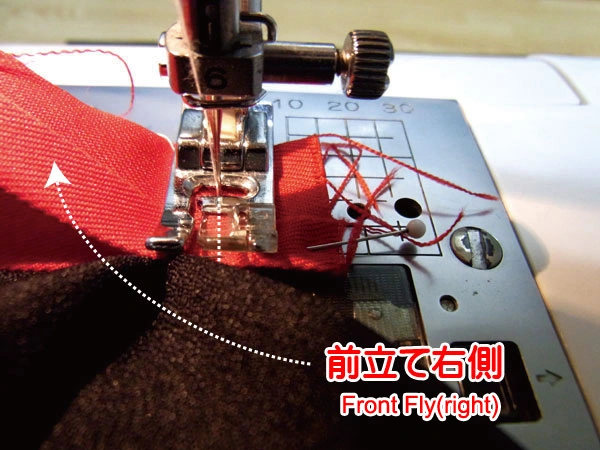
The right Front Fly is sewn at the same stop position with a 1.5 cm seam allowance.
Cut the seam allowance that will interfere before turning this side as well.
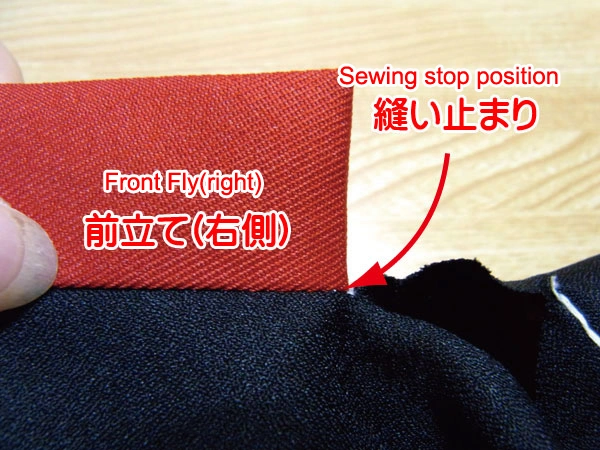
The right Front Fly is neatly finished at the sewing end.

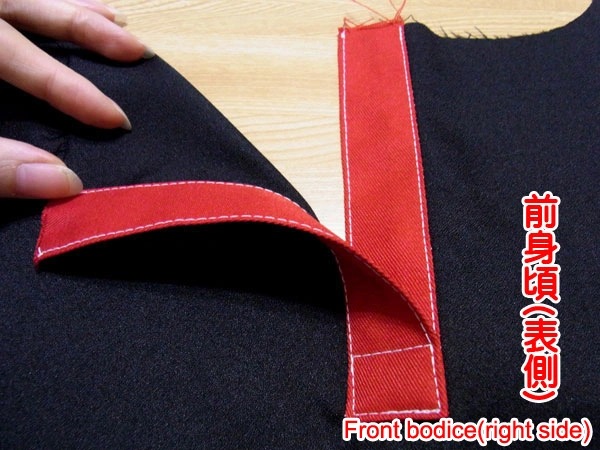
When the hem of the Front Fly is neatly finished, sew the Front Fly from the front side with a sewing machine.
Sew both right and left sides with edge stitching.
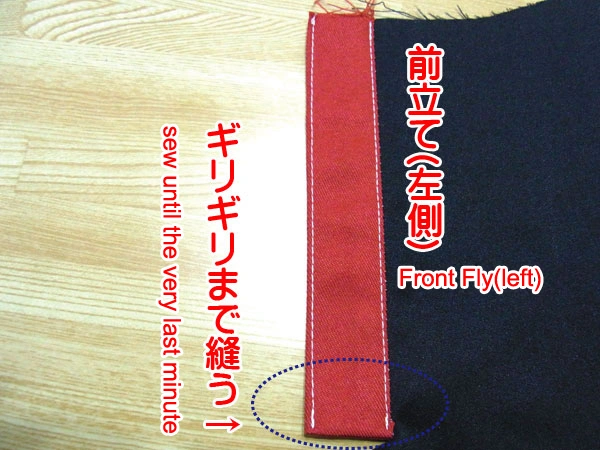
Sew the left Front Fly tightly until just before the end and make a reverse stitch.
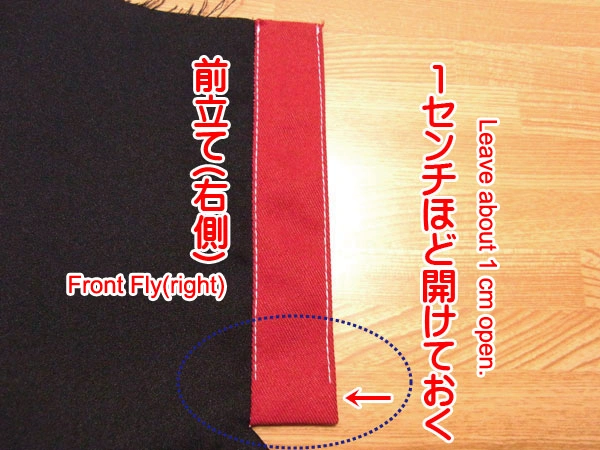
Sew the right Front Fly to 1 cm before the end. Make a reverse stitch at the beginning, but none at the end.
Fasten the triangle created by the incision to the top of the left Front Fly with a marking pin.
Fasten the triangles and the Front Fly with marking pins so they do not shift. Sew along the white dotted line with a sewing machine.
Sew along the yellow dotted line.

This is the part where the two Front Fly pieces are joined, so sew them securely.
At this time, make sure the edge stitching line is properly sewn.
Check both the right and wrong sides of the body to ensure the stitching line is not visible.
The front opening is now complete!
It's not very difficult, and once learned, it can also be applied to shirt cuff openings.
It’s worth remembering!
Thanks for your hard work!


