How to make Gloves
When you want specific colors or high-quality gloves, it can be difficult to find exactly what you need, or they may be very expensive.
So let’s make them ourselves! Here is a clear step-by-step guide on how to sew your own gloves.
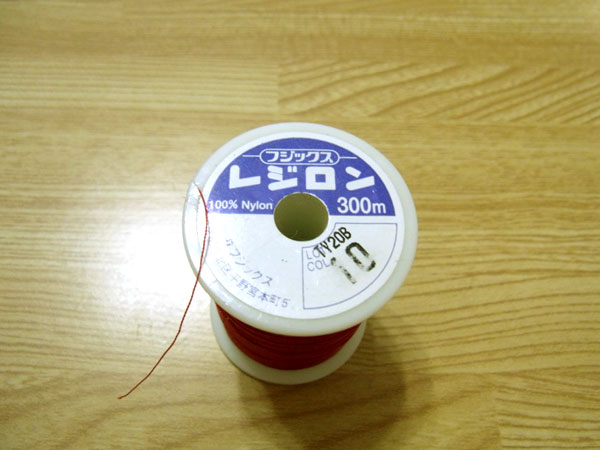
This time we are using stretch fabric, so use stretchable thread such as Regilon (thread for knit fabrics).
Use a needle for knit fabrics. This helps prevent skipped stitches.
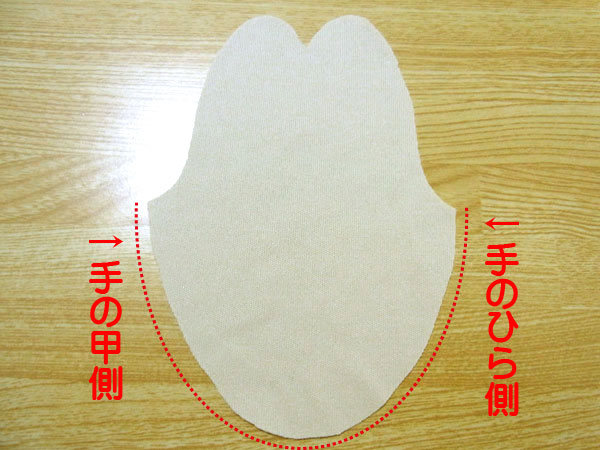
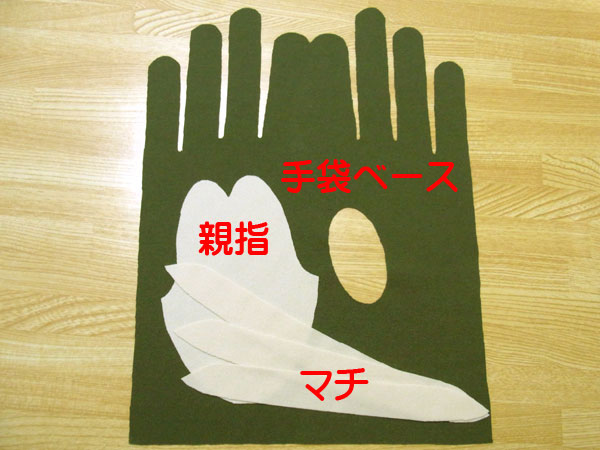
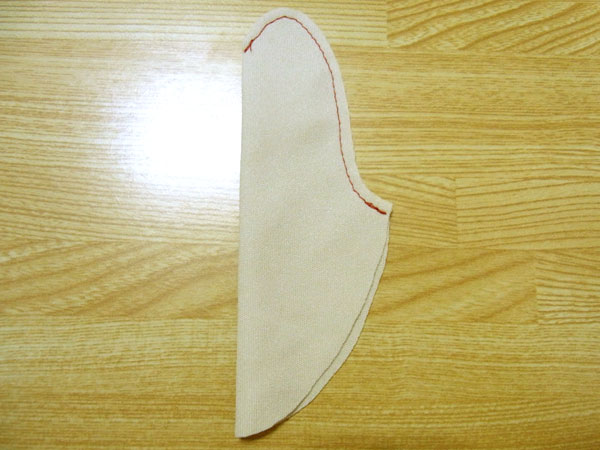
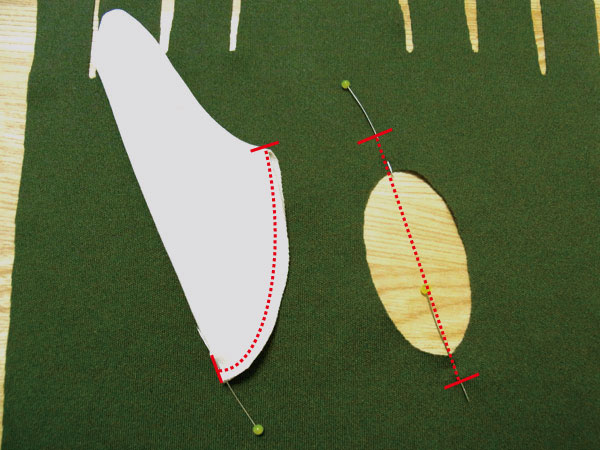
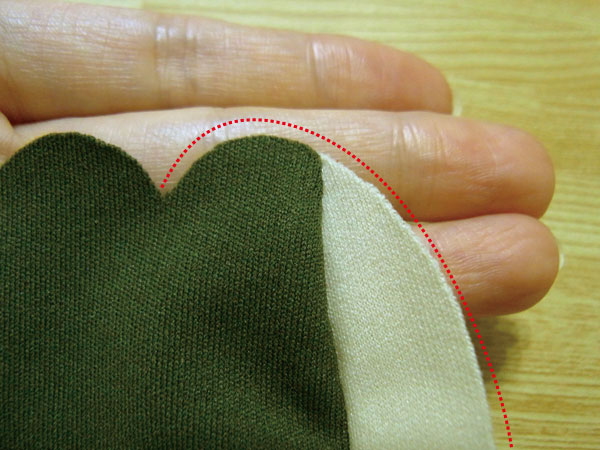
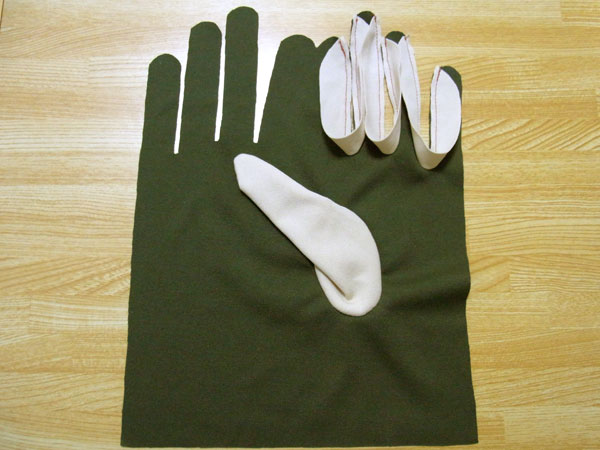
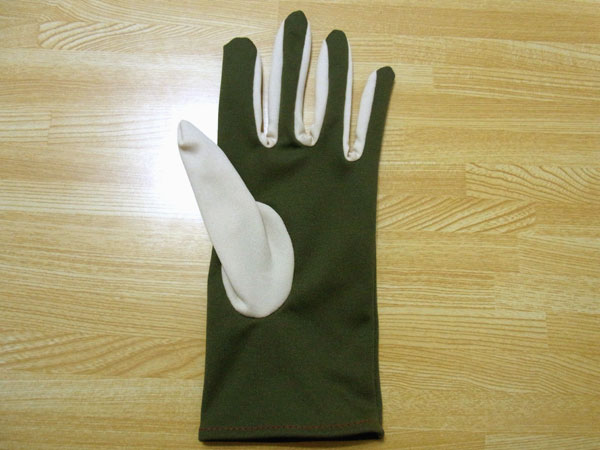
The thumb piece may look symmetrical at first glance, but the palm side is slightly rounder than the back side.
Remember: the rounder side is the palm side.
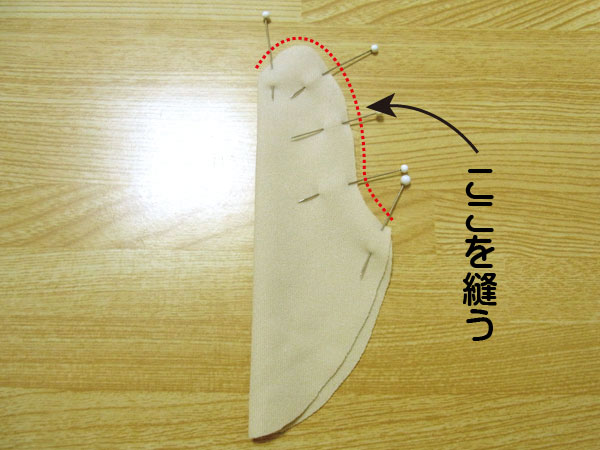
Pin and sew the finger sections carefully.
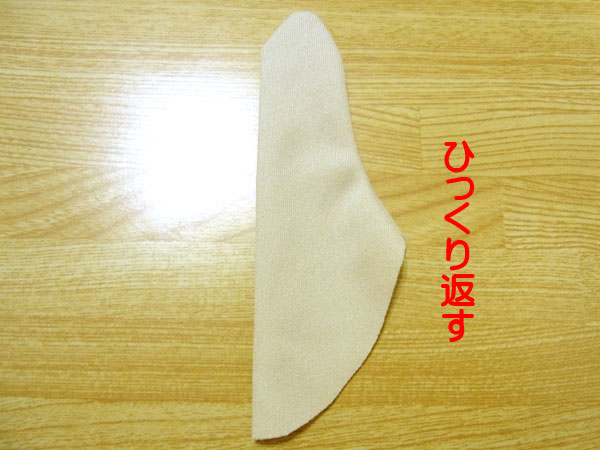
After sewing, turn the fabric right side out.
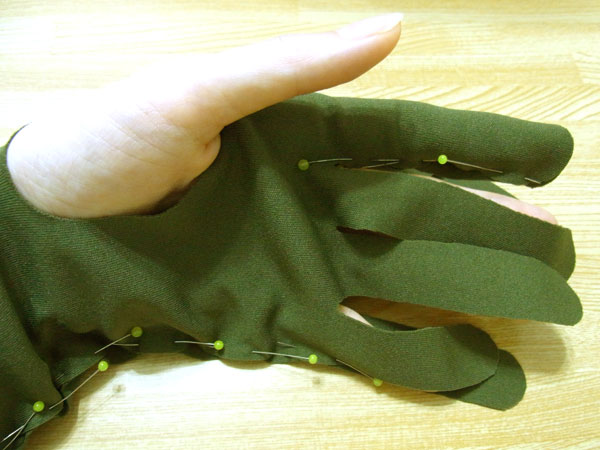
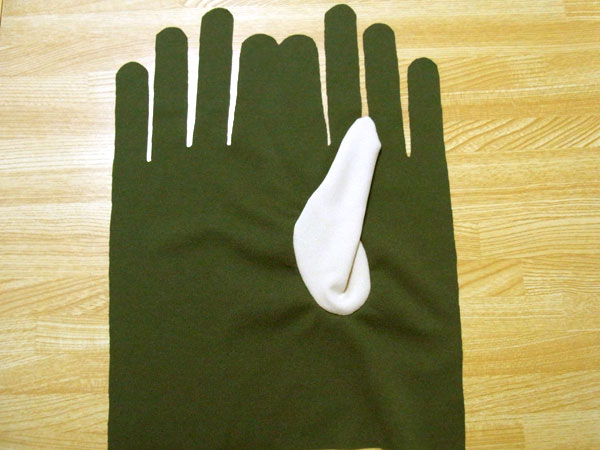
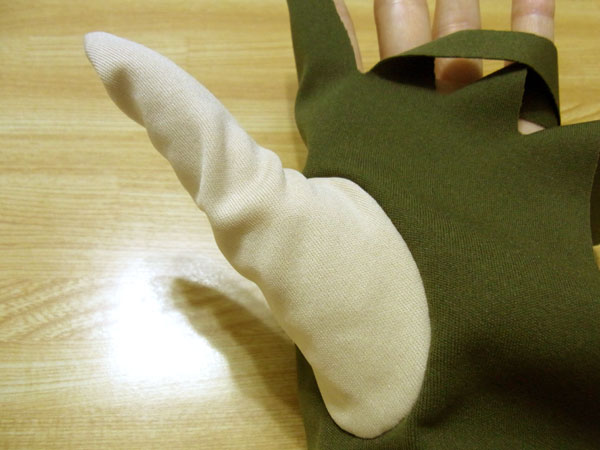
Pin the glove base temporarily and fit it onto your hand.
Put on the thumb piece as well.

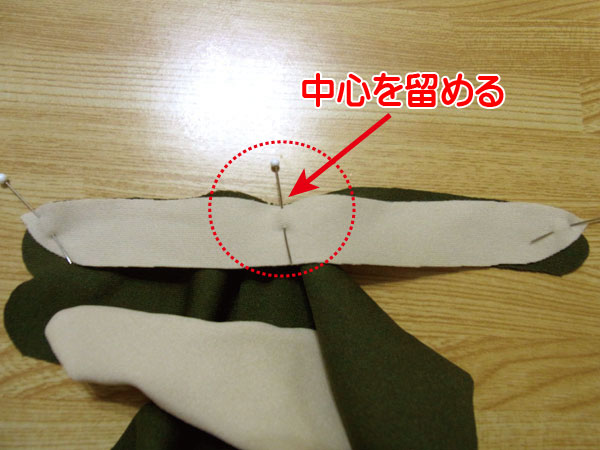
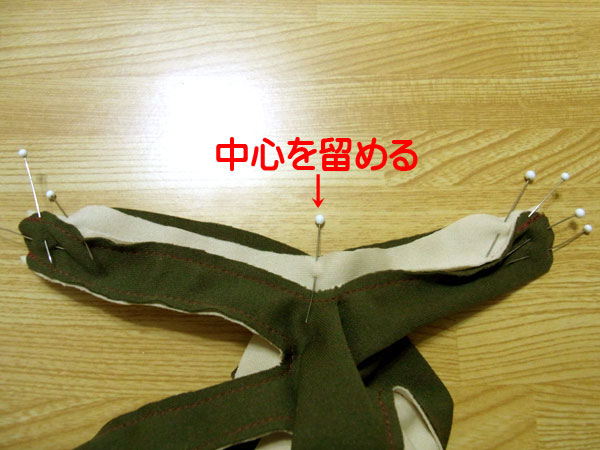
With the glove on your hand, mark the position where the thumb will be attached.
Mark the center of both the thumb piece and the thumb area on the base fabric.
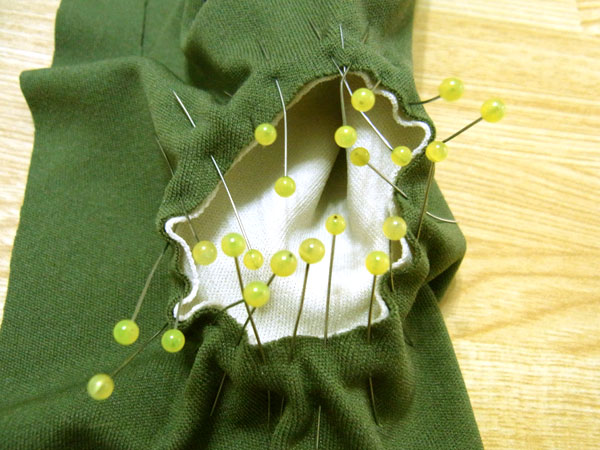
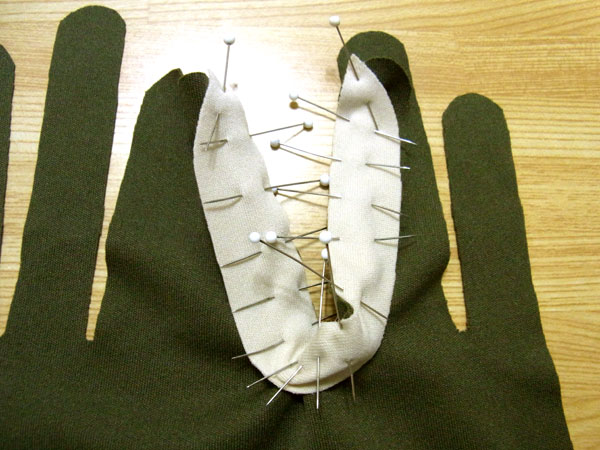
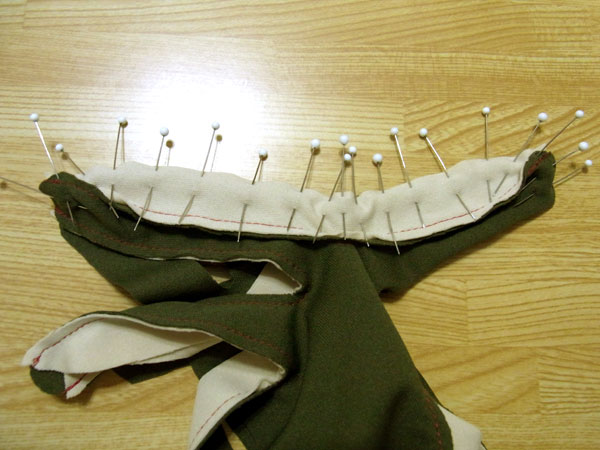
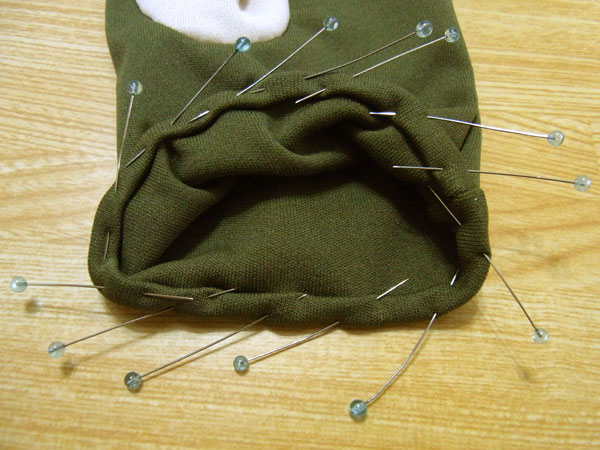
Curved pieces are difficult to match. Pin gradually and carefully.
It’s a small circular area and tricky to sew, so be careful not to catch the fabric.
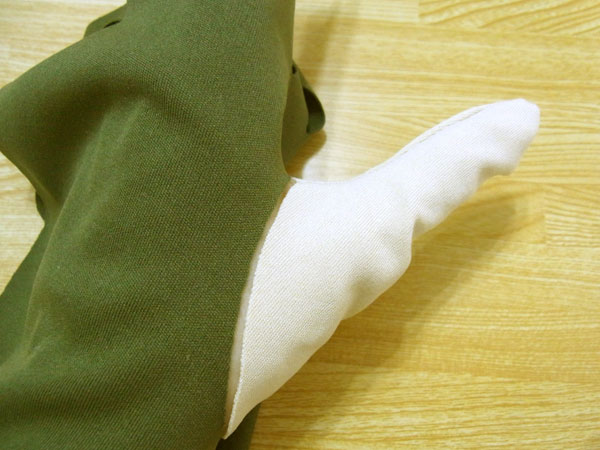
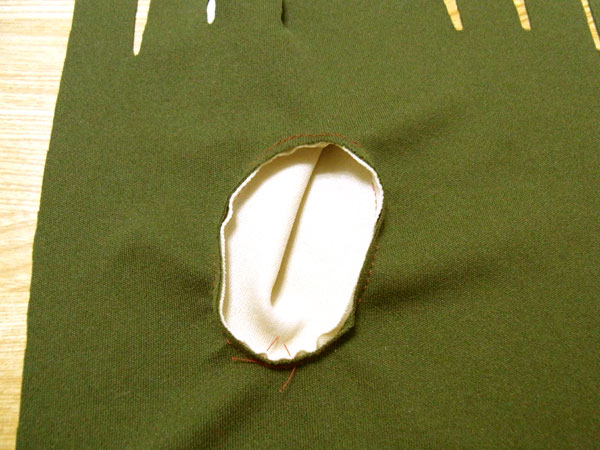
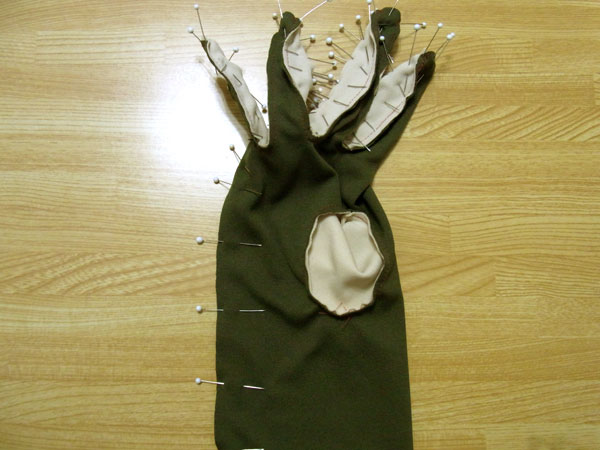
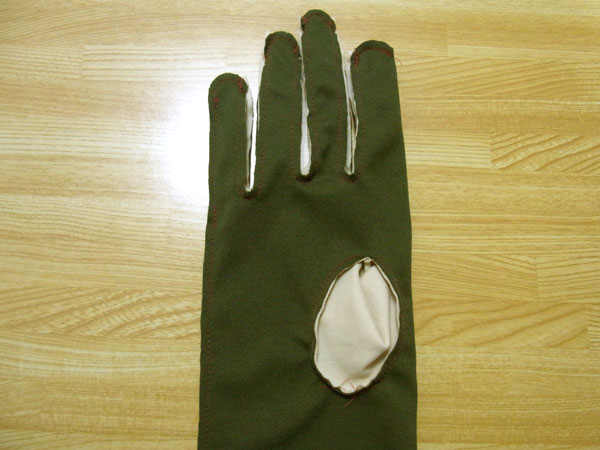
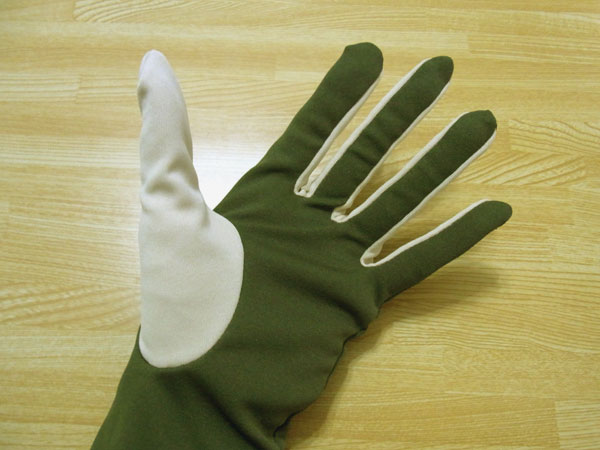
The thumb is now attached.
Check the balance by inserting your fingers. Make sure nothing is twisted.
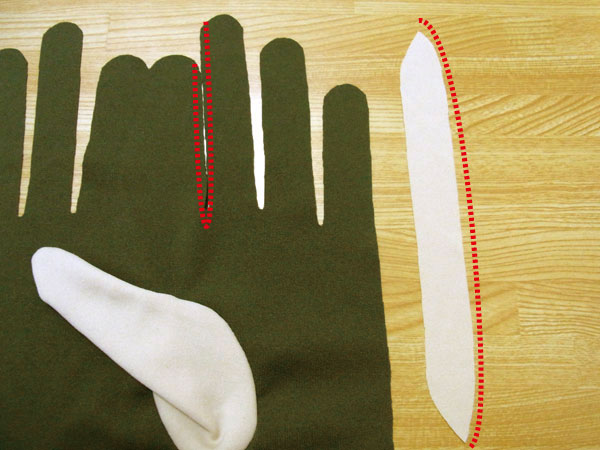
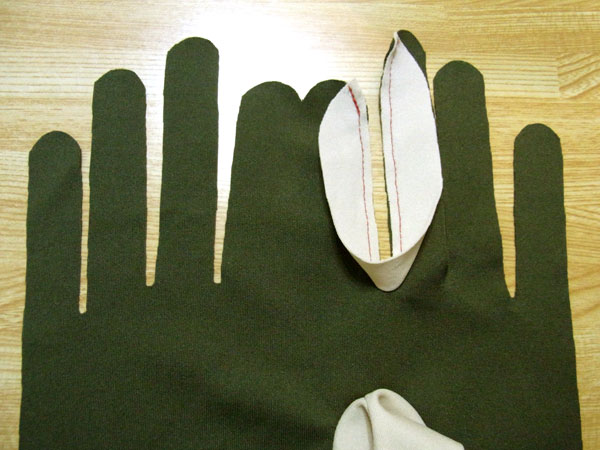
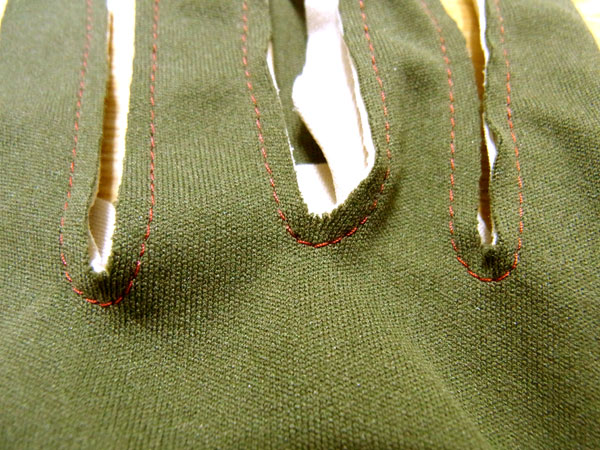
Next, sew the gussets onto the base piece.
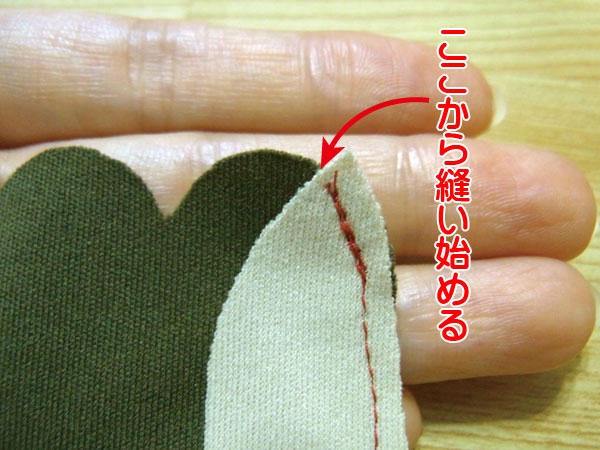
Sew the red dotted lines together. Start from the side with the smaller curve.
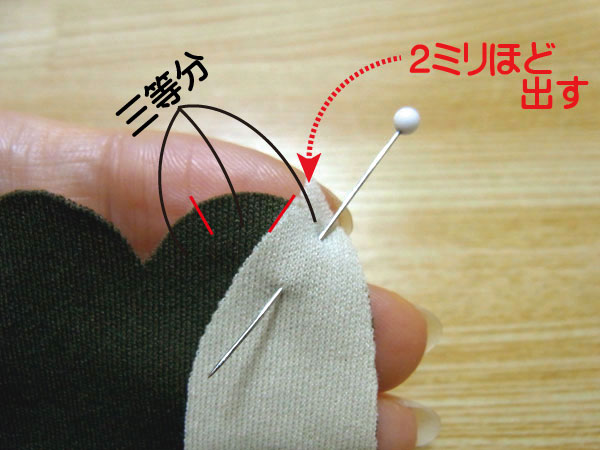
Divide the index finger tip into three equal parts, and place the gusset so it extends about 2 mm.
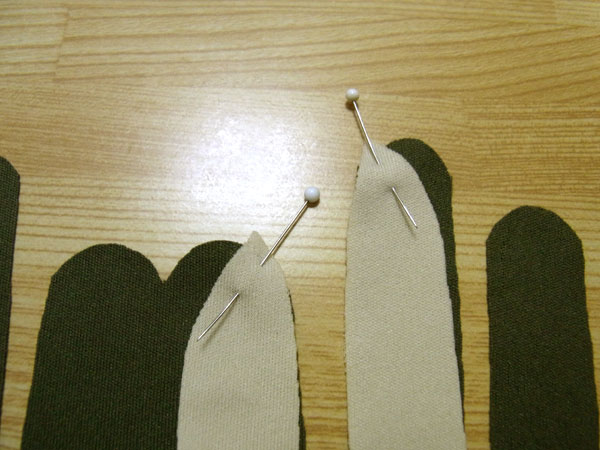
Pin the middle finger side in the same way.
Then pin the center.
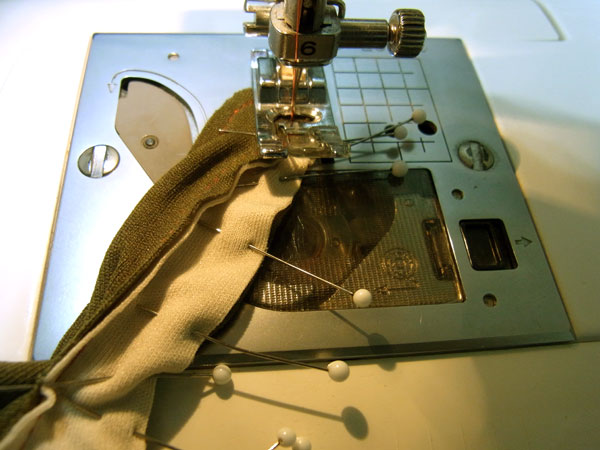
The crotch area between fingers has sharp curves, making the gusset hard to sew.
Pull the base slightly and sew without catching the fabric.
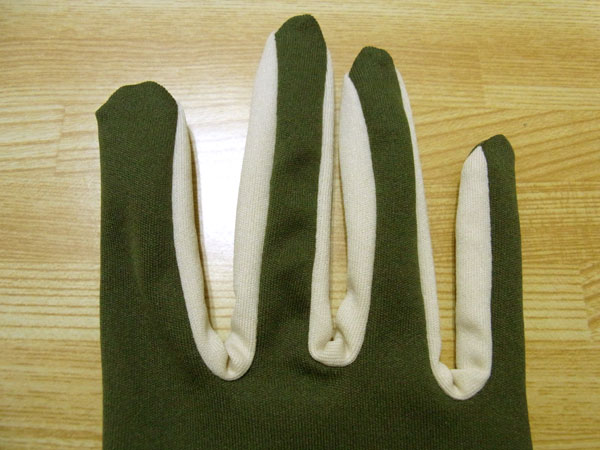
The index and middle finger gussets are now attached.
Start sewing from the area where the fabrics overlap.
This method creates an even and smooth seam.
The remaining gussets are attached.
The finger crotch is the most difficult area. Be careful not to catch the fabric.
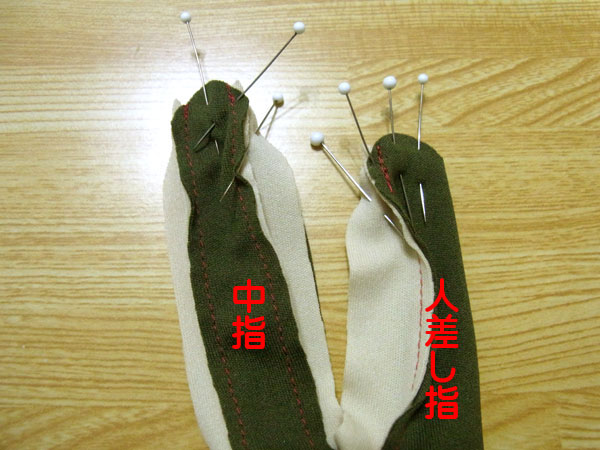
After sewing the gussets, sew the finger seams. Start by pinning the tips of the index and middle fingers.
First pin the center. Do not force the fabric to match, as gussets can easily distort.
I usually pin all fingers before sewing, but this makes sewing harder. It may be easier to pin and sew one finger at a time.
Open the seams at the finger tip gusset to avoid catching the fabric. Press the seam allowance toward the gusset side.
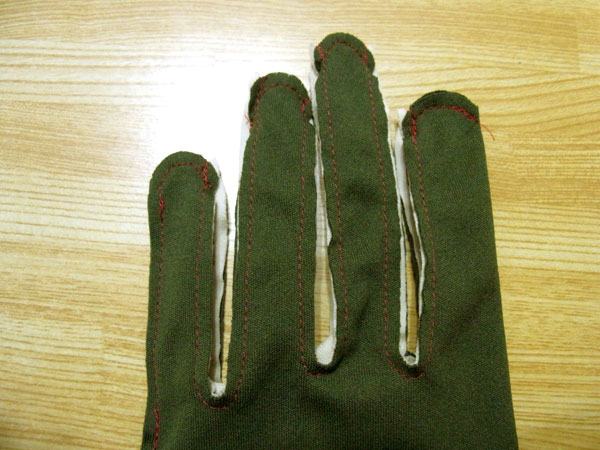
All the fingers are now sewn. Turn the glove right side out.
Check for gaps—make sure there are no holes at the fingertips or between the fingers.
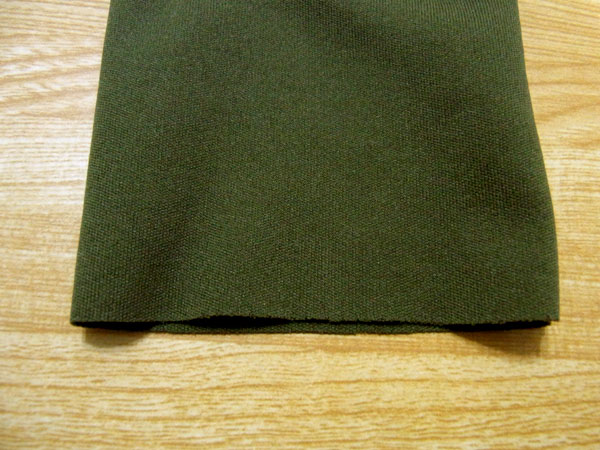
The hem is finished with a triple fold this time. You can also finish it with an overlock stitch or edge stitch.

When sewing knit fabric, thick areas can be difficult to sew. Increase stitch length in those areas.
I used a 4 mm stitch length, and the final stitches ended up around 2 mm after stretching.
The gloves are now complete!
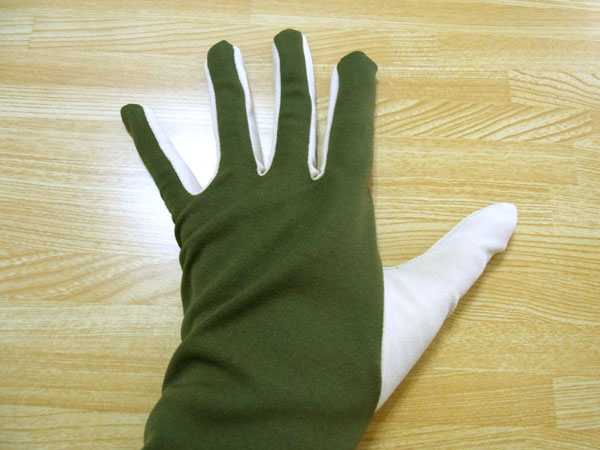
I tried them on to check the finished shape.
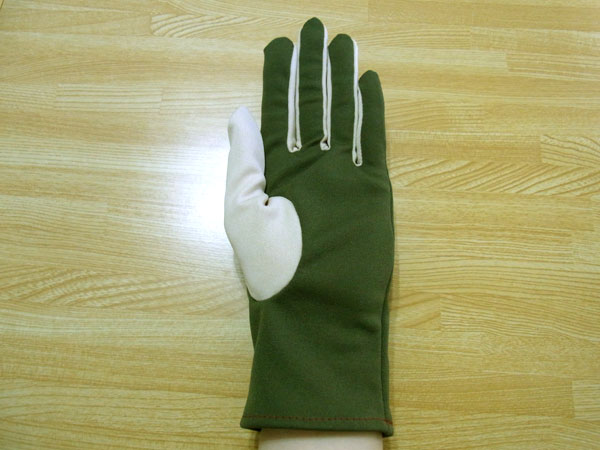
This free glove pattern is designed as-is, but my fingers are slightly shorter, so I trimmed the fingertip seam allowance.
If the fingertips feel long, adjust them to fit your own hand shape.
Great work—your gloves are finished!


