Secret trick! How to make bias tape
Usually, bias tape is made from cotton fabrics or other materials that can be easily ironed into shape... but!
Sometimes you may want to use shiny polyester-based bias tape, right?
I want to use special materials such as gold and silver! I wish I could make bias tape with shiny satin or other glossy fabrics... For those who feel the same, here is a secret technique!
Again, a tape maker is used to make bias tape.

The fabric used for this test is golden satin, which is difficult to shape with an iron.
It is 100% polyester, but will it really hold its shape with ironing?
So let's give it a try and see what happens.
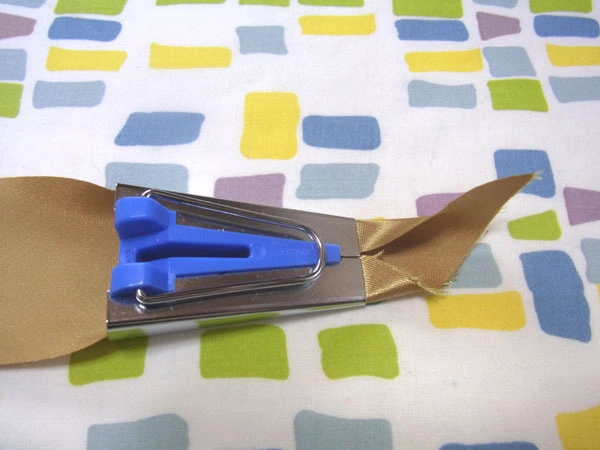
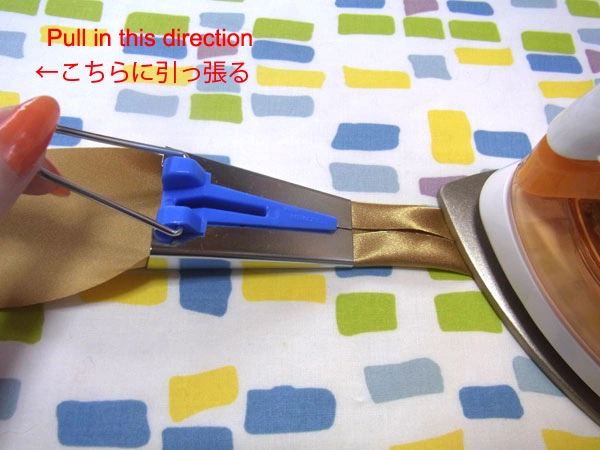
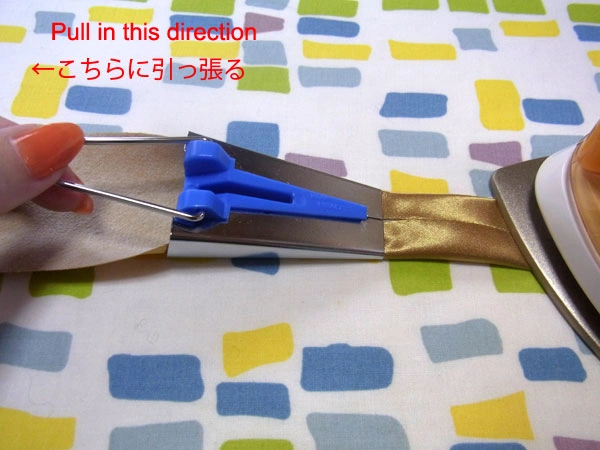
We will iron using a 25mm tape maker.
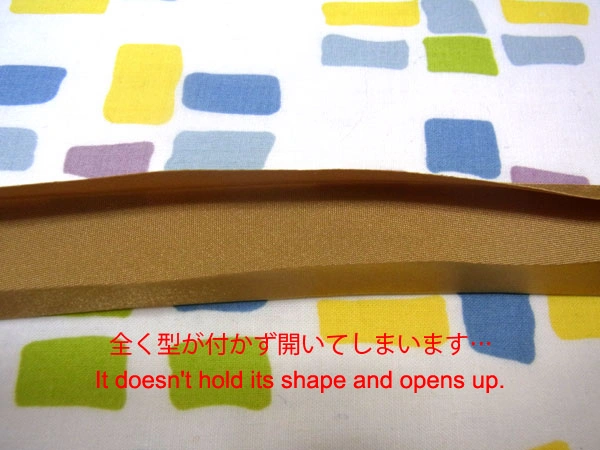
Even after careful ironing, it ends up like this.
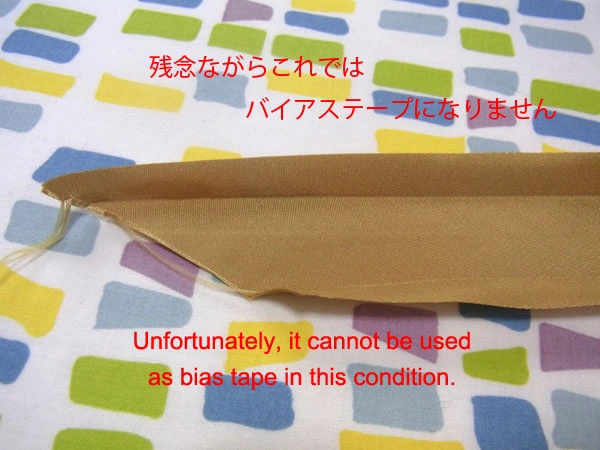
It is difficult to make even 25mm wide tape because the fabric slips. And it is hard to use as bias tape if it opens up this much!
The problem is that the polyester fabric is too thin. So, let’s make one extra effort! Here’s what we do!

After ironing a thin, soft fusible interlining to the reverse side, the bias is cut.
The important part is using “thin and soft fusible interlining”!
Thick or stiff fusible interlining is very difficult to use for bias tape.
Now let’s take the one with fusible interlining applied and iron it with a tape maker as before.
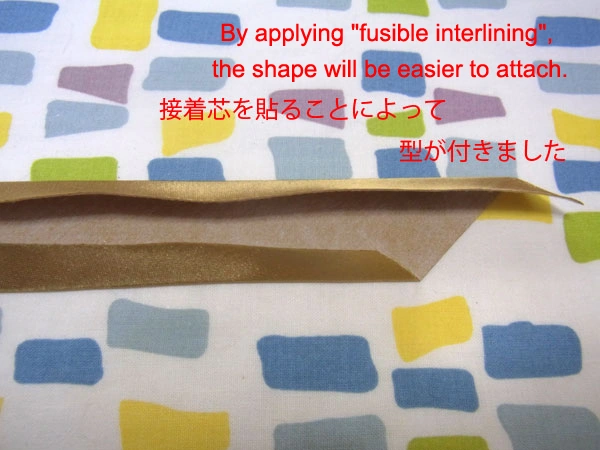
The shape is more firmly held than before!
If this method does not give a good shape, try ironing the bias and then placing it inside a weighted magazine while it is still hot.
The hot bias can hold its shape better when cooled quickly.
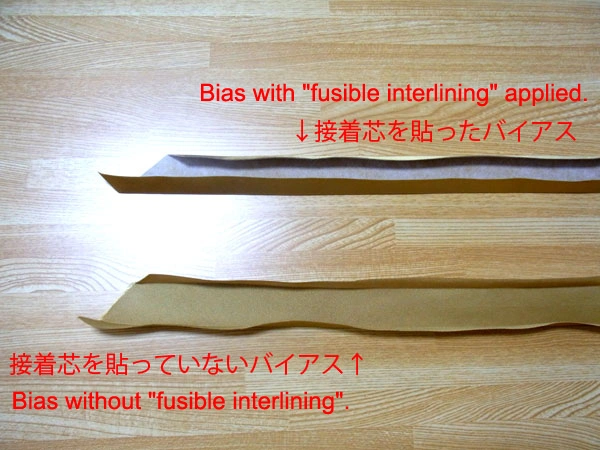
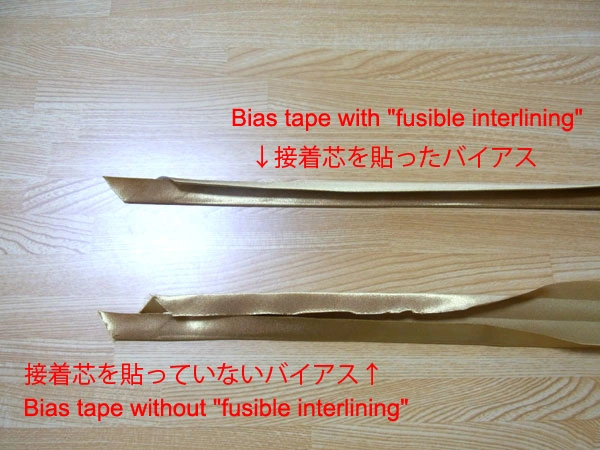
Side by side, you can see that the folds are neater with fusible interlining applied.
This may be a bit of a tedious step, but it makes it easier to create “double-type” bias tape. Let’s fold it a little and compare.
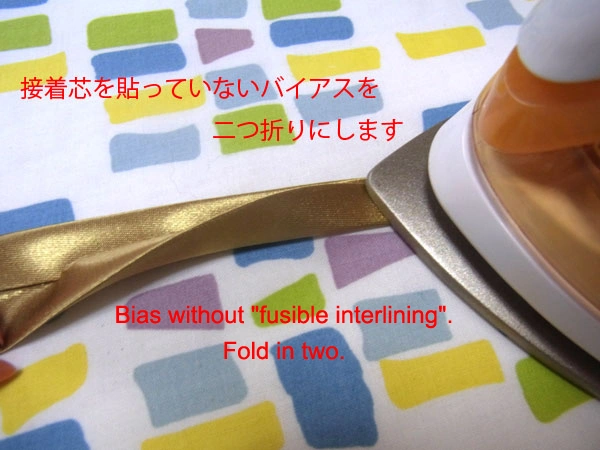
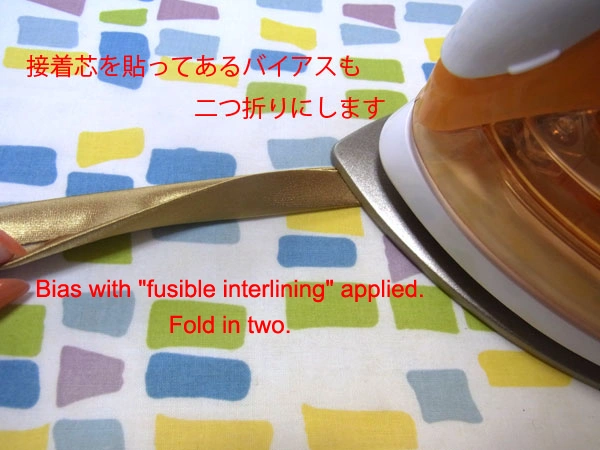
Both are ironed into shape for a double fold finish.
As explained before, iron while shifting the iron about 1 to 1.5 mm. For heat-sensitive fabrics such as satin, we recommend ironing from the reverse side.
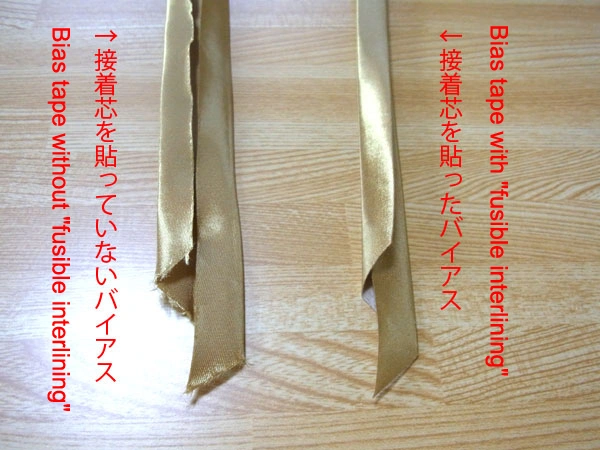
The bias with fusible interlining has become a beautiful "double bias tape"!
The bias without fusible interlining is loose and not in very usable condition.
Now you can make bias tape with polyester-based fabrics that are usually difficult to iron into shape!
However, be careful with the ironing temperature when working with fabrics that are difficult to mold with an iron!
High temperatures or prolonged ironing can cause melting, shrinkage, or discoloration.
Be sure to watch the surface of the fabric closely to make sure there are no problems.


