How to treat seam allowance using "single type" bias
This section explains how to finish seam allowances at the collar and "armholes" using single-fold bias tape.
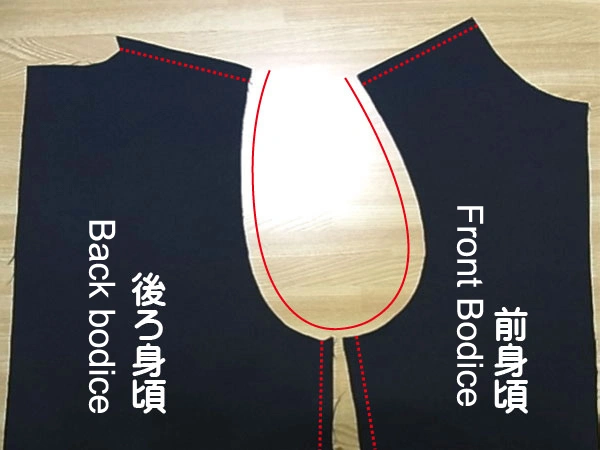
First, sew the shoulder and side seams of the front bodice and back bodice together.

Finish the "armhole" seam allowance with bias tape.
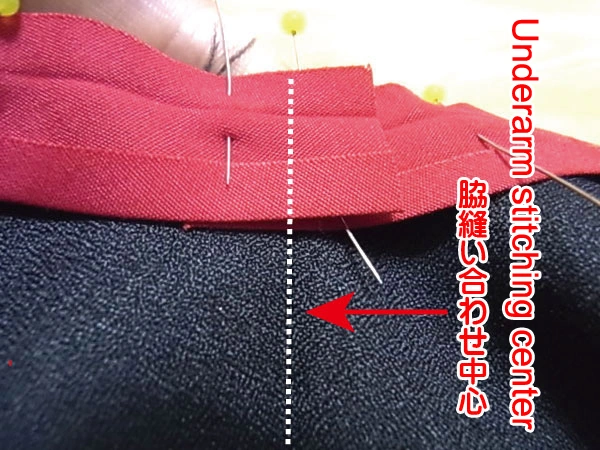
Pin the single-fold bias tape around the "armhole."
Start at the side seam center and pin all the way around.
Leave 1 cm of extra bias tape at both the beginning and the end for joining.
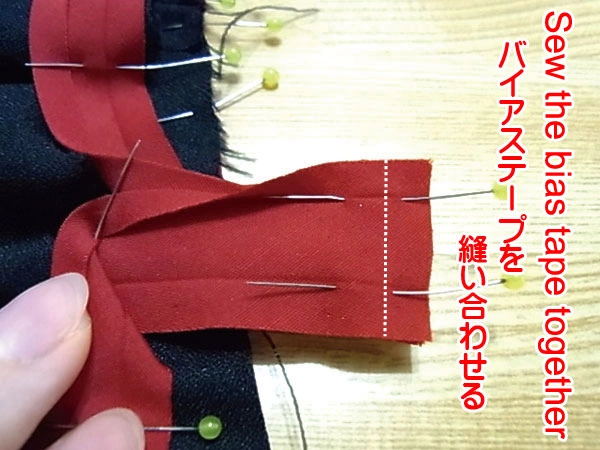
Sew the bias tape to the "armhole" with a 1 cm seam allowance, right sides together.
No backstitch is needed at the start and end.
Use a small stitch length.
After sewing, press the seam allowances of the bias tape open with an iron, then trim the seam allowance to about 5 mm.
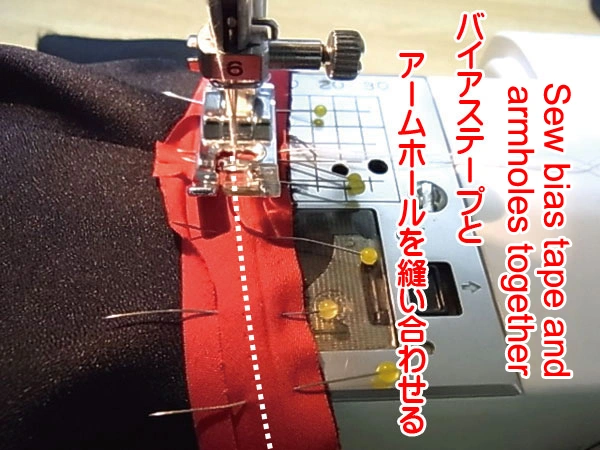
Sew the bias tape and "armhole" together with a 1 cm seam allowance.
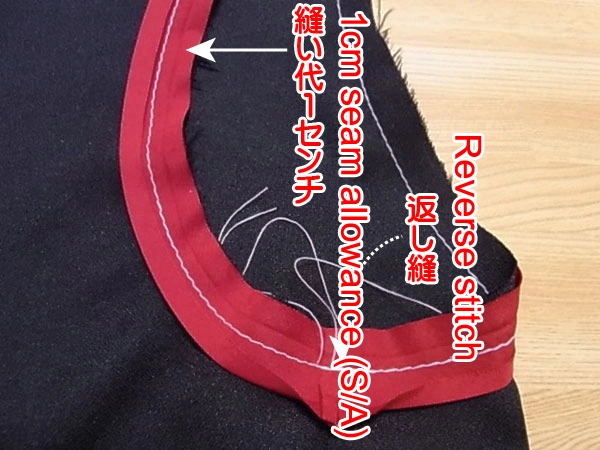
For clarity, white thread is used here. Please backstitch on this step.
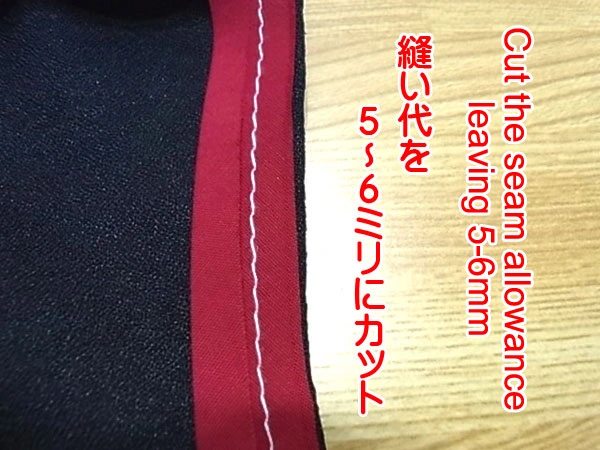
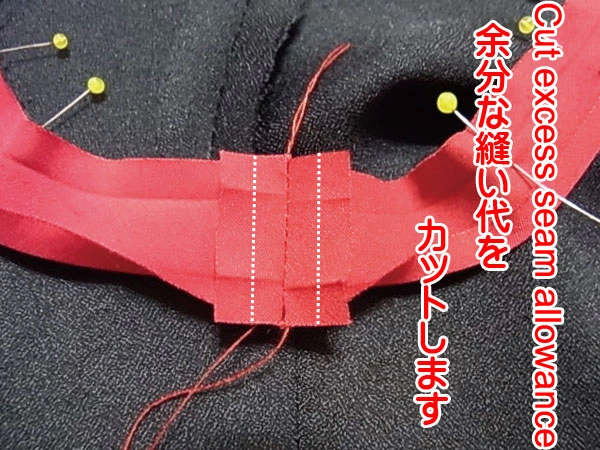
Cut off the excess seam allowance.
Trim the bias seam allowance to 5 mm, and the "armhole" seam allowance on the body side to 6 mm.
If the body side seam allowance is slightly longer, the step will be less visible from the front after folding.
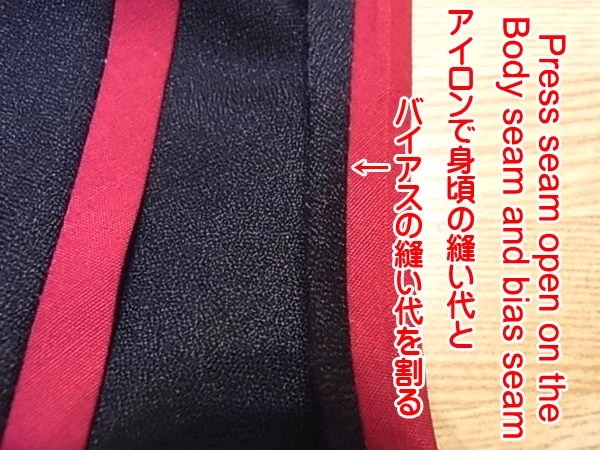
After trimming, press the seam allowances open with an iron.
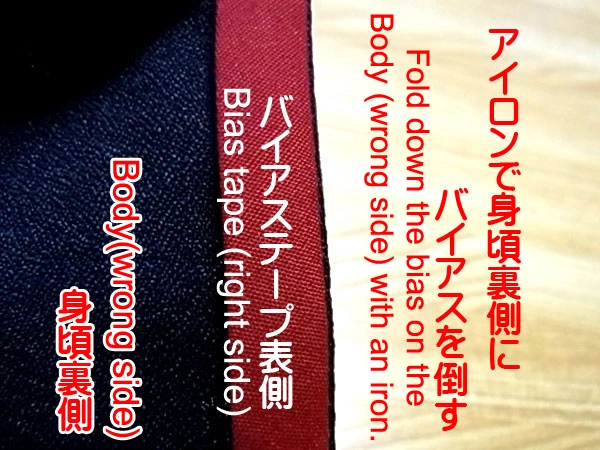
Next, fold the bias tape to the wrong side of the bodice with an iron.
Press so the bias tape does not show from the front.
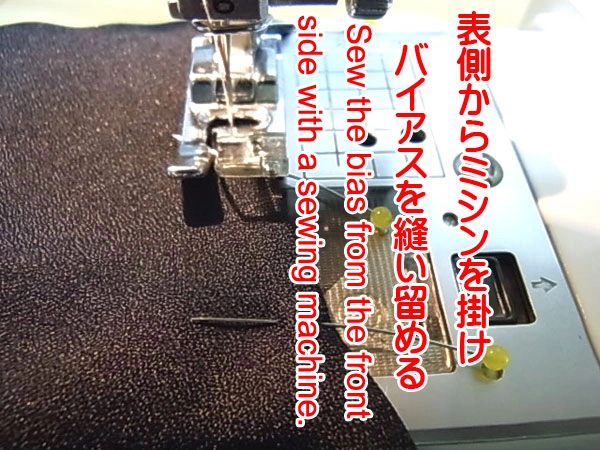
Sew the bias tape on the wrong side while stitching from the front side.
Here, a 1 cm single-fold bias tape is used. Align the finished armhole line with the edge of the presser foot and sew.
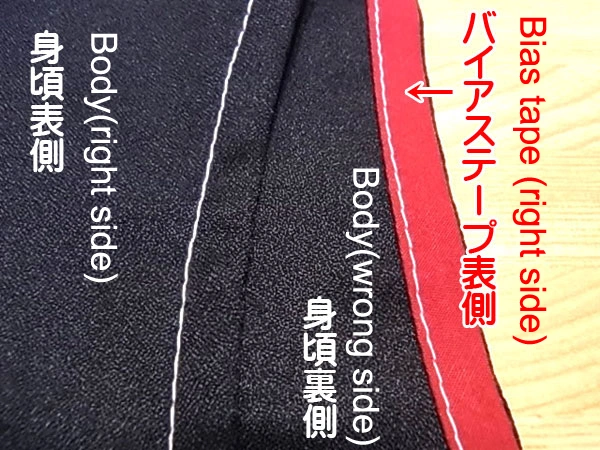
The bias tape is now securely sewn. The back side bias tape is also stitched in place.
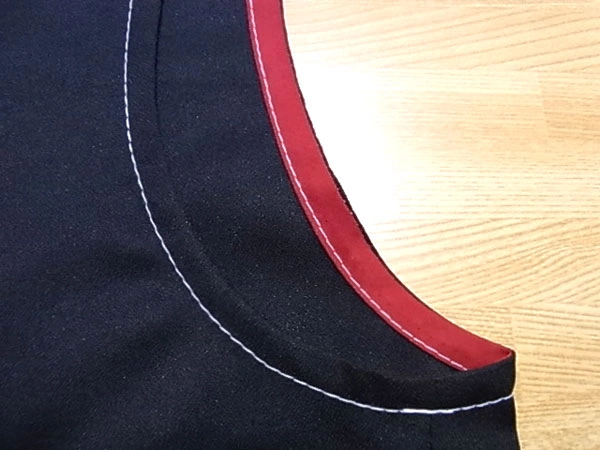
This completes the seam allowance finishing with single-fold bias tape.
This method can be used not only for "armholes," but also for finishing collars and hems.
It is much easier than using a facing, so please give it a try!


