![]()
Comments are made using translation software.
Here is the pattern for the double-button jacket with sailor collar, which has been highly requested.
The sailor collar section is designed as a stand collar.
You can easily create it by sandwiching the collar between the main body and the facing, then sewing it together.
The sleeves are shaped to flare slightly towards the cuffs.
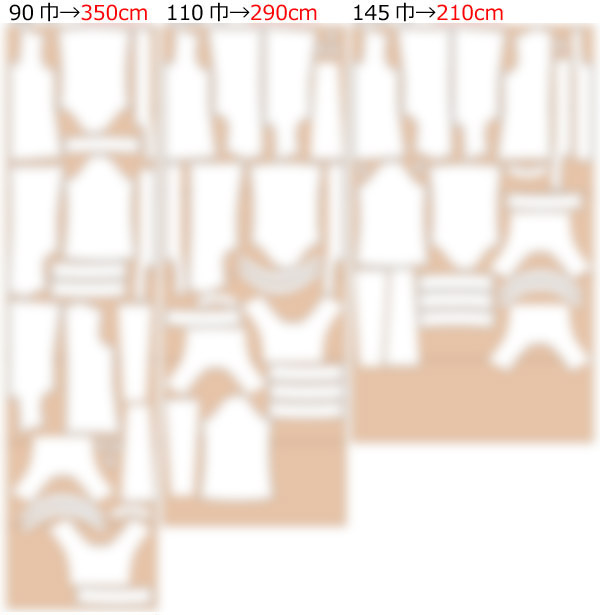
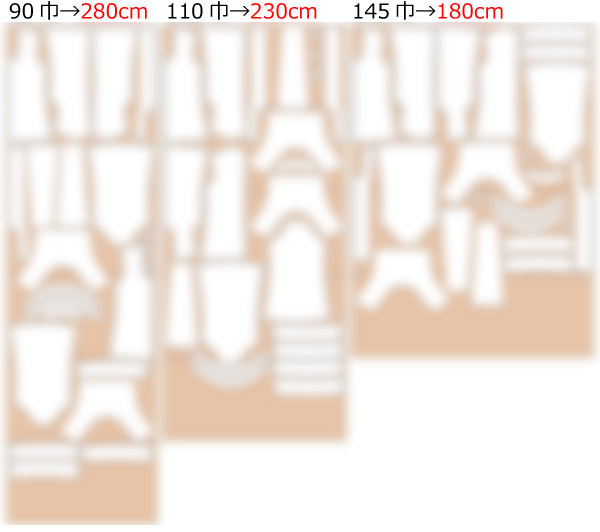
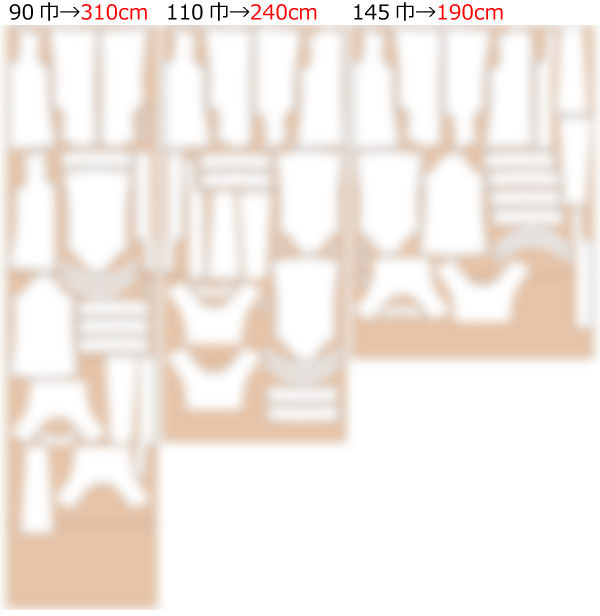
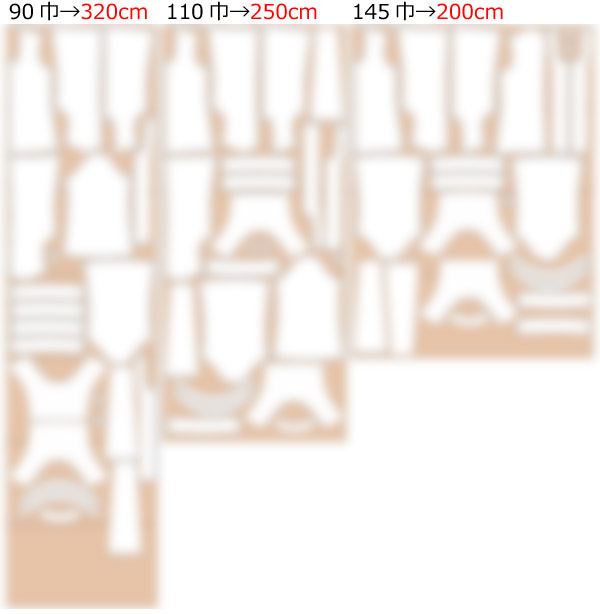
After printing, paste it according to the pasting line,Cut and use.
The pattern has a seam allowance, so it can be used as is.


I'm not so good at English.
So all explanations/instructions were translated using AI.
This is not always perfect and I apologise for any parts that are difficult to follow.
(1) Apply fusible interlining to the "facing" front and back, "Collar stand", "Collar", "Cuff", and front placket.
(2) Stitch the "facing" together, split the seam allowance (S/A) with an iron, and Serge/overlock the edges.
![]() How to Serge/overlock (sewing machine & overlock sewing machine)
How to Serge/overlock (sewing machine & overlock sewing machine)
(3) Stitch the "Collar stand" (with fusible interlining) and "Collar" (without fusible interlining) together, Press open the seam allowance (S/A) with an iron, and make notches on the fuzzy part.
(4) Stitch the "Collar stand" (without fusible interlining) and "Collar" (with fusible interlining) together, Press open the seam allowance (S/A) with an iron, and make notches on the fuzzy part.
(5) Stitch around the edges of the assembled pieces from steps (2) and (3) with bias tape to finish in a way that can be sandwiched.
(6) Serge/overlock the shoulders and sides of the "Front bodice", shoulders and sides of the "Back bodice", and stitch the back center line of the "Back bodice".
(7) Stitch the shoulders and sides of the "Front bodice" and "Back bodice", Press open the seam allowance (S/A) with an iron, and Serge/overlock the hem.
(8) Insert the "Collar stand" into the designated position on the "Body" while stitching the "facing".
(9) When turning the "facing" inside out, cut any areas where the seam allowance (S/A) causes bulging or the fuzzy part, and finish the hem.
(10) Create belt loops and attach them to the designated positions on the "Body".
(11) Stitch the hem of the front placket, Press open the seam allowance (S/A) with an iron, finish the edges except for the hem with bias tape.
(12) Sew buttons to the designated positions on the "Body" and create buttonholes on the front placket.
(13) Stitch the "Cuff" into a loop, Press open the seam allowance (S/A) with an iron, and stitch another seam to prepare for insertion.
![]() How to sew sleeves and sleeve cuffs
How to sew sleeves and sleeve cuffs
* If applying bias tape to the "Cuff", do so either before stitching into a loop or after stitching.
(14) Serge/overlock the sides of the "Sleeve", stitch together, and Press seam allowances open with an iron.
(15) Attach the "Cuff" to the hem of the "Sleeve", stitch the "Sleeve" to the "Body", and Serge/overlock the armhole.
* Ensure buttons and buttonholes are made with each "facing" to secure the "facing".
If you cannot see the SHOP due to 403 error
Price: ¥700 (JPY)
Approx. USD — / EUR — (for reference)
![]()

shoulder width16.5in bust36.2in length25.6in 22sheets of A4 size(or legal size)
Sleeve parts 43 size
shoulder width16.9in bust39.4in length27in 24sheets of A4 size(or legal size)
Sleeve parts 47 size
shoulder width17.3in bust41.7in length28.3in 25sheets of A4 size(or legal size)
Sleeve parts 50 size
shoulder width17.7in bust44.1in length29.7in 27sheets of A4 size(or legal size)
Sleeve parts 53 size