![]()
Comments are made using translation software.
This pattern has been improved to feature double buttons while retaining the slim and stylish silhouette of the lab coat.
Unlike the tailored collar, the collar is designed with lapels and a collar stand, making it a simple design that is sandwiched between the front bodice and facing.
Only the pocket section may feel a bit challenging.
It can be used not only as a lab coat but also modified into a regular coat.
Since it also has a slim design, please pay attention to the sizing.
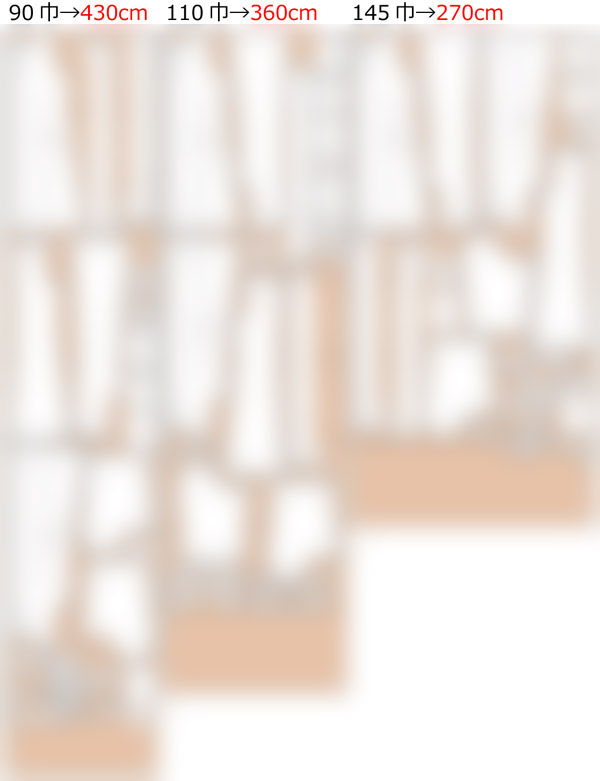
After printing, paste it according to the pasting line,Cut and use.
The pattern has a seam allowance, so it can be used as is.


I'm not so good at English.
So all explanations/instructions were translated using AI.
This is not always perfect and I apologise for any parts that are difficult to follow.
(1) Stitch the darts on the "Front bodice" and iron, folding the seam towards the center.
(2) Attach the "pocket" to the chest and create a welt pocket on the "Body".
(3) Serge/overlock the shoulder and side of the "Front bodice" and "Back bodice" together, then press open the seam allowance with an iron.
![]() How to Serge/overlock (sewing machine & overlock sewing machine)
How to Serge/overlock (sewing machine & overlock sewing machine)
(4) Serge/overlock the center back of the "Back bodice" and stitch until the slit position, then press open the seam allowance with an iron.
(5) Apply fusible interlining to the front and back of the "facing", stitch them together, fold with an iron, then Serge/overlock.
* Apply fusible interlining for the lapel part to the "Body".
(6) Apply fusible interlining to the "Collar" and "Collar stand", then create the "Collar" and "Collar stand".
* The process for the "Collar stand" ends when flipping it over the "Collar".
(7) After Serge/overlocking the "Body" hem, stitch the "Body" and "facing" together, inserting the "Collar stand" while stitching, then turn inside out and iron to shape.
* Make incisions on the rough part of the fabric before flipping it over.
(8) Fold the "Body" hem by 1cm (0.5in) and sew it on a sewing machine.
(9) Serge/overlock the side and hem of the "Sleeve", then stitch the side of the "Sleeve" together and press open the seam allowance with an iron.
(10) Fold the "Sleeve" hem by 1cm (0.5in) with an iron and sew it on a sewing machine.
(11) Attach the "Sleeve" to the "Body" and Serge/overlock the armhole.
(12) Sew buttons onto the button positions and create buttonholes at the buttonhole positions.
* Pay attention to the orientation of the fabric when determining button and buttonhole positions on the front side.
If you cannot see the SHOP due to 403 error
![]()

bust30.3in waist29.1in length33.1in 20sheets of A4 size(or legal size)
Sleeve parts 40 size
bust34.6in waist33.1in length37.2in 26sheets of A4 size(or legal size)
Sleeve parts 43 size
bust36.6in waist34.8in length38.2in 26sheets of A4 size(or legal size)
Sleeve parts 45 size
bust40.2in waist38.6in length38.8in 28sheets of A4 size(or legal size)
Sleeve parts 48 size
bust42.5in waist40.9in length39.8in 28sheets of A4 size(or legal size)
Sleeve parts 51 size

bust44.1in waist42.3in length42.9in 34sheets of A4 size(or legal size)
Expanded sleeve parts 56 sizes to 101.6%
bust46.1in waist44.5in length47.6in 36sheets of A4 size(or legal size)
Expanded sleeve parts 56 sizes to 105.2%